vegan

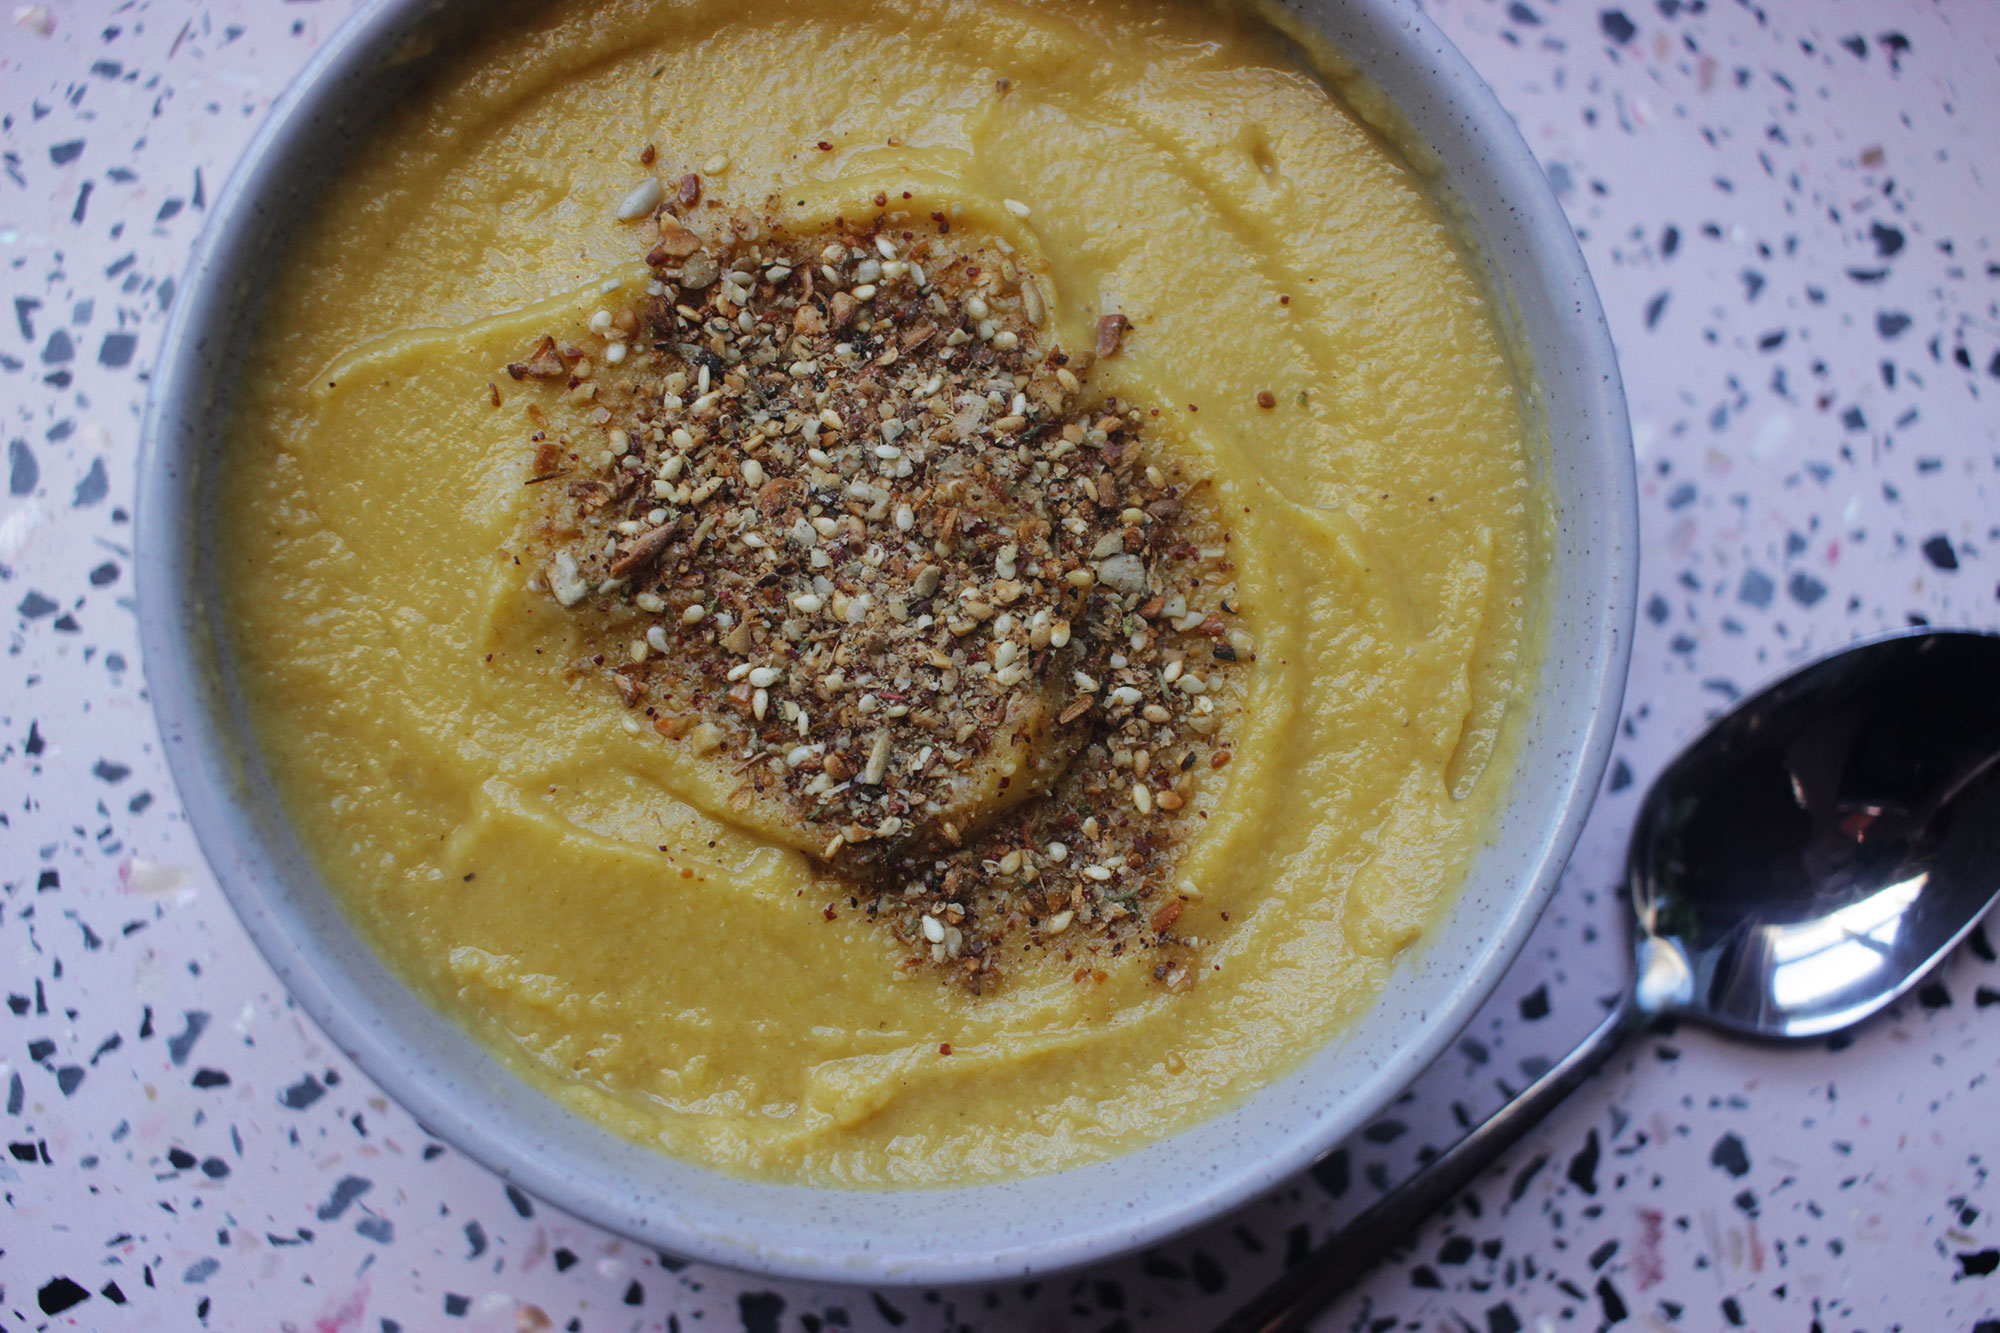
Pumpkin, Ginger & Parsnip Soup

pumpkin-soup-headonweb.jpg

Soup is our go to make in advance meal in our house, I generally pick the busiest night of the week (usually when we have swimming) to ensure a batch is sitting in the fridge waiting to be heated and served in under 5 minutes. Pumpkin soup is my go to for cramming a ton of veggies into it, because if it’s orange and slightly tastes like pumpkin my kids will actually eat it!

This soup was created after I realised that no one in the house except me was going to eat parsnip, one day I chucked some in with a batch of soup and the end result was this delightfully creamy soup without a dash of dairy added to it. Personally, I love the carrot-y (they’re actually related to carrots and parsley!), nutty flavour and love adding them to vegetable mash or eating them roasted with olive oil and spices. Nutritionally, they contain a plethora of important minerals (calcium, iron, zinc and potassium), vitamins (vitamin C & K, folate, B6 and B5) and are rich in antioxidants and fibre (both insoluble and soluble).

This soup also contains broccoli stalk, which is also super nutritious but tends to get chucked out once the florets have been eaten. You won’t even notice it’s there will get extra nutrition as a result AND you’ll be reducing food waste at the same time, win win!

This soup will last 4-5 days once made, and freezes well. Enjoy! -Renee x

pumpkin-parsnip-ginger-web.jpg

Serves 4
Prep time: 
10 minutes
Cook time: 30 minutes
Total time: 40 minutes

INGREDIENTS

  • 1 onion, finely chopped

  • 3-4 cloves garlic, finely chopped

  • 1 inch fresh ginger, finely chopped

  • 1/2 inch fresh turmeric, finely chopped or 1/2 heaped tsp ground turmeric

  • 2 celery sticks, finely sliced

  • 1 large parsnip, cut into 2 cm pieces (approx. 300-400 grams)

  • 1/2 medium butternut pumpkin; skin off, seeds removed and cut into 2 cm pieces (approx. 500 grams) (you can also use Jap pumpkin too)

  • 1 1/2 tbs stock paste or powdered stock

  • 3/4 cup split red lentils, rinsed and washed thoroughly

  • 4 cups water (tap or filtered, not hot) or bone broth (just omit the stock paste)

  • 2 tbs olive oil

  • 1 broccoli stalk, roughly chopped

METHOD

  1. In a large pot, heat the olive oil over a medium heat. Add the onions, garlic, celery, ginger and turmeric and sauté for 5 minutes until translucent.

  2. Add remaining veggies and sauté for another 2 minutes.

  3. Chuck in the remaining ingredients and bring to the boil. Drop the a medium heat, pop the lid on and cook for 25 minutes, stirring occasionally.

  4. Once cooked, taste and adjust seasoning as needed. Puree the soup with either a stick mixer or by processing in a blender/food processor/thermomix. Add extra water 1/2 cup at a time to reach desired consistency.

  5. Top with our sumac seeded dukkah or cashew pesto. Serve as is or with a slice of toasted mountain bread, sourdough or gluten free bread.


pumpkin-parsnip-soup-web.jpg


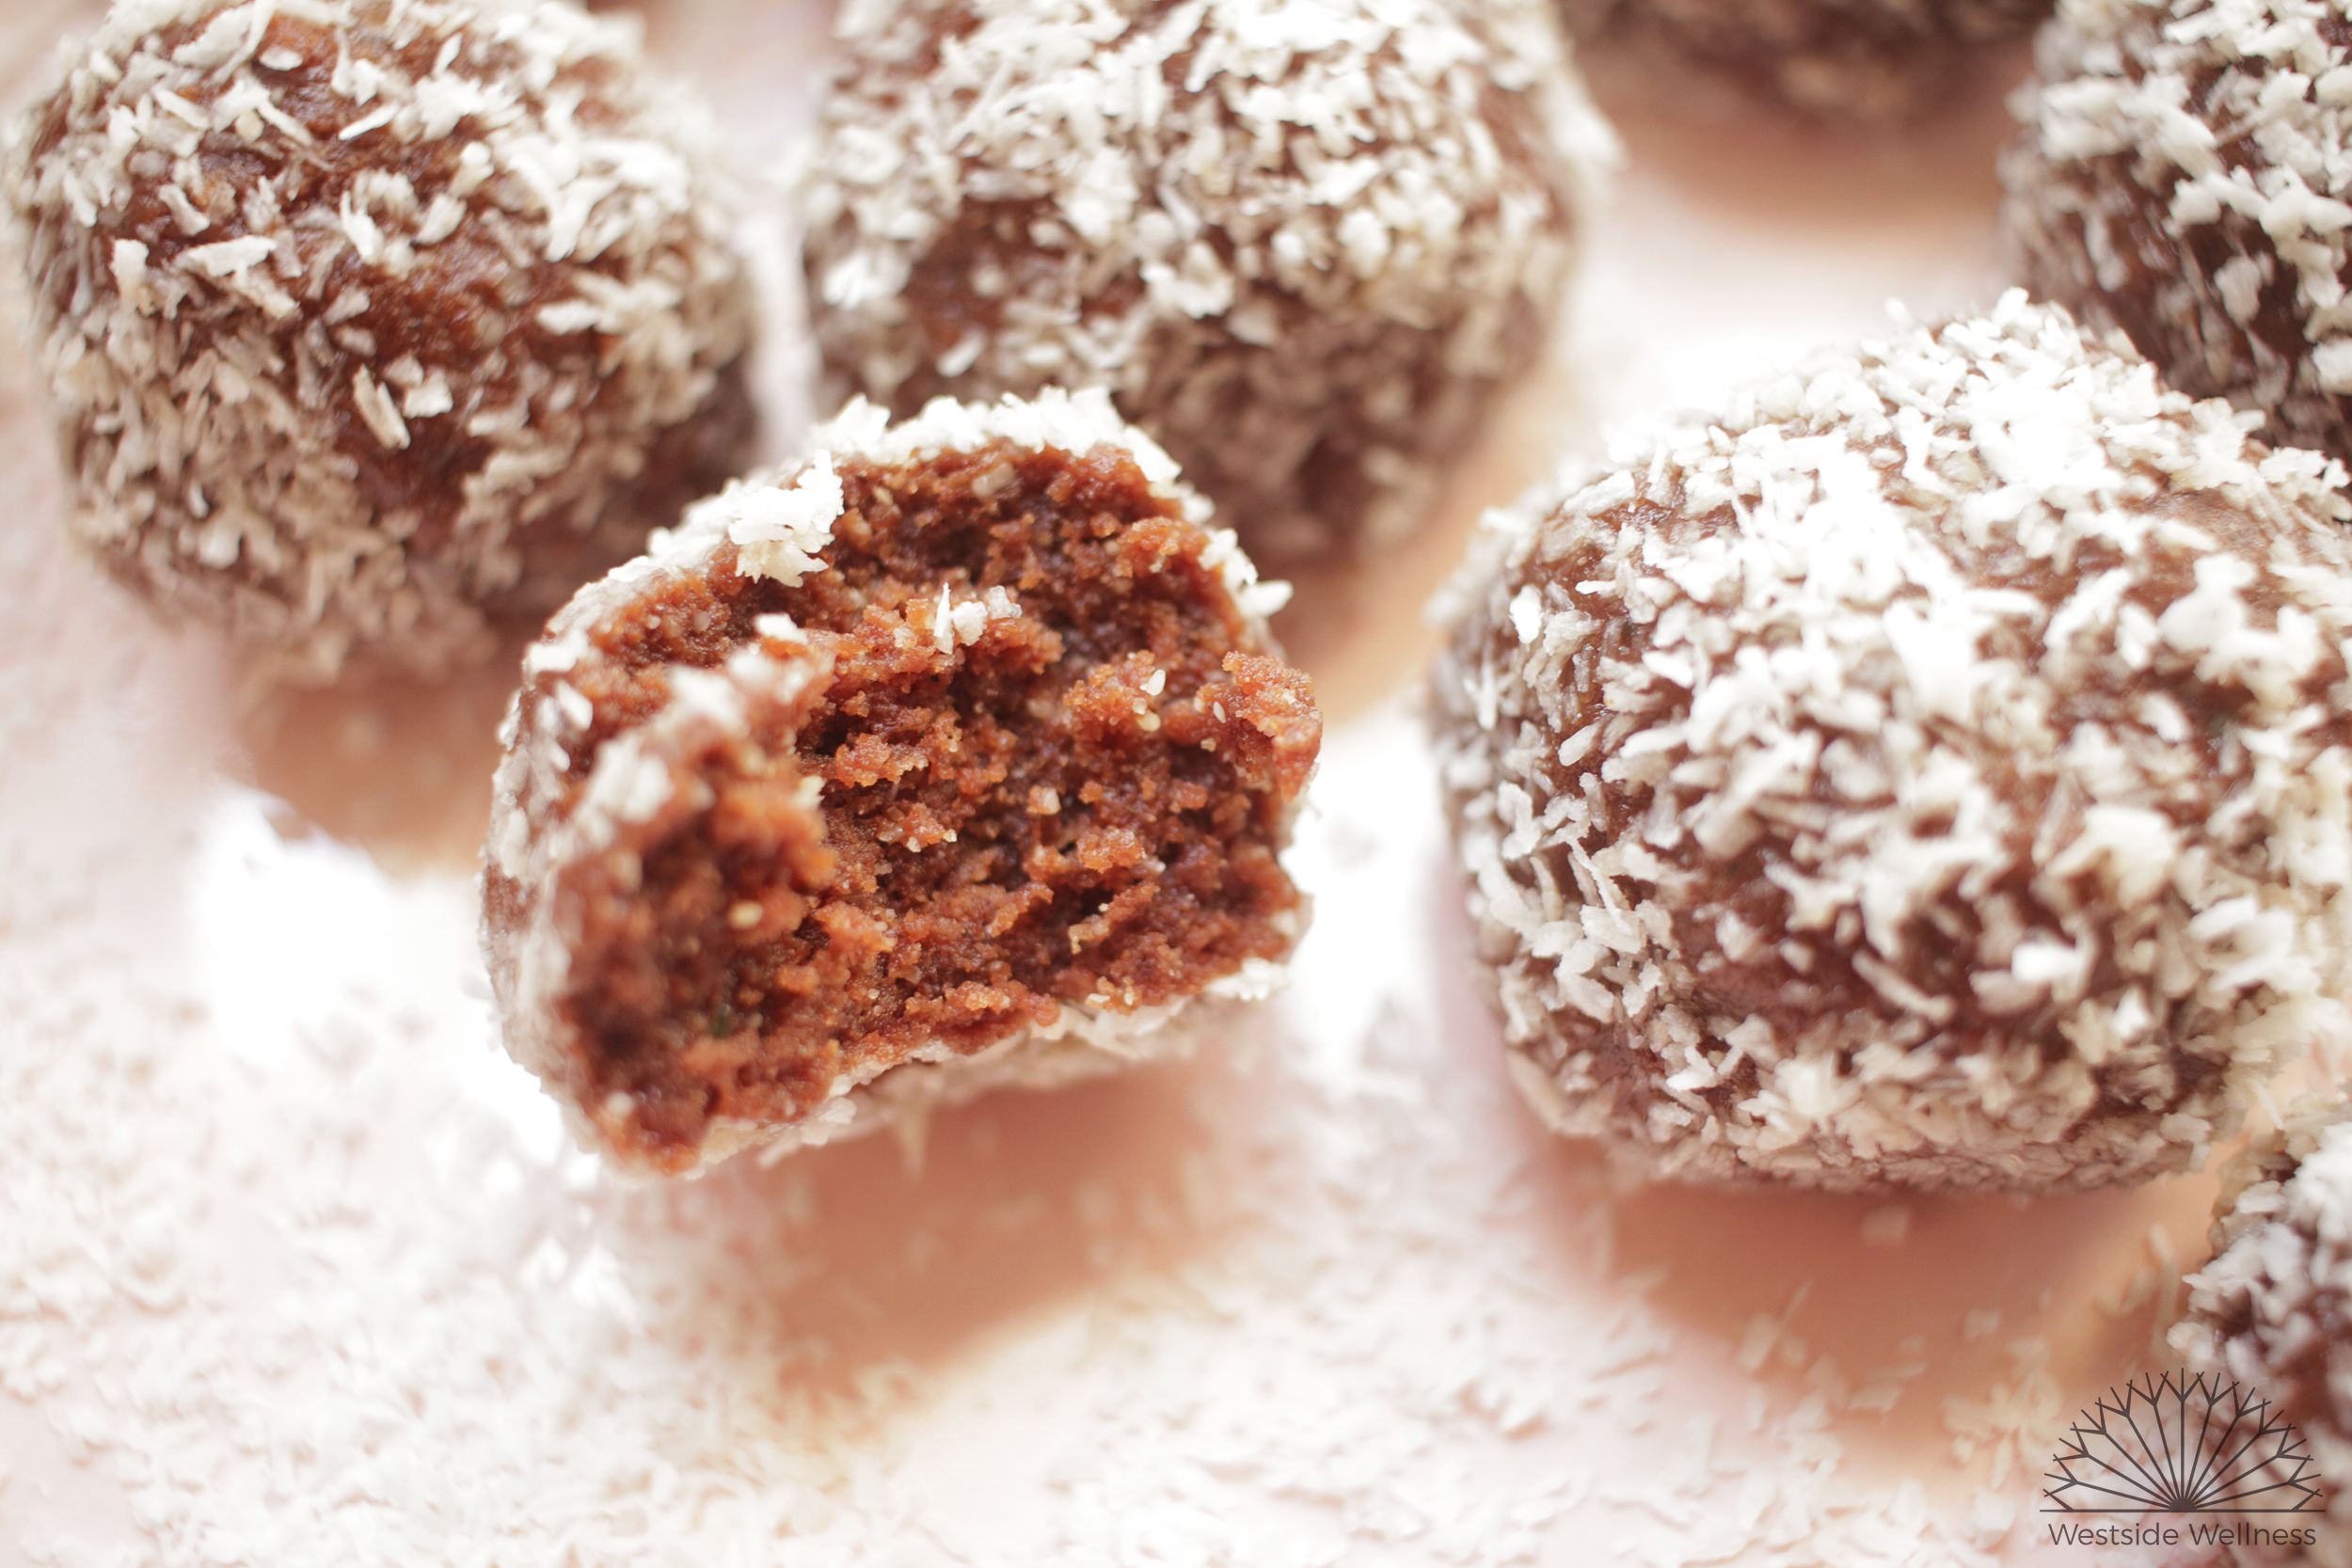
Hazelnut Choc Bliss Balls

nutella bliss balls ingredients web.jpg

I’m such a huge fan of bliss balls, they are a sinch to make and are a great snack for on the go. It’s easy enough to make them nutrient dense, loaded with good fats, protein, minerals and fibre. I prefer to keep my bliss balls on the fruit free and lower fructose side, firstly as I tend to eat thousands of them when they are super sweet, and secondly as I find I get quite a bad crash from the sugar high later on if they are loaded with dates and maple syrup or agave.

I created this particular recipe to have an example of how to add hemp seeds to your day for my clients. I personally love hemp seeds sprinkled on dishes or added to smoothies, but found that others really wanted another way of incorporating them into snacks/meals. I’m a HUGE fan of hemp seeds as they are an excellent source of omega 3 fatty acids and are therefore great for those who don’t eat or don’t like eating fish. They are also a great source of other fatty acids (making them the perfect anti-inflammatory food), protein, fibre, minerals and B vitamins.

They are also a sustainable food source and are grown here in Australia! Better still, they are finally legal for human consumption in Australia which means they are more readily available, I’ve even seen them in the big supermarket chains!

These are great to whip up when you’re in a hurry, you can even press the mix into a baking tray and cut into slices if you don’t have time for rolling them. They’re also a fun snack to make with little ones, allowing them to get their hands dirty and work on their rolling technique. Enjoy! -Renee x

Prep time: 5 minutes

Total time: 5 minutes

Makes: 10-12 balls

INGREDIENTS

  • 1 cup hazelnuts

  • 1/2 cup hemp seeds

  • 1 tbs coconut oil

  • 2 tbs rice malt syrup (you could also use maple syrup or honey)

  • pinch of salt

  • 1 1⁄2-2 tbs cacao (depends on how chocolaty you like it)

  • desiccated/shredded coconut (make sure it’s sulfur free)

METHOD

  1. Process the hazelnuts, in a food processor/thermomix/blender until they resemble meal/flour (not quite nut butter).

  2. Chuck in the remaining ingredients, except the coconut, and process until everything is smoothish and sticking together, adding a touch more rice malt if the mixture is too dry.

  3. Divide and roll the mixture into golf sized balls.

  4. Sprinkle a handful of the desiccated coconut onto a plate and roll the balls into it until covered.
    These will keep for a 5 days in the fridge, and freeze well too.

holding bliss ball.jpg
eaten  blissball.jpg

Homemade Vegemite

Vegemite is an Australian staple, but the downside of this spread is that it is packed full of salt, and made with added colour 150c from the manufacturing process of fructose, malt syrup and other sweeteners. It also contains unspecified  'flavours' - which can be anything from from a naturally-derived food (animal or plant source) or synthetic flavours made in food chemical laboratories.  

At Westside Renee and I prefer to make our own 'Vegemite' - it's easy to make, stores well in the fridge and the kids love it!

homemade-vegemite-westside-wellness

Ingredients

  • 120g Black Tahini

  • 100mL tamari (or coconut aminos)

  • 3 x tbs nutritional yeast flakes

  • 1 x tbs apple cider vinegar

Method

  1. Combine all ingredients in a bowl.

  2. Store in jar in the fridge.

Makes 1 x jar. Keeps for 2 months refrigerated.

Plant Based Gut Healing Broth

I think its easy to say that we've all heard the drill about how good bone broth is for digestive health and assisting with gut healing. At Westside Wellness, we regularly recommend consuming bone broth to our clients and have our own bone broth recipe here. If you're vegan or vegetarian or don't really want to cook with bones, you might be wondering if there's something you can have that covers so of the many food as medicine bases that bone broth does, and the answer is yes you can!

HEAL YOUR GUT WITH FOOD

Part of why we love bone broth so much is that it's a natural source of collagen. Our bodies contain significant amounts of collagen (around 1/3 of our body is collagen), and we need it for making and maintaining connective tissue. One reason collagen is useful for improving digestion is that it improves the production of gastric acid. The other reason, is that it contains the amino acids glutamine, proline and glycine, which are required for repair and rebuilding the gut lining. While collagen is only found in animal foods, there are many plant based foods that contain those amino acids found in collagen, required for gut healing. There are also many plant based foods that contain other important nutrients for gut health and boosting immune function so that your body can heal itself.

Here's a little about all the nutrients that you'll find in this broth and what they can do for digestion and gut healing. 

GLUTAMINE

Acts as a natural fuel for the intestines, assists with the regulation of cells and their growth, and therefore repair of cells in our gut, and reduces inflammation. Glutamine is found in plant based foods such as legumes (lentils, beans, peas) and veggies like spinach, parsley, cabbage and beetroot.

PROLINE

Assists with formation of collagen, wound healing, formation of connective tissue and regeneration of cartilage. Plant based sources of proline include cabbage, legumes (especially beans and chickpeas), buckwheat, alfalfa, peanuts and asparagus.

GLYCINE

As with the above, glycine is an important component of collagen. It also assist with improving digestion via its role in the production of bile, which is needed for fat breakdown. Plant based sources of glycine include legumes, spinach, kale, cauliflower, banana and kiwi fruit.

VITAMIN C

Vitamin C is required for the production and storage of collagen. It also acts as an antioxidant and anti-inflammatory agent, both of which are critical with damage or inflammation in the gut. Vitamin C is abundant in plant based foods and particularly good sources include citrus, berries, capsicum, parsley, kale and broccoli. 

ZINC

Zinc is also required for the production of collagen, but also assists with reducing inflammation, boosting immune function and also acts an an antioxidant. Zinc is found in many plant based foods, including sunflower and pumpkin seeds, spinach, whole-grains, legumes and mushrooms.

ADDITIONAL PLANT BASED FOODS FOR GUT HEALING

As you can see from the above, there are many plant based foods that contain the nutrients required for gut healing, and many of these foods are in this broth, or can be added to meals that contain the broth to enhance its gut healing properties. I've also included a couple of other food as medicine goodies that add more power to this gut healing broth:

SHIITAKE MUSHROOMS

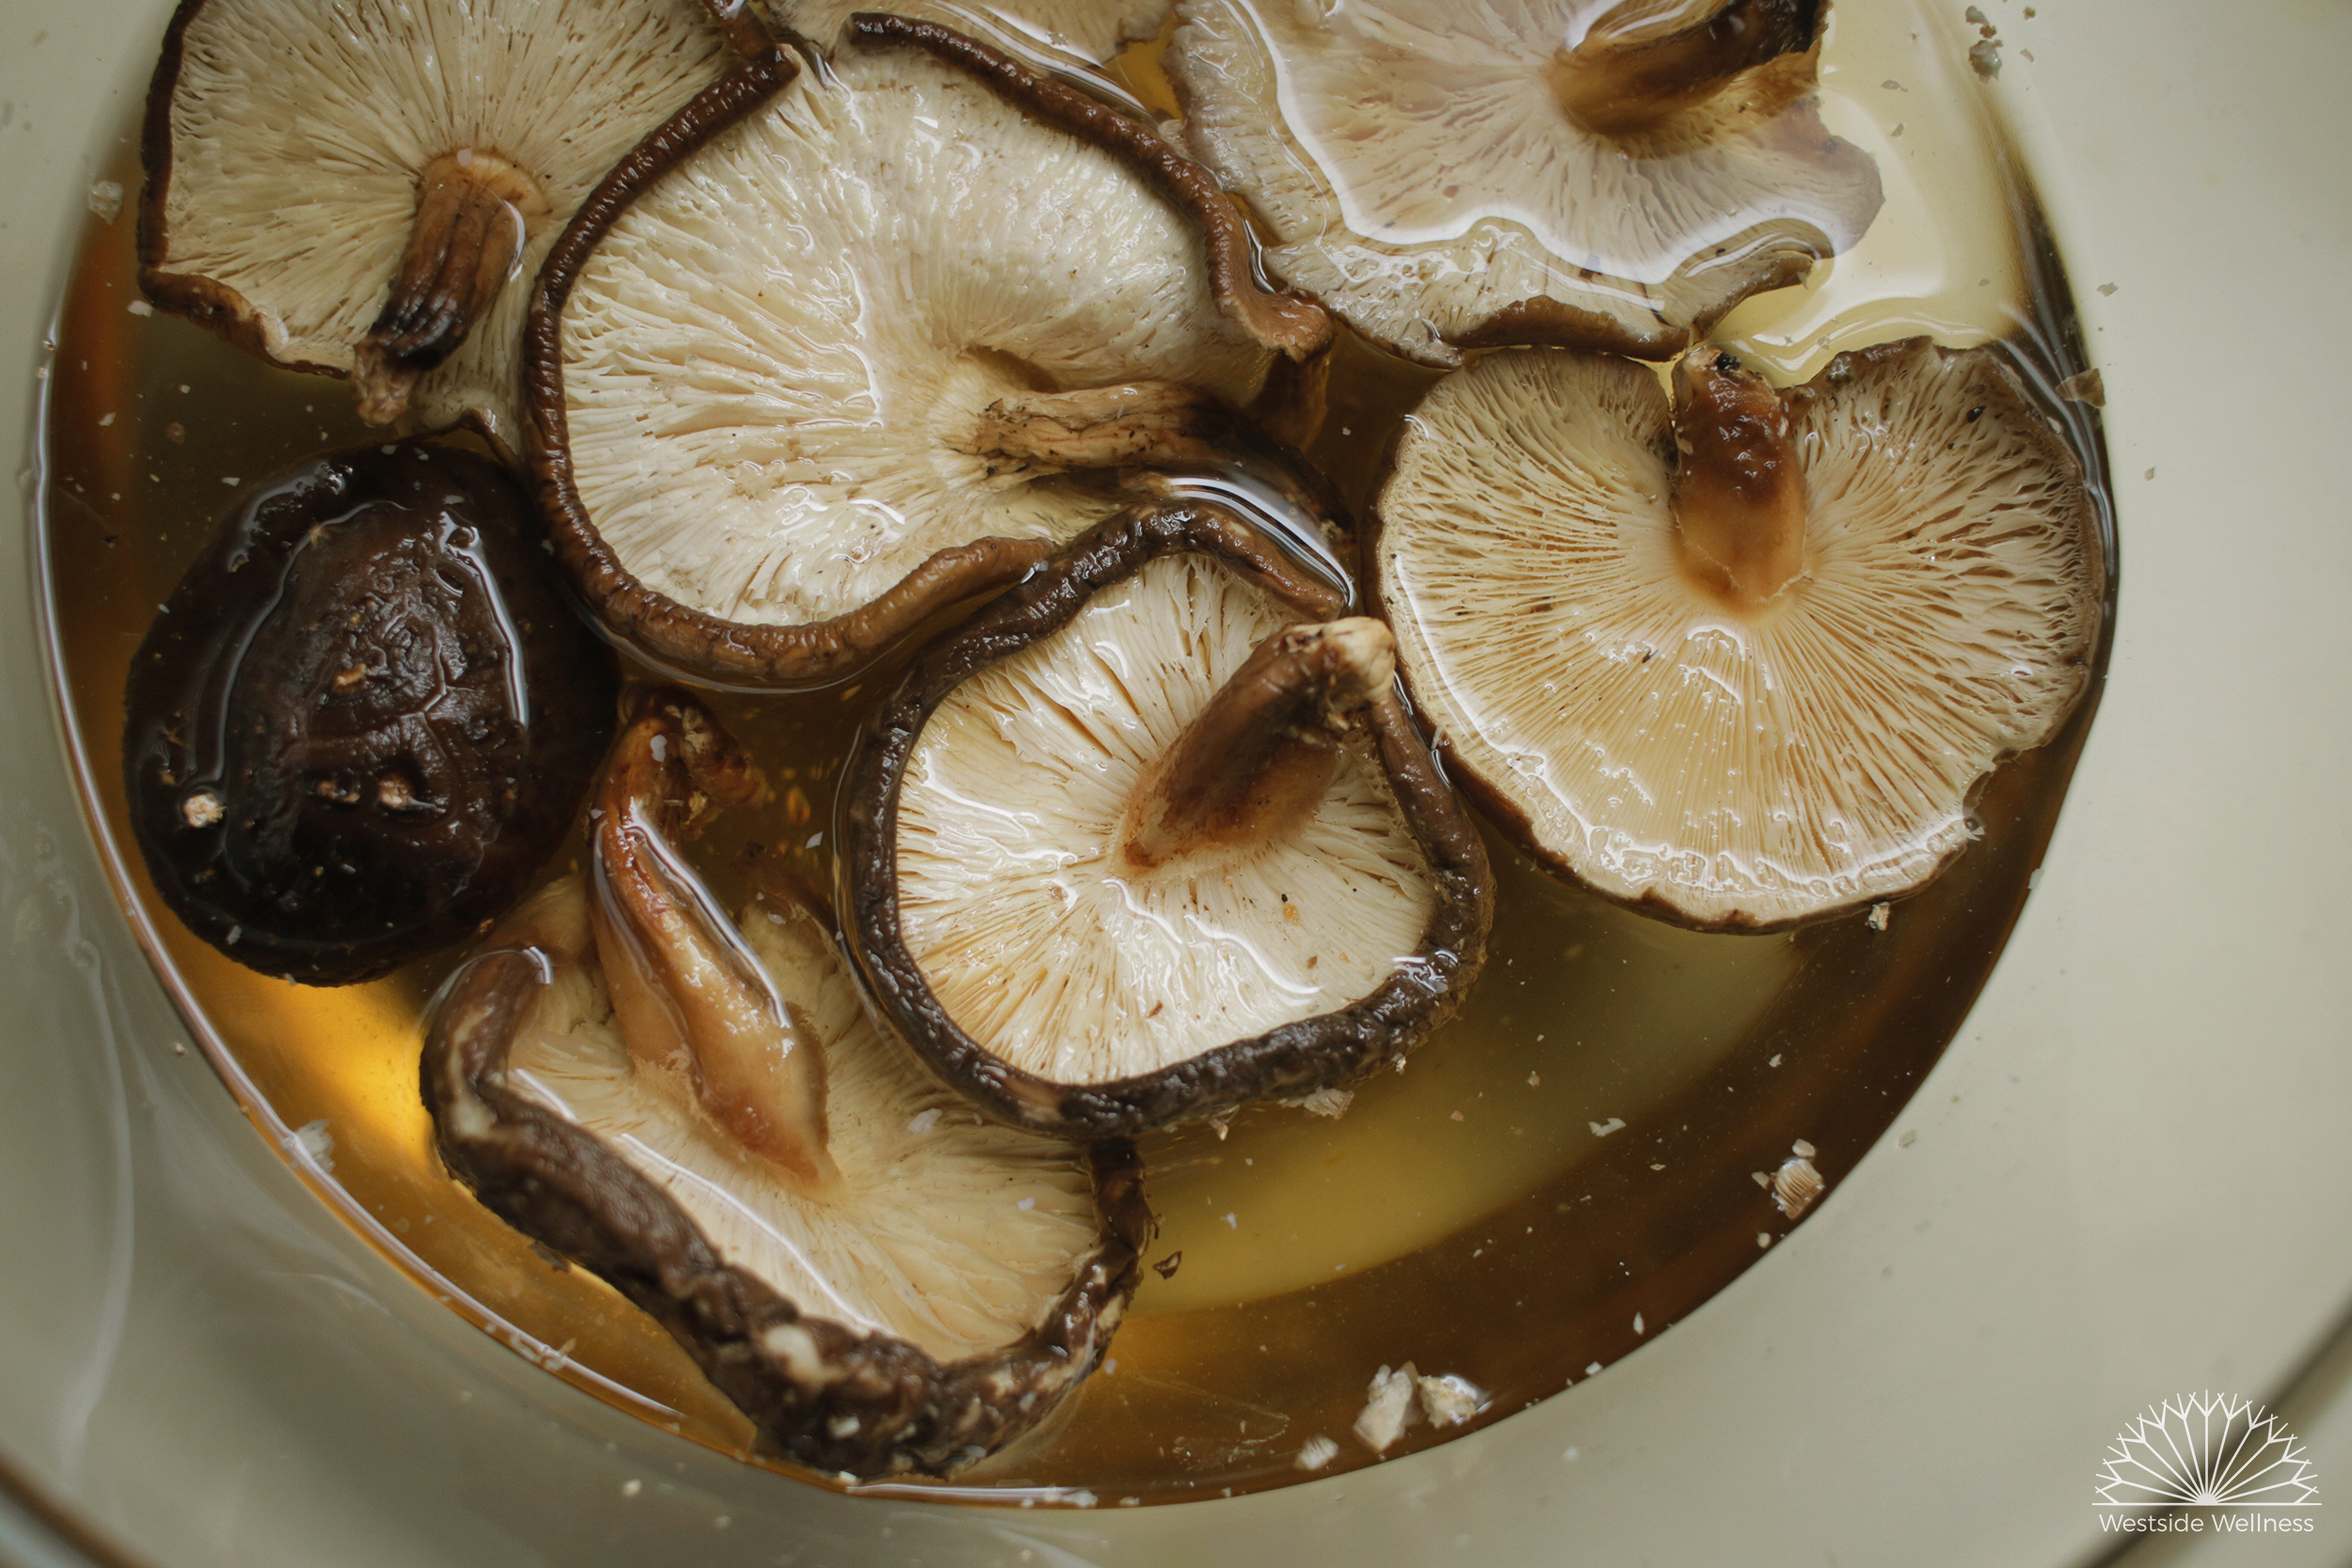
Shiitake mushrooms are a potent source of amino acids (particularly lysine and leucine), polyunsaturated fatty acids, B vitamins, vitamin C and zinc. Shiitake, and other medicinal mushrooms, have been traditionally used for their immune-modulating/enhancing and their ability to enhance immune function and destroy cancer cells has been well documented and researched. 

ONIONS, GARLIC AND GINGER

Onions and garlic are a rich source of flavonoids, which act as antioxidants and assist with reducing inflammation. They are also loaded with a special type of dietary fibre (inulin) that acts as a prebiotic, helping to feed our gut bacteria. Both onions and garlic naturally antibacterial/microbial which is beneficial in improving gut health/healing where pathogenic bacteria or parasites might be involved. Ginger is a potent anti-inflammatory food and also improves digestion by increasing the production of gastric acid and soothing and calming inflamed or irritated guts.

MISO

Miso is a salty paste made from fermented soy beans, rice or barley, or a combination of these. Due to the fermentation process, it is a great source of beneficial bacteria and a great addition to a gut loving diet. It is also a particularly good source of nutrients, including B vitamins, manganese, copper, zinc and protein. 

Prep time: 10 minutes

Cooking time: 2-6 hours

Serves: 4-8 (depending on how you use it)

soaking mushrooms.jpg

INGREDIENTS

  • 1 onion, finely diced
  • 4 cloves garlic, finely diced
  • 1 inch piece of ginger, finely chopped
  • 2 celery sticks, rinsed
  • 1/2 bunch parsley
  • 1.5 tbs miso (any variety will do)
  • 8 dried or fresh shiitake mushroom *
  • 1/4 green cabbage, finely chopped
  • 2 large broccoli stalks, cut into large chunks (I keep these in the freezer until I need them)
  • juice of 1 lemon
  • 6 cups filtered water (preferable, but you can also use regular tap water)
  • 1 tbs apple cider vinegar (ACV)
  • 2 tbs coconut oil

*if you're lucky enough to have access to fresh shiitake mushrooms go for it! You won't need to soak them either.

METHOD

  1. Soak the shiitake mushrooms in 1 litre of warm water for 20-30 minutes. Keep the liquid, but take the mushrooms out and finely slice.
  2. Heat the coconut oil in a large pot, and add the onion, celery, ginger and garlic.
  3. Sauté for 5 minutes, until the onions are translucent.
  4. Add the remaining ingredients, except the miso, and bring to the boil. Reduce the heat to a low boil and cook for 2-6 hours.
  5. Remove the parsley, celery sticks and broccoli chunks. Drain the broth keeping the mushroom, cabbage and onion etc to use in other dishes (like soups, stews or stir-fry).
  6. Allow to cool until warm and then add the miso (too much heat will damage the bacteria). Ensure you allow to the broth to cool completely before refrigerating or freezing. You can eat this broth with the veggies in it, adding legumes or tofu/tempe for protein, or you can use it as a base for other soups/stews/curries. Keep small amounts in the freezer to have on hand when sick, to be sipped to keep hydration up. The possibilities are truly endless!

Veggie-Loaded Lasagne

vegetarian-gluten-free-lasagne

We are gluten and dairy-free at our house due to our youngest child having food intolerances. Fortunately there are many wonderful recipes out there that can mean you can still enjoy foods like pasta and lasagne even when you can't eat gluten. 

I've adapted this recipe from The Healthy Chef and tweaked it for our household's dietary needs. I recommend making the basic recipe below and then once you've got the hang of this go ahead and adapt it to your own palate preferences.

Ingredients

  • 1.5L x tomato passata
  • 1/3 cup of red wine
  • 1 x brown onion, diced
  • 2 x cloves of garlic, finely chopped
  • 1 x tin of brown lentils, strained (or 3/4 cup of rinsed red lentils)
  • 1/2 bunch of basil leaves, chopped
  • 1 x bunch of greens (kale, Swiss chard or spinach greens), washed and chopped
  • 2 x tbs Extra virgin olive oil + extra for roasting pumpkin
  • 1 x small butternut pumpkin, seeded and sliced thinly widthways 
  • 1 x tsp of ground cinnamon 
  • 1 /2 x tsp of ground nutmeg
  • 2 x cups of raw cashews, soaked for 2 hours
  • 1/2 cup of nutritional yeast
  • 1 x cup of water
  • Sprigs of rosemary or thyme for roasting (optional)
  • Salt and pepper for seasoning

Method

  1. Soak raw cashews in water (or speed up the process by soaking in freshly boiled water while you start the cooking process).
  2. Preheat oven to 180C fan-forced.
  3. Place sliced pumpkin on a baking tray and sprinkle with ground cinnamon, nutmeg and prigs of rosemary/thyme if using. Drizzle with 1 x tbs of olive oil. Roast for 20 minutes until golden and pumpkin is cooked (roast for longer if needed).
  4. Heat remaining 1 x tbs of olive oil in a small heavy based saucepan while the pumpkin is cooking. Once the oil is heated add chopped onion and cook over medium heat until translucent and slightly caramelised. Add garlic, lentils and salt and pepper. Stir to coat.
  5. Add tomato passata and red wine. Stir together and reduce heat to simmer on low for 20 minutes to allow flavours to develop. Throw in chopped basil leaves at the end of cooking the tomato sauce. 
  6. Sauté greens in a small amount of oil or water until bright green.
  7. Strain cashews and blend on high with water, nutritional yeast, salt and pepper until combined into a smooth paste. 
  8. Assemble the lasagne in an oven-proof ceramic dish starting with pumpkin, then greens, followed by tomato sauce. Repeat and then top with the cashew paste.
  9. Bake lasagne in the oven for 30 minutes until cashew layer becomes a crust on top.

Serves 8.

Enjoy! Lucy x

pumpkin-veggie-loaded-lasagne

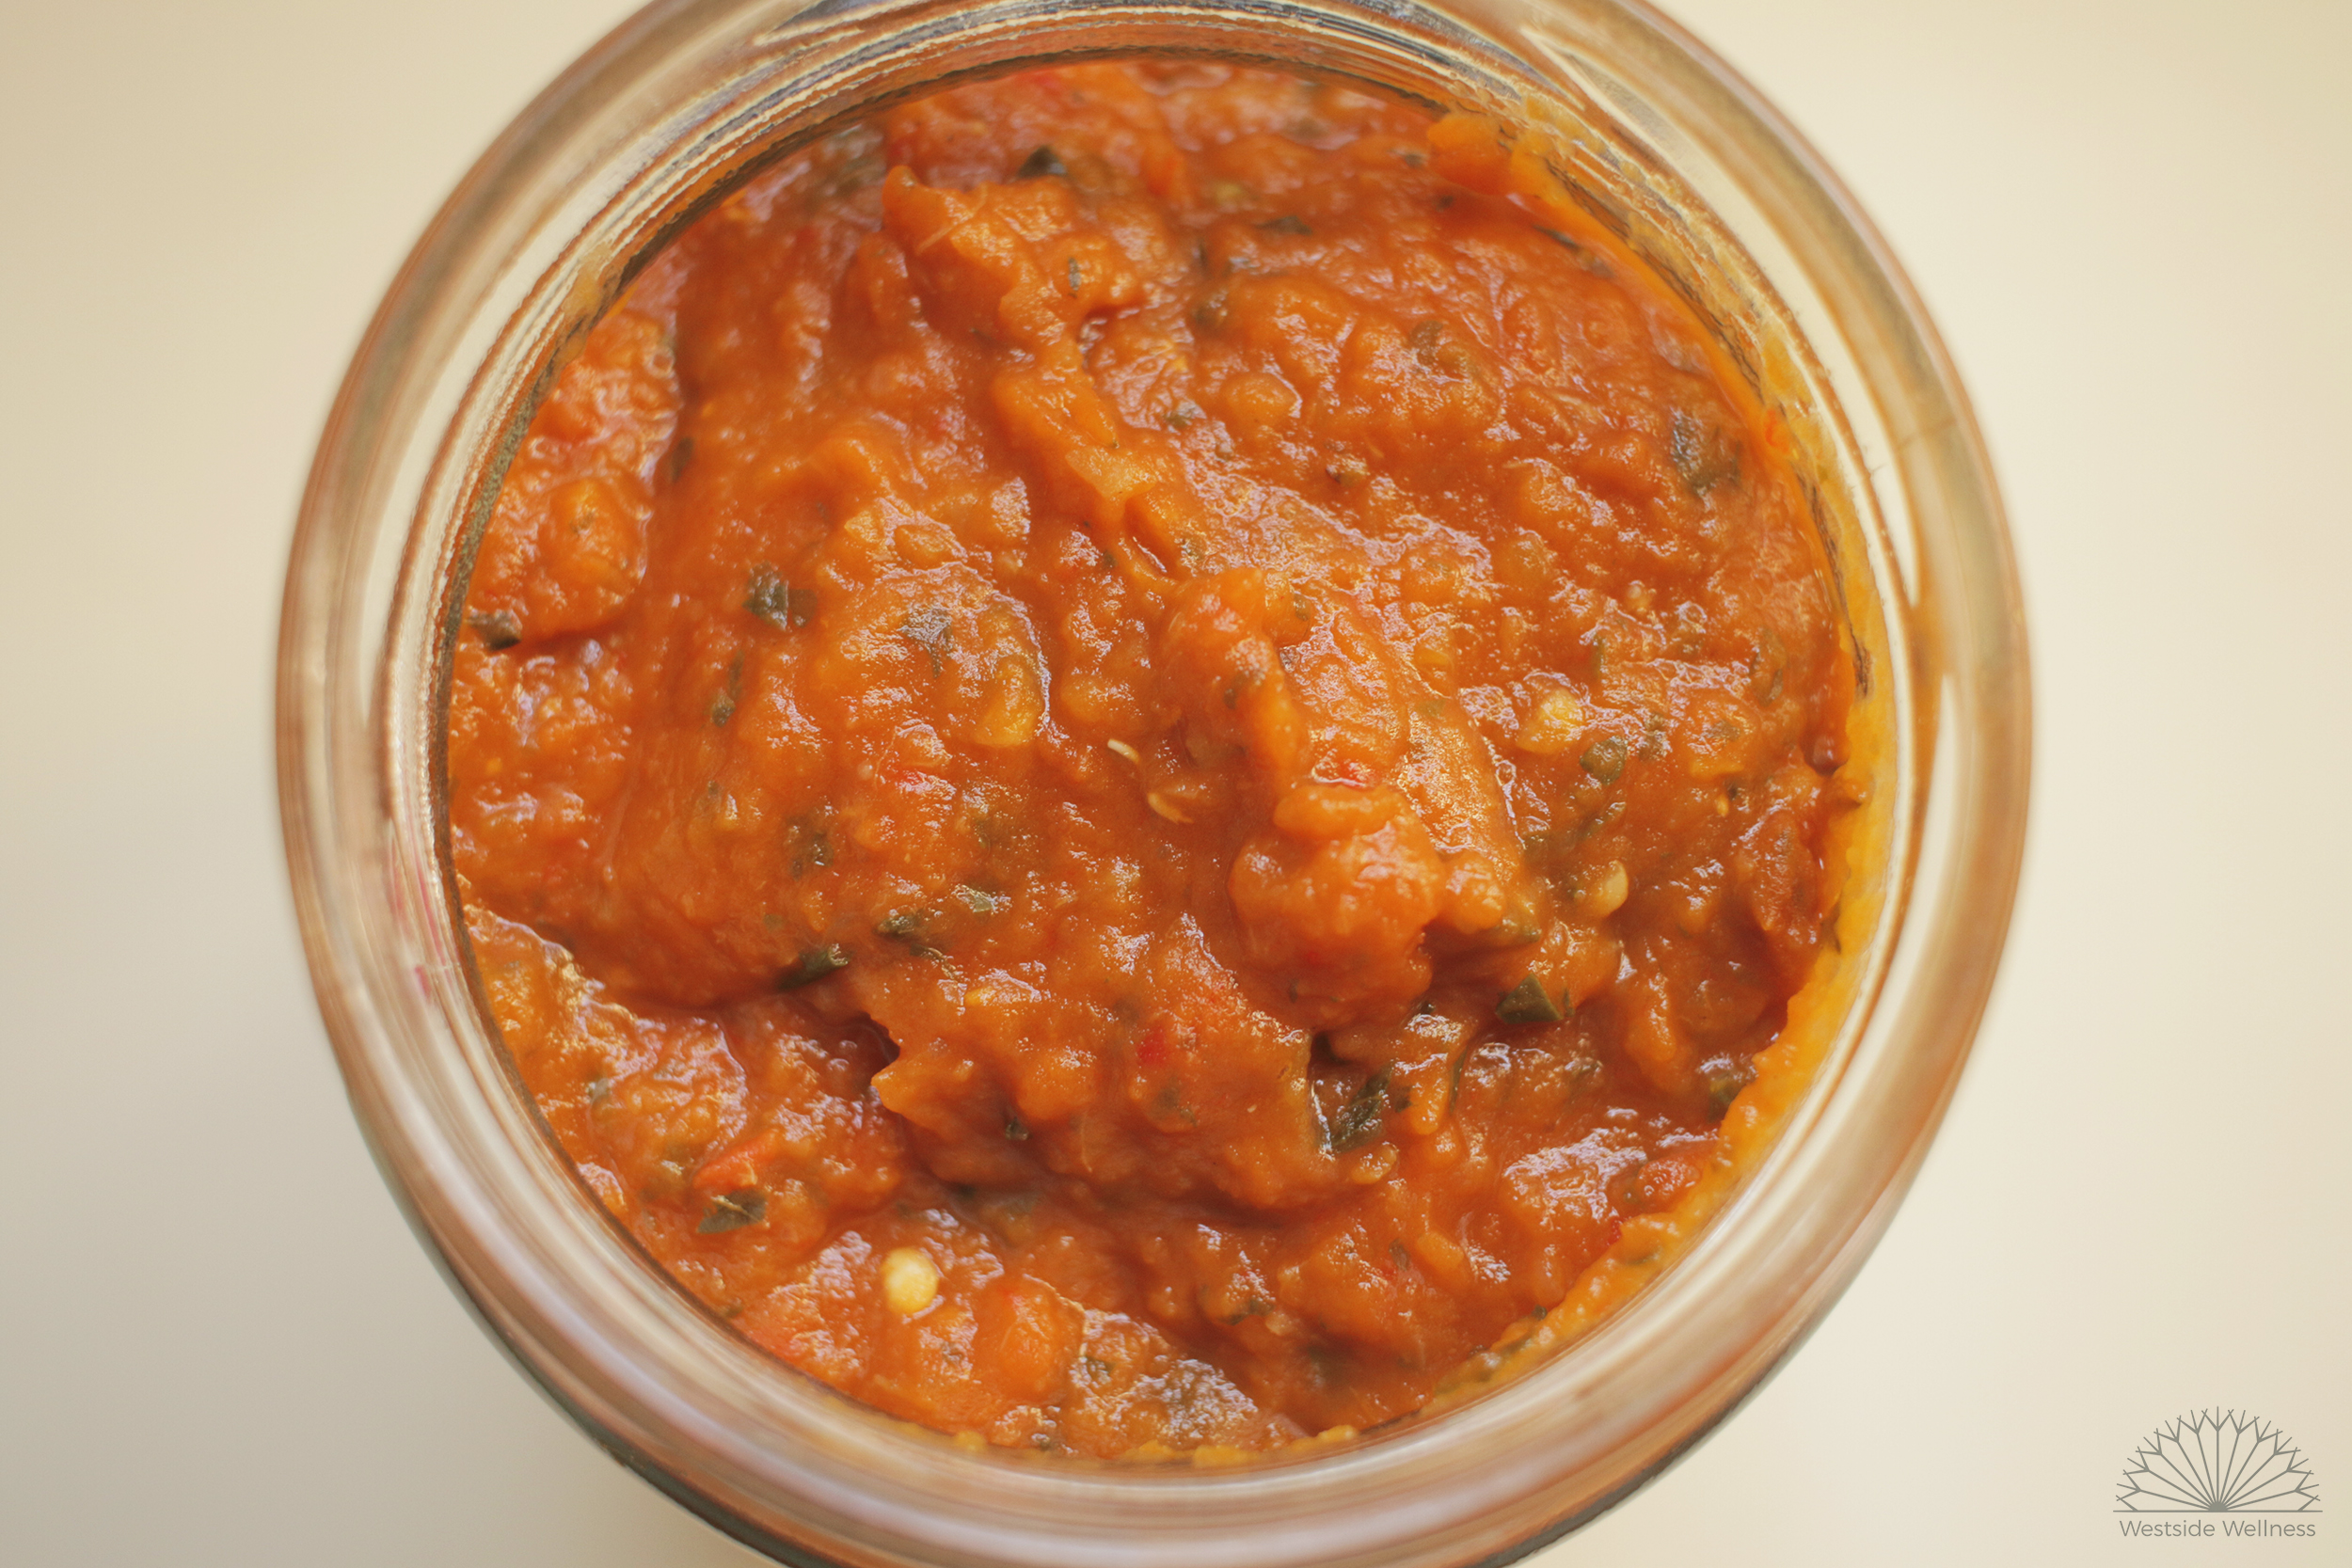
Meat-free Monday Bolognese Sauce

jar of veggie bolognese web.jpg

My family and I love pasta and eat some form of bolognese pretty much every week. I love making it because its a great way to clear out the fridge of any scrappy or limp looking veggies, and I can cram a ton of vegetables in there that my kids wouldn't normally eat.

This is one of my favourite versions for two reasons:

1. It has split red lentils in it, and I absolutely LOVE these bad boys. Split red lentils are an excellent source of fibre, protein and magnesium as well as other vitamins and minerals. They also break down really well so can be easily hidden in meals for fussy eaters (i.e my 5 year old!)

2. It has eggplant in it. I don't know about anyone else, but I always buy eggplant and never get to use it because my kids won't eat where it has obviously been added. In this dish, it is completely broken down and hidden, but adds fantastic flavour. Eggplant are also a great source of fibre, copper and B1, as well as a good source of manganese, B6, B3, potassium and vitamin K.

This makes enough for 6-8 serves, when I make it I immediately freeze half for a quick meal later down the track. If you don't want to freeze it, just half the recipe.

I hope you enjoy this meat-free Monday meal!

Prep time: 10 minutes

Cooking time: 35 minutes

Serves 6-8

Freezes well

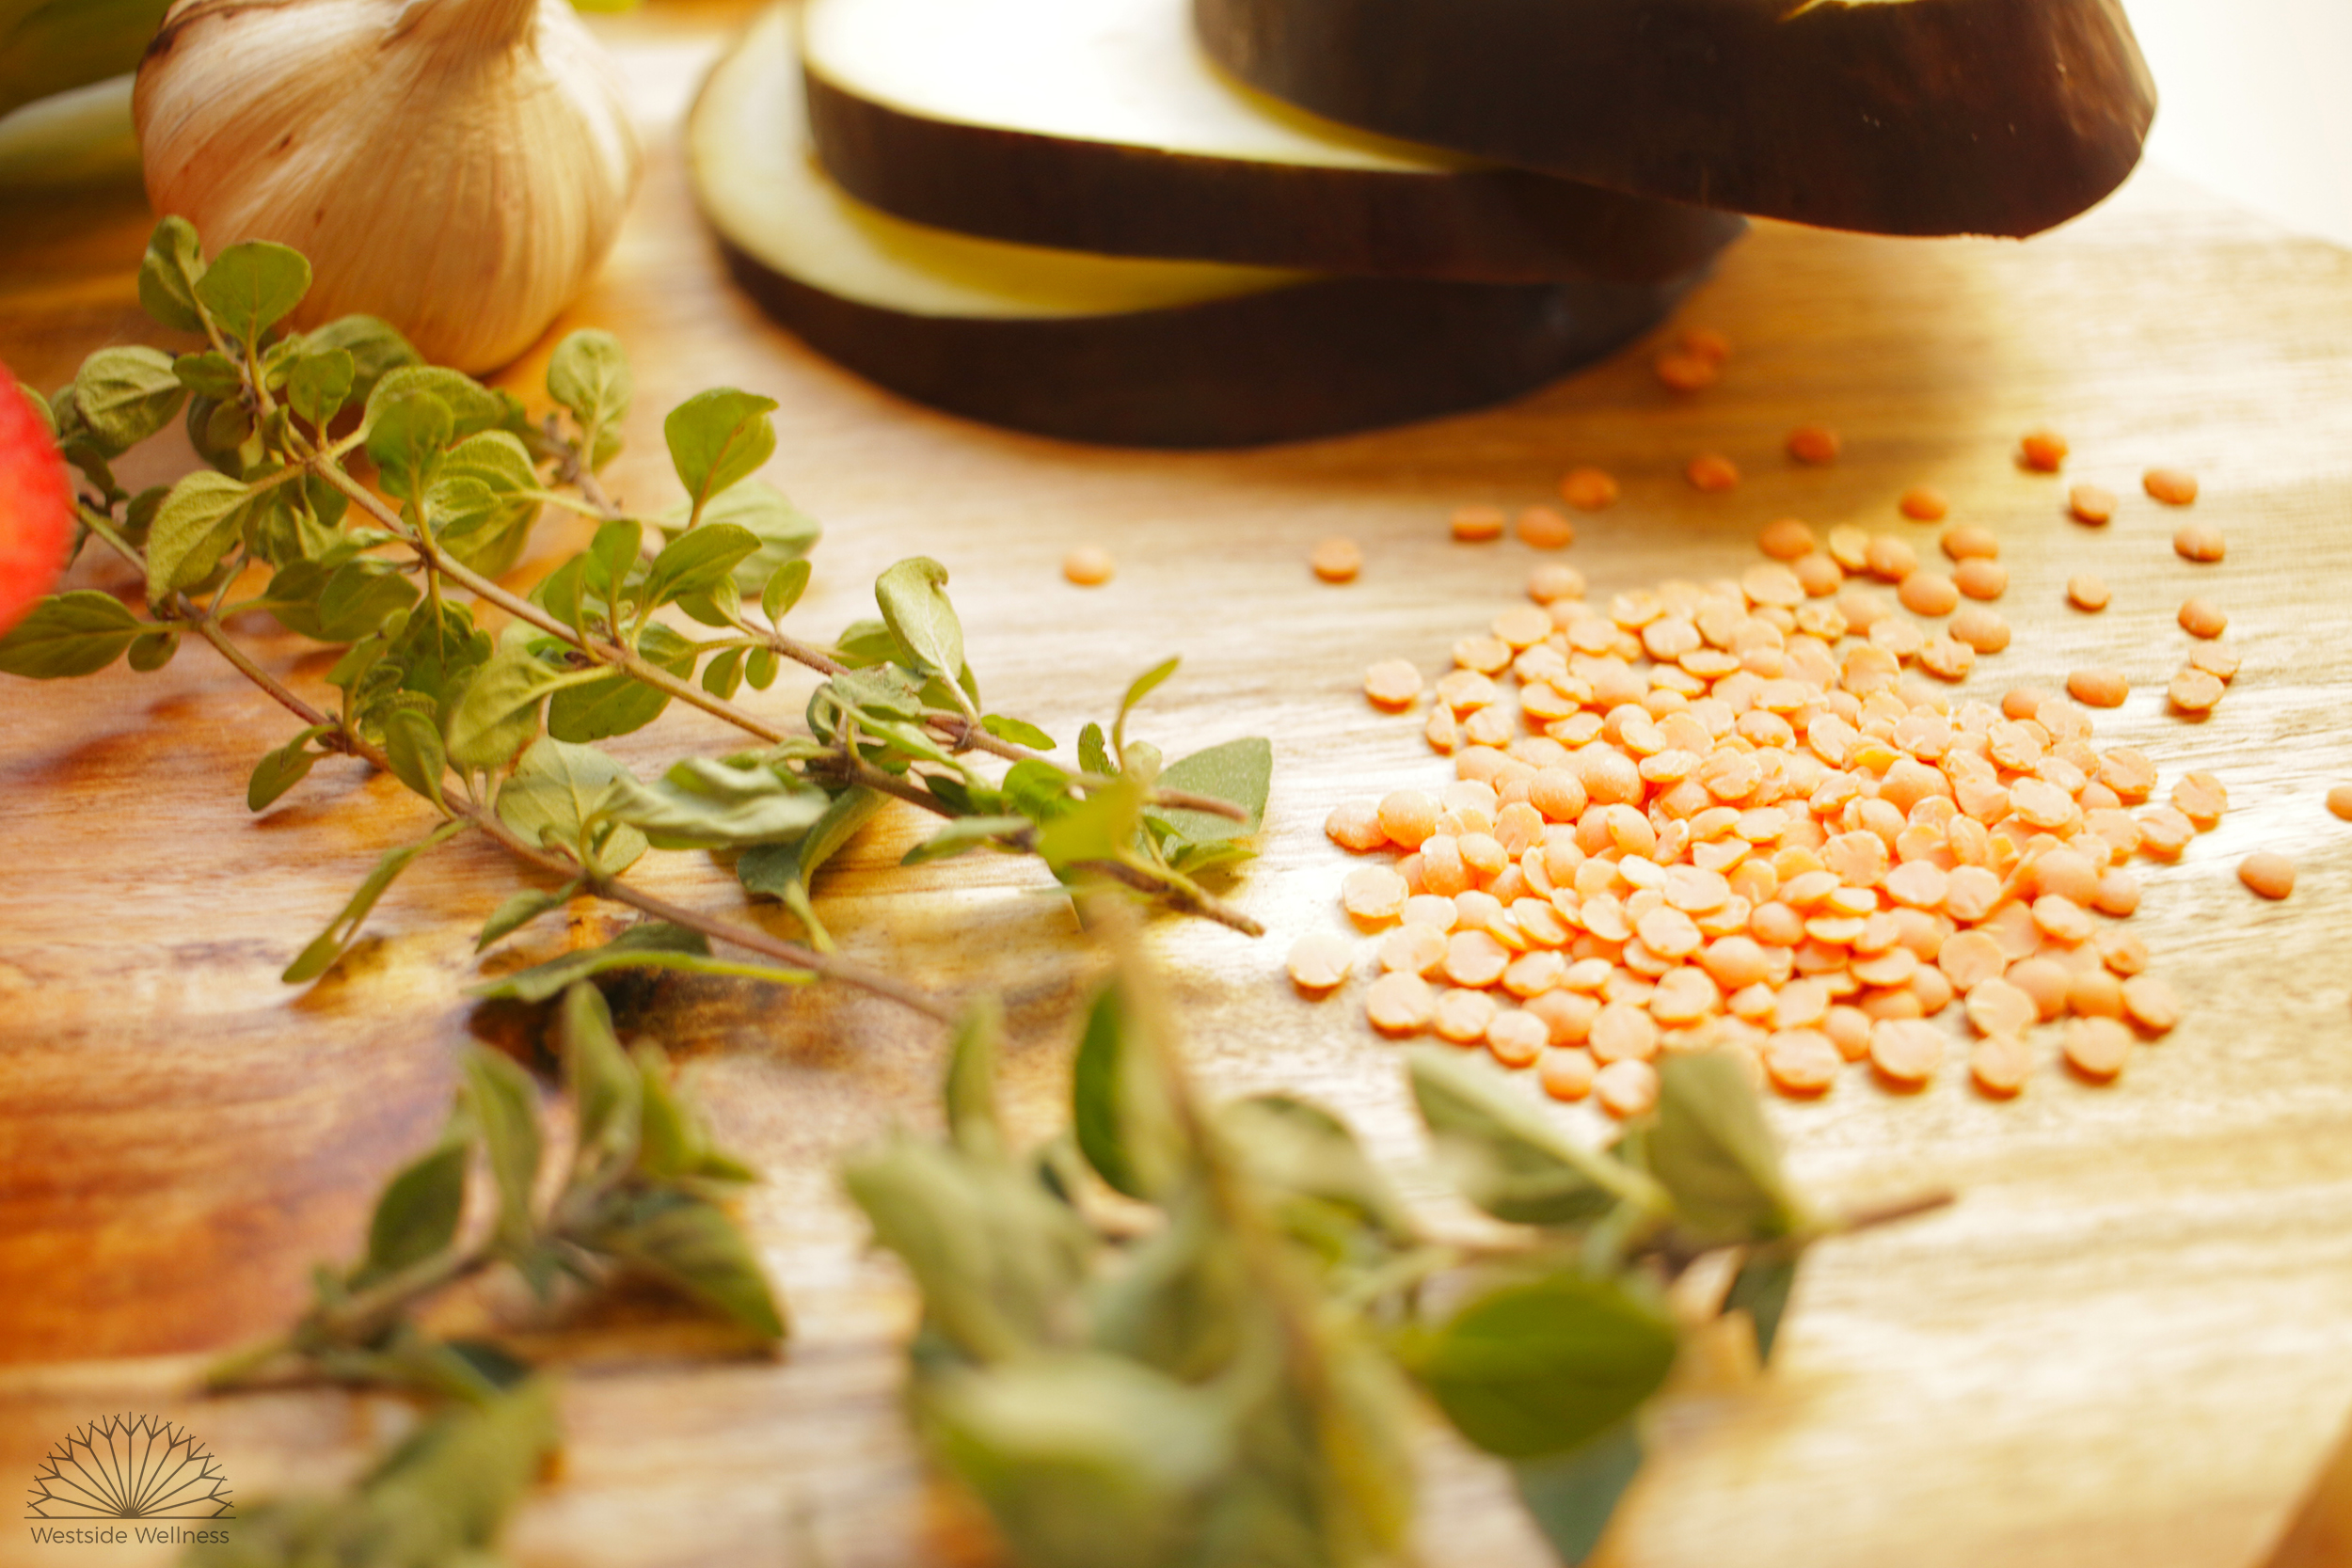
other veggie bolognese ingredients web.jpg

INGREDIENTS

  • 1 small eggplant, skin removed and cut into 1 cm cubes

  • 1 celery stalk, finely chopped

  • 1 onion, finely chopped

  • 3-4 cloves garlic, finely chopped

  • 1/2 carrot, grated

  • 1/2 medium red capsicum, finely chopped

  • 1 largish handful fresh oregano, marjoram and parsley (use 1 tsp of each dried)

  • 3/4 cup split red lentils, well rinsed

  • 500 g crushed tomatoes, salt reduced

  • 2 tbs tomato paste

  • 1 tbs apple cider vinegar

  • pepper to taste

  • 1/4- 1/2 tsp salt 

  • 2 large handfuls leafy greens, finely chopped

  • 1 tbs olive oil

METHOD

  1. Heat the olive oil in a large pot. Add the onions, garlic and celery and sauté for 5 minutes, stirring occasionally. 

  2. Add the remaining ingredients and stir to combine. Fill the empty tin or jar of crushed tomatoes 3/4 full of water, shake it to loosen all the tomato-ey goodness inside and tip that in as well.

  3. Bring to the boil, then drop to a medium heat and cook for 30 minutes. Stirring occasionally.

  4. Add the chopped leafy greens and cook for another 5 minutes.

  5. To make this a completely hidden veggies meal, take to the pot with a stick mixer or potato masher and process until the texture is to your liking.

  6. Serve with pasta, rice, buckwheat, quinoa or zoodles. This is also a great base for lasagne, Sheppard's pie or can be used as a base for our 'Veggie Loaded Mexi Beans'

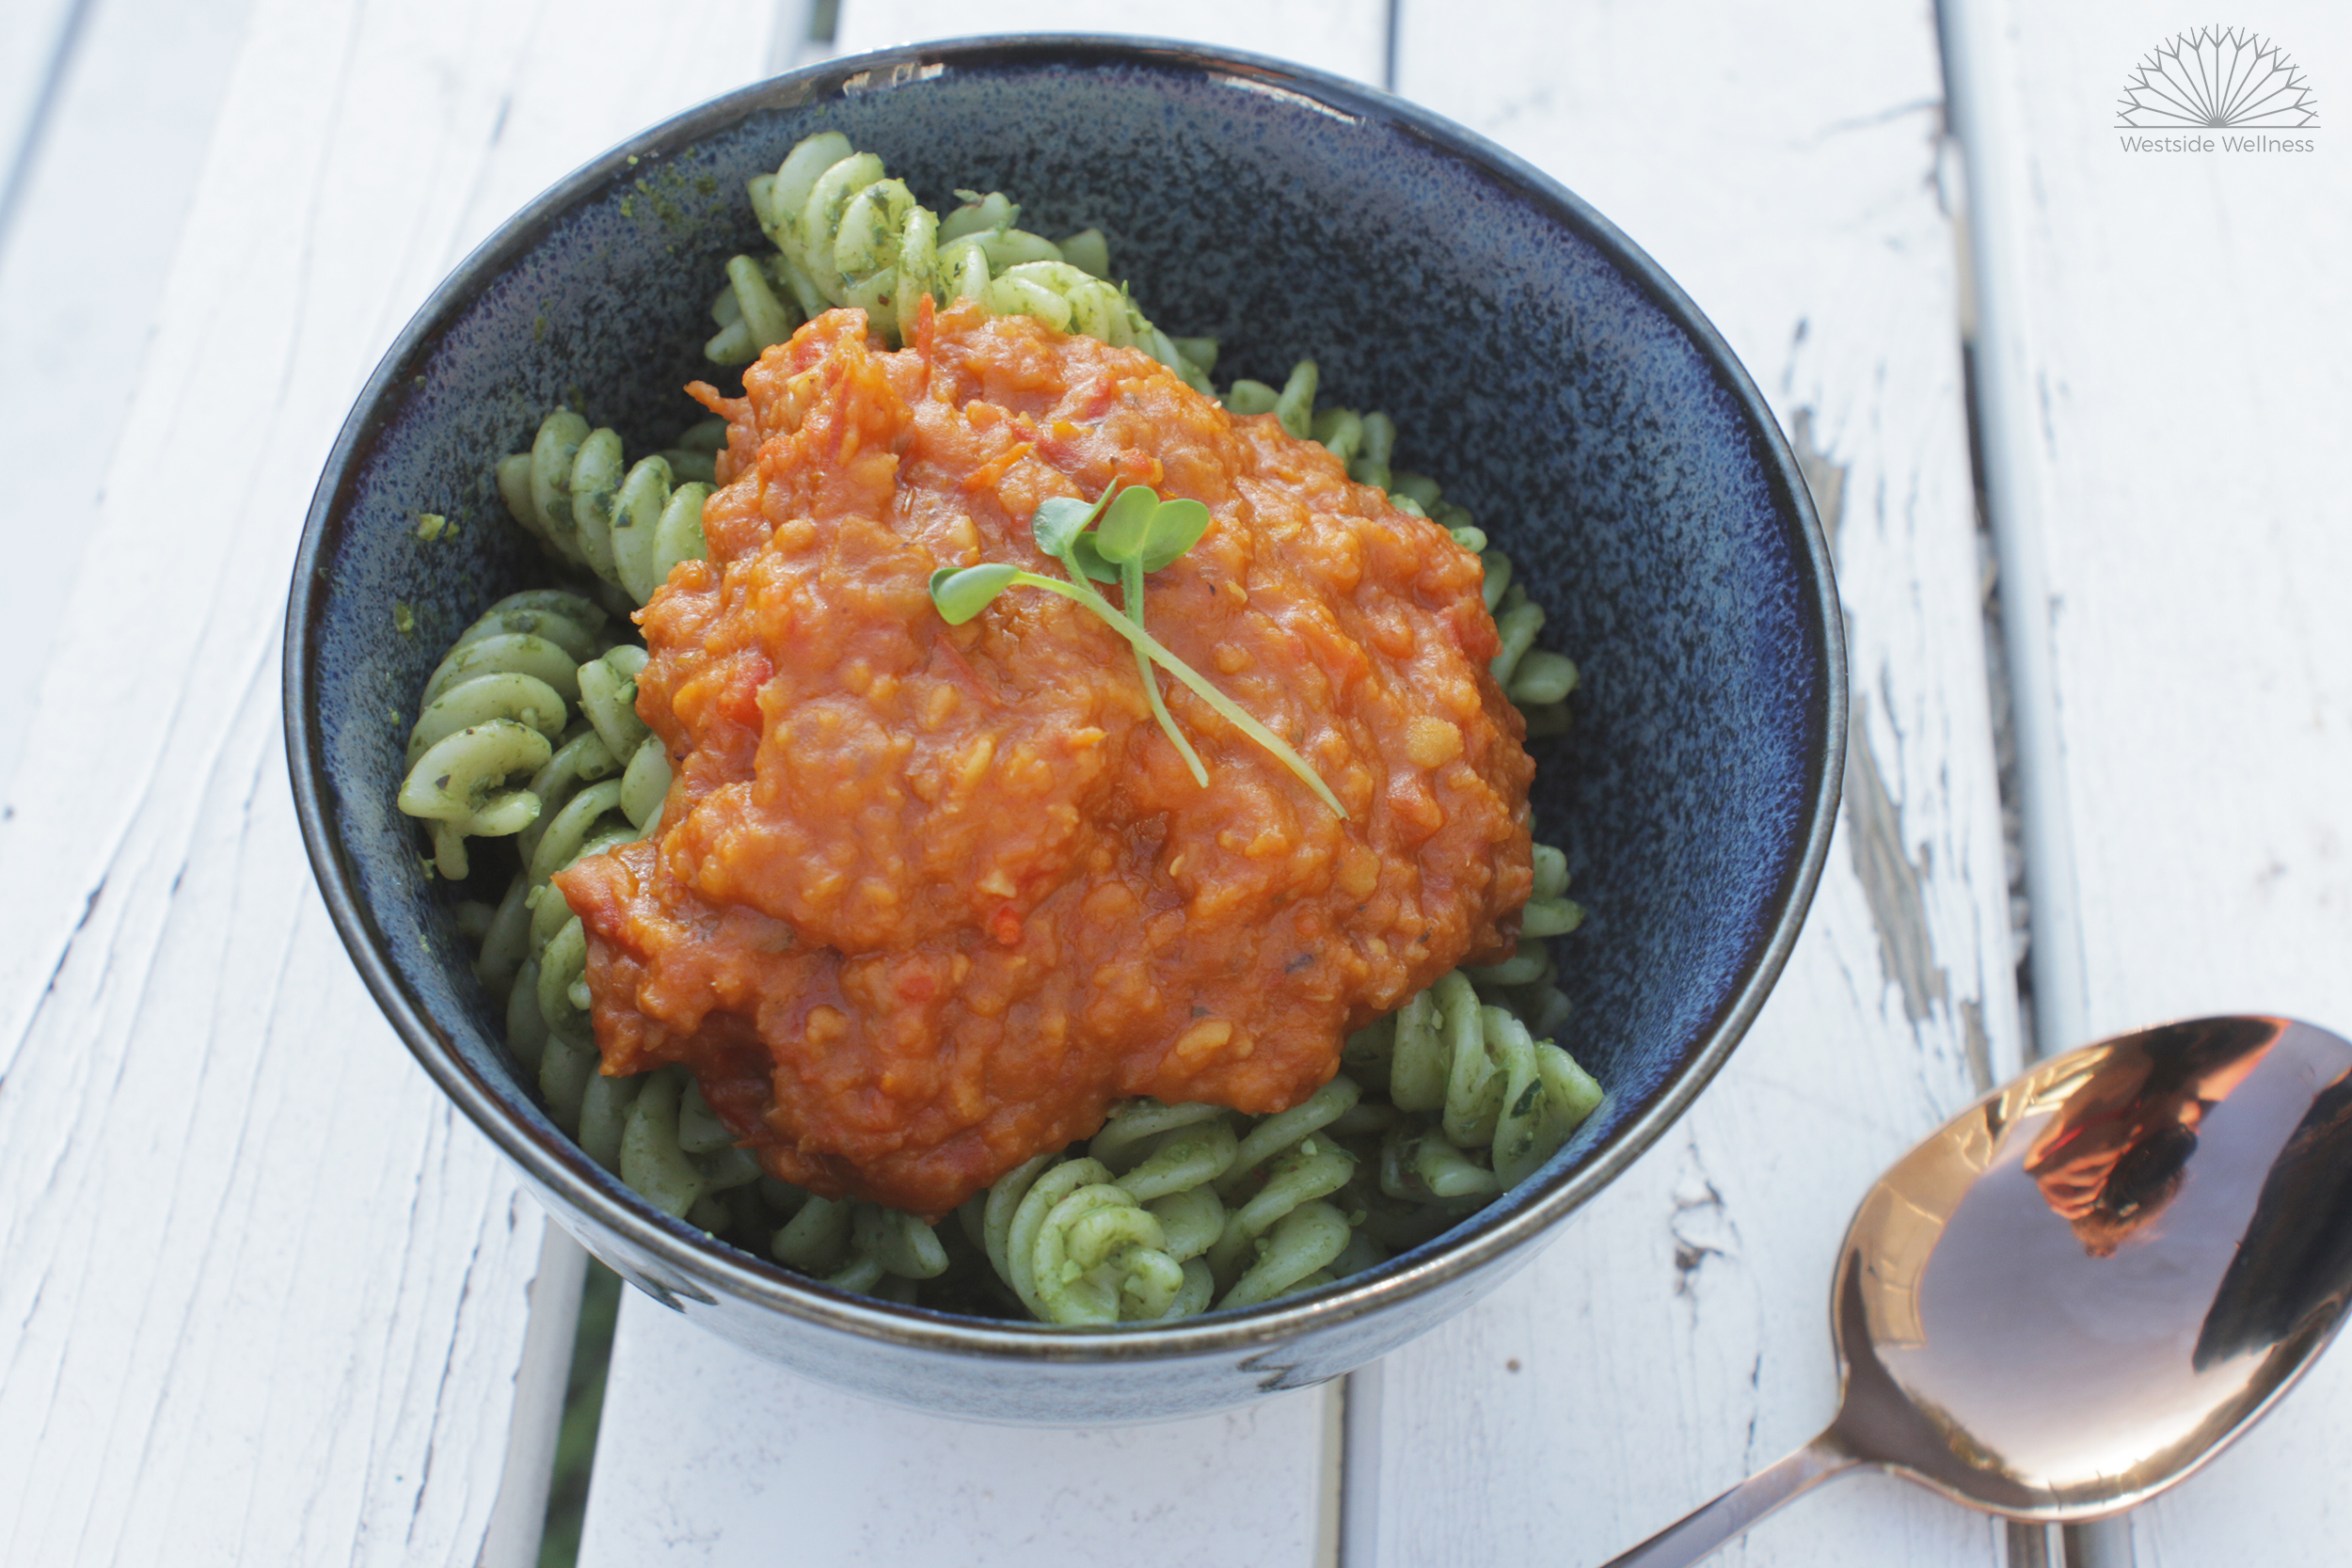
veggie bolognese web.jpg

Buckwheat Pancakes

buckwheat-pancakes

When you are dairy-free, egg-free and gluten-free breakfast can feel like a real struggle. Some people turn to meat and veg for breakfast but when you are after something more traditional buckwheat pancakes can be just the ticket!

Buckwheat & Elimination Diets

Many women while breast-feeding undergo strict elimination diets if they suspect their breastfed child has a food allergy or intolerance. When undertaking an elimination optimal nutrition is really important - that's where pseudo grains like buckwheat can come in.

Buckwheat is nutritious because it contains:

  • Magnesium - a important mineral to support brain health, mood and energy. 
  • Manganese - an essential micro mineral needed for growth & immune system health
  • B vitamins - needed for energy, growth and healthy mood.
  • Vegan protein - protein is essential for brain, muscle and 
  • Fibre - regulates blood sugar & fats and assist with moving stool along the digestive tract.
  • Other minerals - such as zinc and iron which are critical to digestive health, cell repair and energy. 

I hope you enjoy this recipe and it becomes a family favourite like it is in our house. 

- Lucy x

Pancake Ingredients

  • 1 x cup of buckwheat flour (untoasted)
  • 1 x serve of chia eggs (see below)
  • 1 + 1/4 cups of plant-based milk (I used cashew milk, but you can also use coconut milk, almond or rice milk)
  • Pinch of salt flakes
  • 1 x tsp of olive oil
  • 1 x tsp of ground cinnamon
  • 1 x tsp of sweetener (such as maple syrup or rice malt syrup)
  • 1 x tsp vanilla essence (optional)
  • Coconut oil for frying (or any other safe oil you wish to use)
  • Chopped fruit or extra sweetener for serving.

Chia Egg Ingredients

  • 2 x tbs chia seeds
  • Filtered water
Chia-seeds.jpg

Method

  1. Grind the chia seeds in a coffee grinder or in a heavy duty motor and pestle. When using the motor and pestle, all up this process takes about 5 minutes (just grind until your hand feels tired, step away and then come back to grinding).
  2. Once ground add 1 x tablespoon of the ground chia to 1/4 of cup of water and allow to for 10 minutes so the chia can become like a gel.*
  3. Once the chia eggs have gelled add buckwheat flour, chia eggs, milk, olive oil, cinnamon, sweetener and vanilla essence (if using) to a food processor and blend on high for 3 minutes.
  4. Add coconut oil to a heavy based saucepan and place on stovetop on high heat.
  5. Once the oil starts to shimmer reduce the heat to lowest setting add about 1 generous tablespoon of the pancake batter to the pan. Heat until bubbles begin to show on the surface of the pancake. Flip the pancake and cook on the other side until golden.
  6. Place cooked pancakes to cool on kitchen towel to soak up any extra oil.
  7. Repeat process with oil and pancake batter until you have finished the batter.
  8. Slice up some fruit and serve with pancakes with some extra sweetener.

Makes 12 pancakes

*Tip: any leftover ground chia meal can be stored in an airtight container in the fridge for 1 month.

'Chilli' Spice Mix

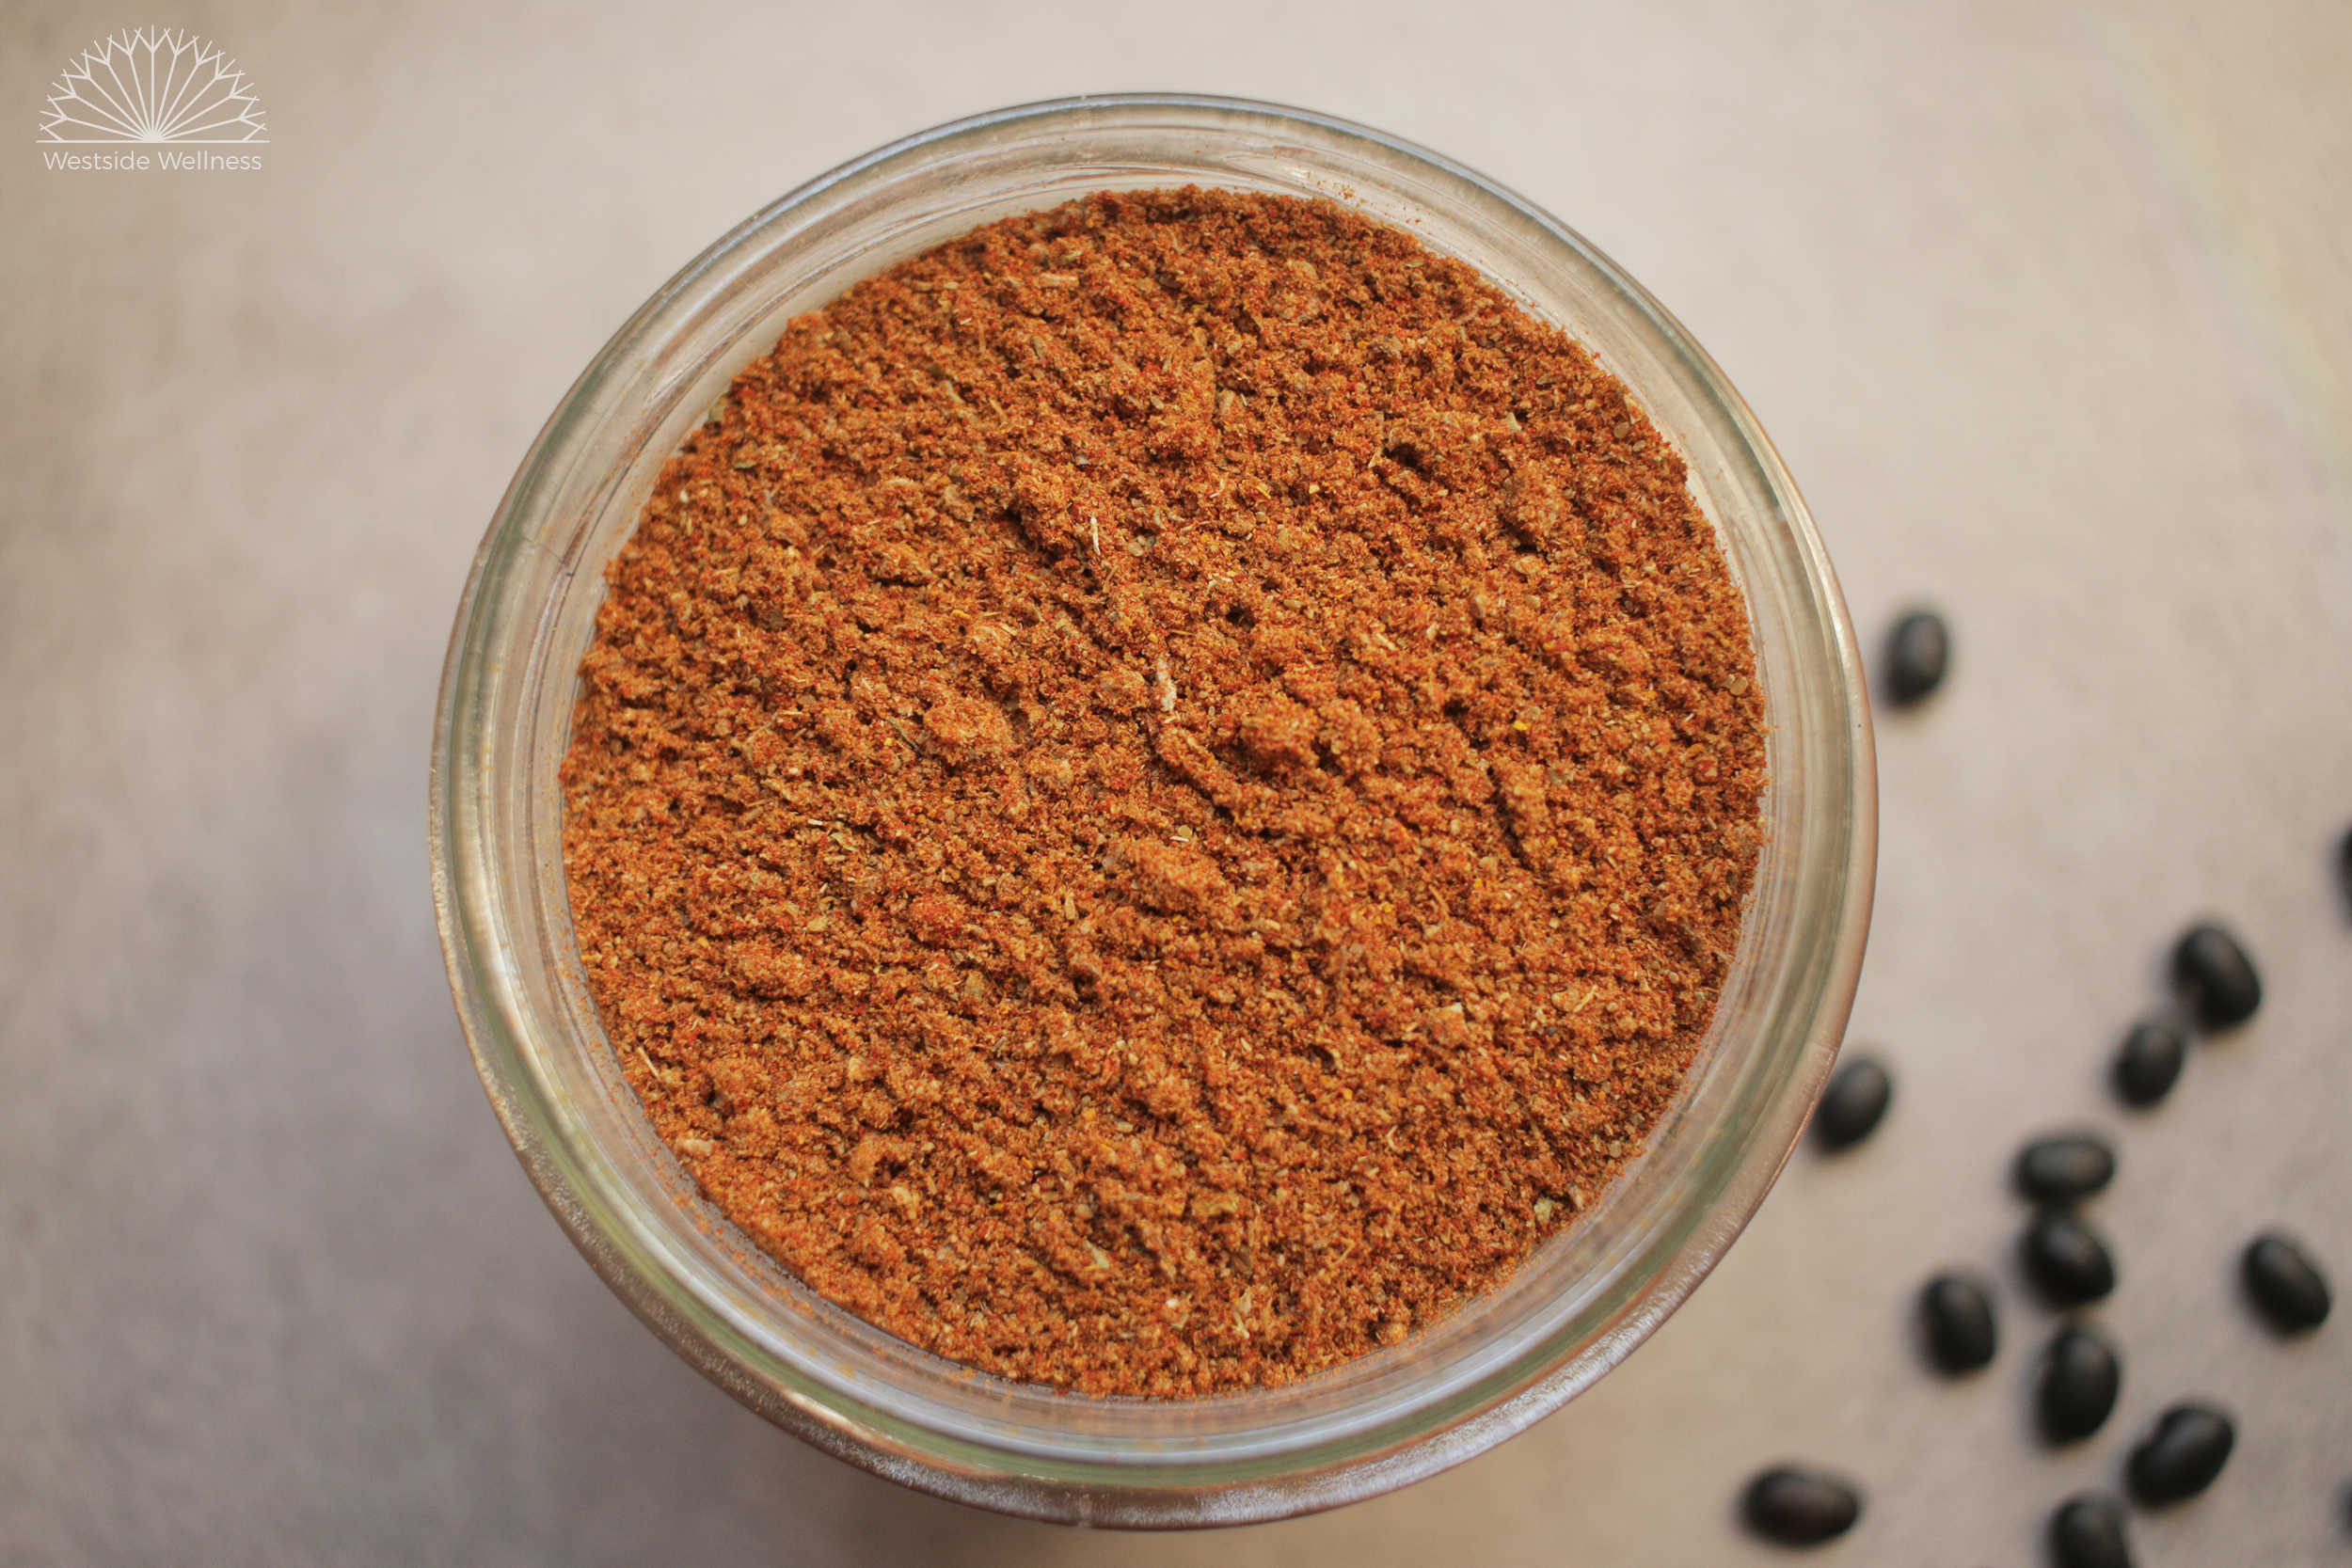
mexi spice mix web.jpg

This easy to make spice mix can replace all those yucky mixes that you can buy from the supermarket or in taco/burrito kits that often contain fillers, anti-caking agents and poor quality spices . You can use it in our chilli bean recipe here, or add to any of your own creations. 

We kept this 'chilli' spice mix recipe chilli free so that it is family friendly (and good for those who don't like too much heat!) but you can add cayenne pepper or chilli flakes if you desire. Enjoy!

INGREDIENTS

  • 1 1/2 tbs ground cumin

  • 2 1/2 tbs ground coriander

  • 1 tbs dried oregano

  • 1/2 tbs dried marjoram

  • 1- 1 1/2 tbs smoked paprika (depending on how smoky you like it)

  • 1 tsp ground fennel

  • 1 tsp ground cinnamon

  • 1 tsp ground turmeric

METHOD

  1. Combine all of the spices in a small bowl.

  2. Store in an airtight jar, this will last up to 6 months.

taco no chilli web.jpg

Veggie Loaded Chilli Beans

beans and rice web.jpg

If there is one meal that I make that I can guarantee that my kids will eat, it is this one! My 2.5 year old particularly loves it and will usually eat 2-3 serves (yay!).

I do this hidden veggies style by processing the mix before adding the beans in my thermomix, but it is just as delicious with chunky style veggies. You can also sub the black beans for red kidney or white beans, they all work well and have similar nutritional profiles.

My veggie loaded chilli beans is a great one to double and freeze half for a rainy day. You can serve it brown rice or make into burritos/tacos with mountain bread, tortillas (we use these ones), or lettuce. Add chilli at the end if you're a fan too!

Renee

Serves 4
Prep time: 
15 minutes
Cooking time: 45 minutes
Total time: 1 hour

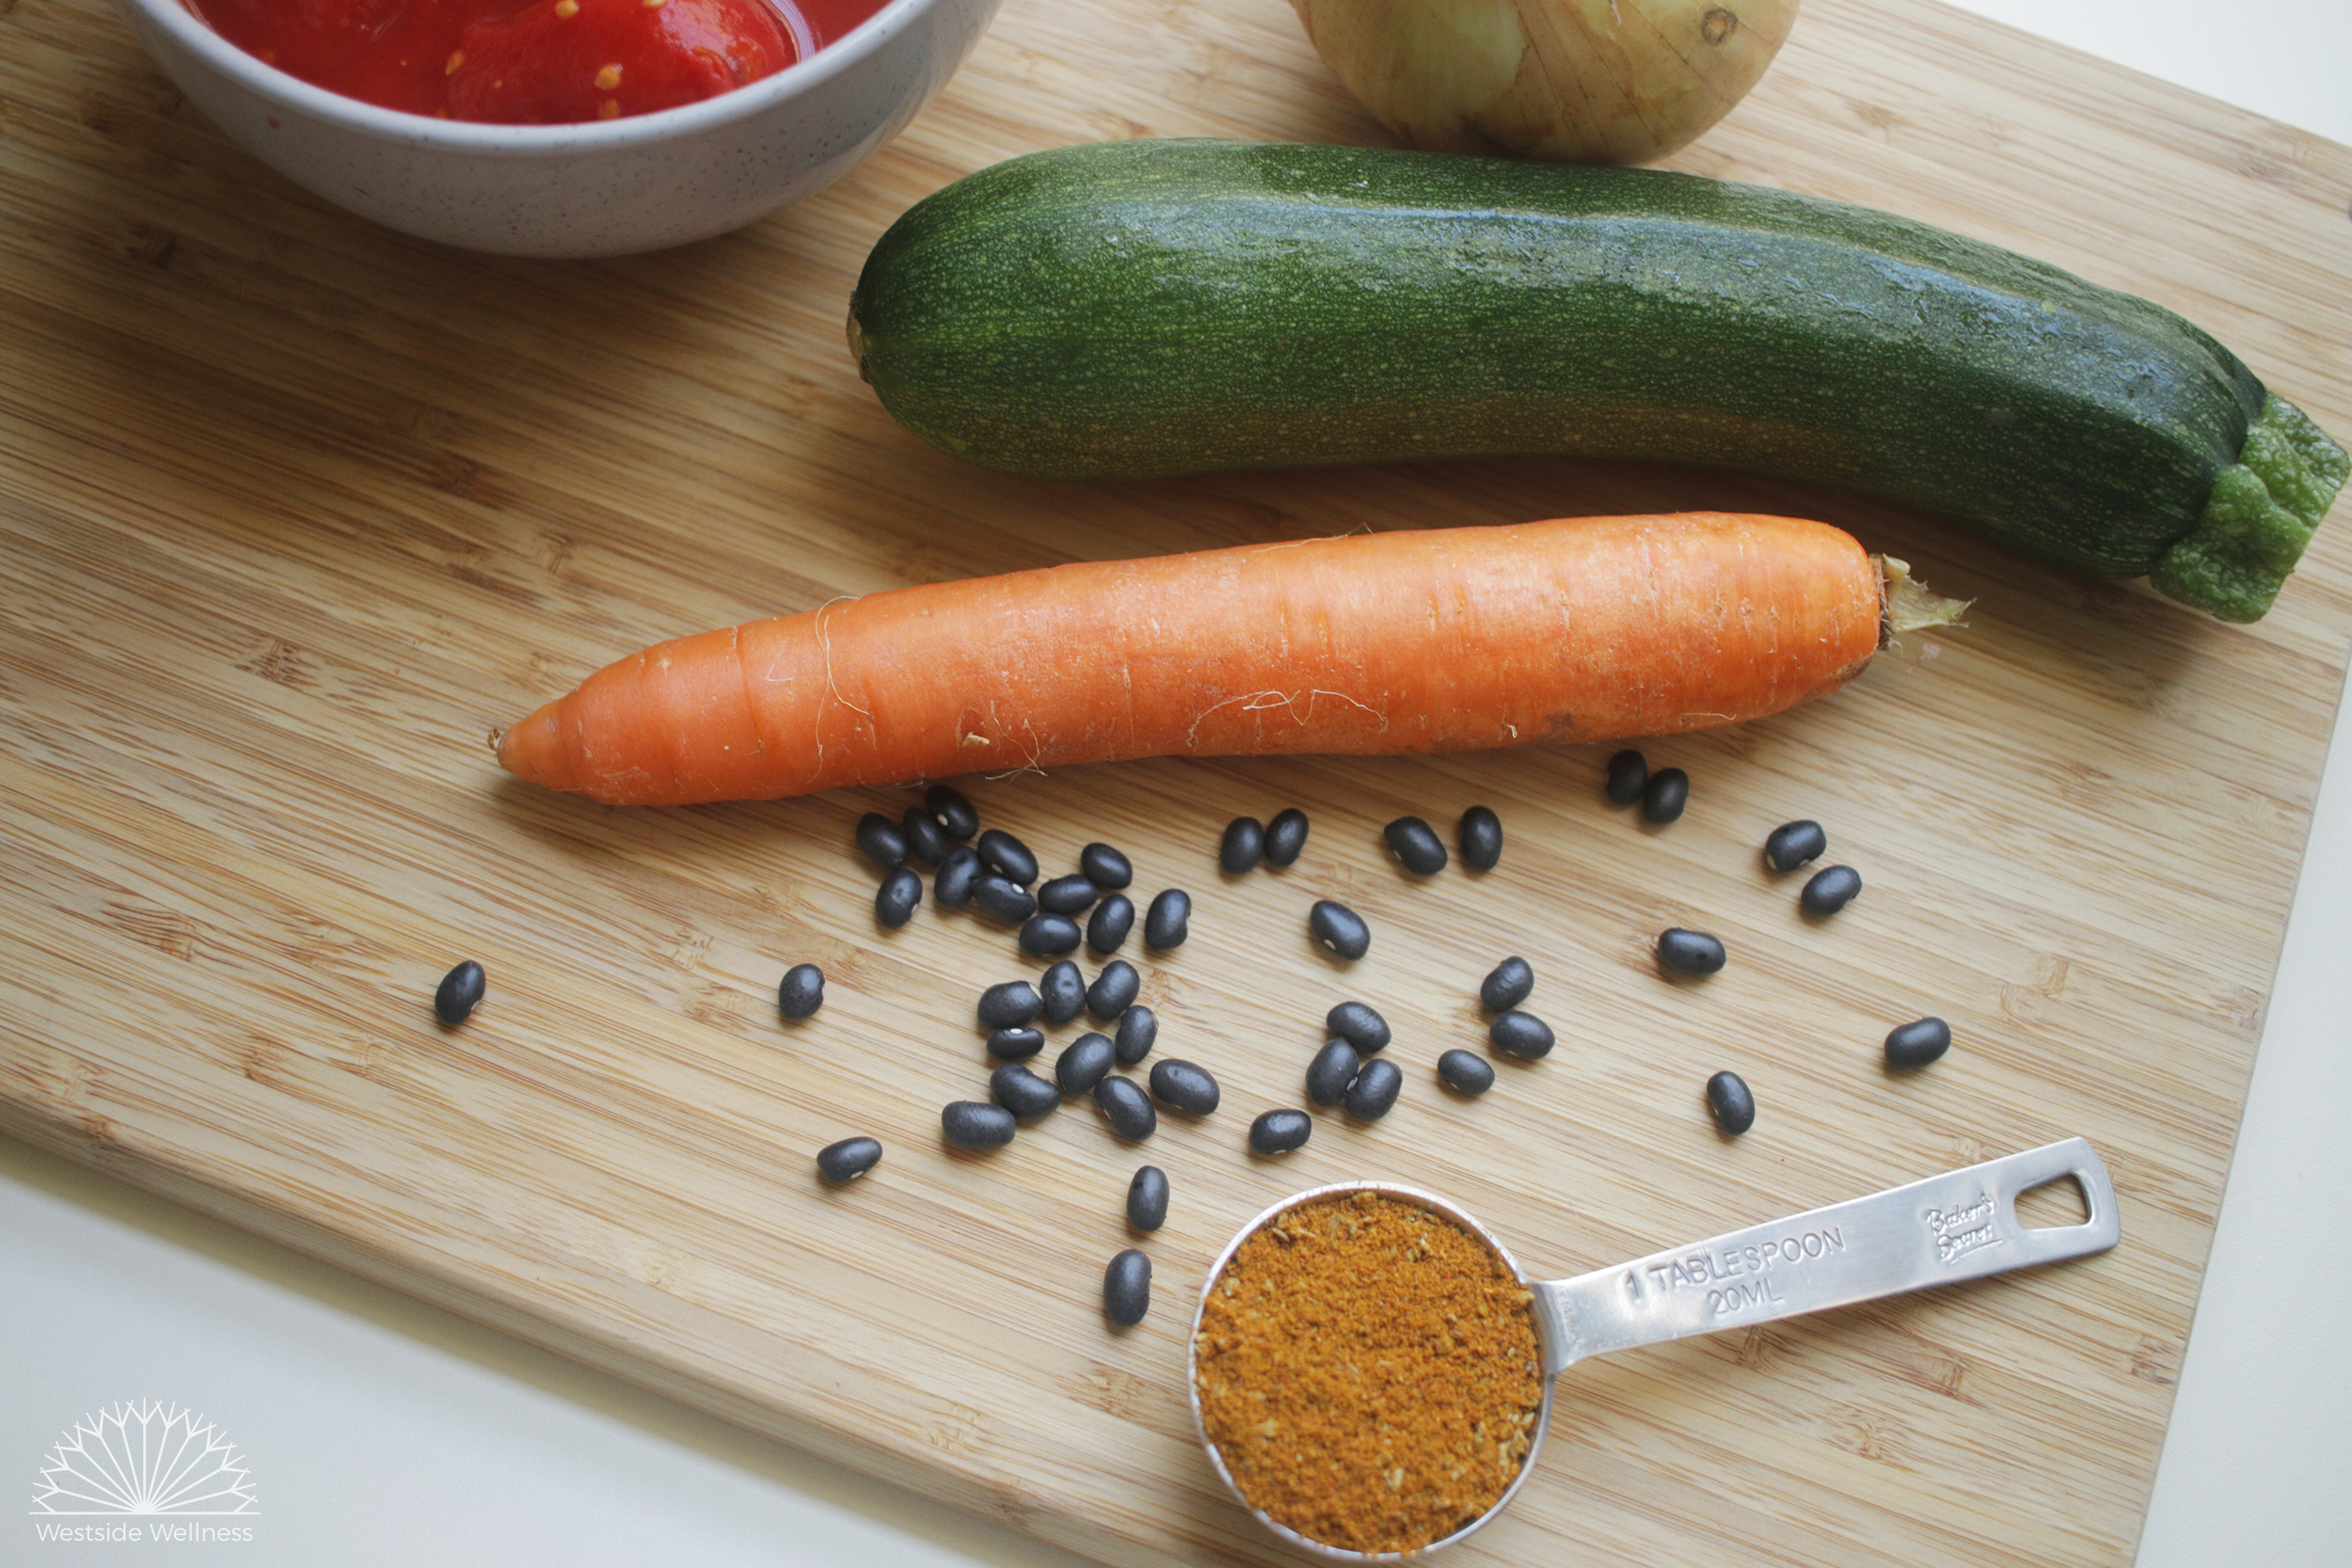
chilli beans ingredients web.jpg

INGREDIENTS

  • 1 onion, finely chopped

  • 3-4 cloves garlic, finely chopped

  • 1 tin crushed tomatoes (salt reduced is preferable)

  • 2 tbs tomato paste

  • 1 1/2 tbs apple cider vinegar (ACV)

  • 1/2-1 tsp salt + pepper to taste

  • 1 small red capsicum, chopped into 1 cm pieces

  • 1 medium carrot, grated

  • 1 medium zucchini, grated

  • 1 celery stick, finely chopped

  • 2 handfuls leafy greens, finely chopped

  • 2 tbs 'chilli-mix'

  • 2 tins black beans, drained and rinse well (alternatively 1 cup of dried beans, soaked and cooked). You can also use a combination of different beans, I love combining black beans with 3 bean mix

  • 2 tbs olive oil

METHOD

  1. Heat the olive oil in a large pot or wok (using a wok works a treat!) over a medium heat, add the onions and sauté for 5 minutes until translucent.

  2. Add the garlic and all the veggies, except the leafy greens and cook for another 5 minutes.

  3. Pour in the crushed tomatoes, then half fill the tin with water and shake well (to remove all the tomatoey goodness) and pour in as well. Add the tomato paste, ACV, spices and 'chilli mix', combine well and cook over a medium heat for 40 minutes.

  4. Chuck in the leafy greens and process with a stick mixer/thermomix/food processor if you want to hide those veggies (I do!) and then add the beans and cook for another 5 minutes. Taste and adjust seasonings if needed.

  5. Serve with cooked rice, quinoa or buckwheat, homemade tortillas or mountain bread and some chopped up lettuce. Other tasty additions include guacamole, coleslaw and slices of lime.


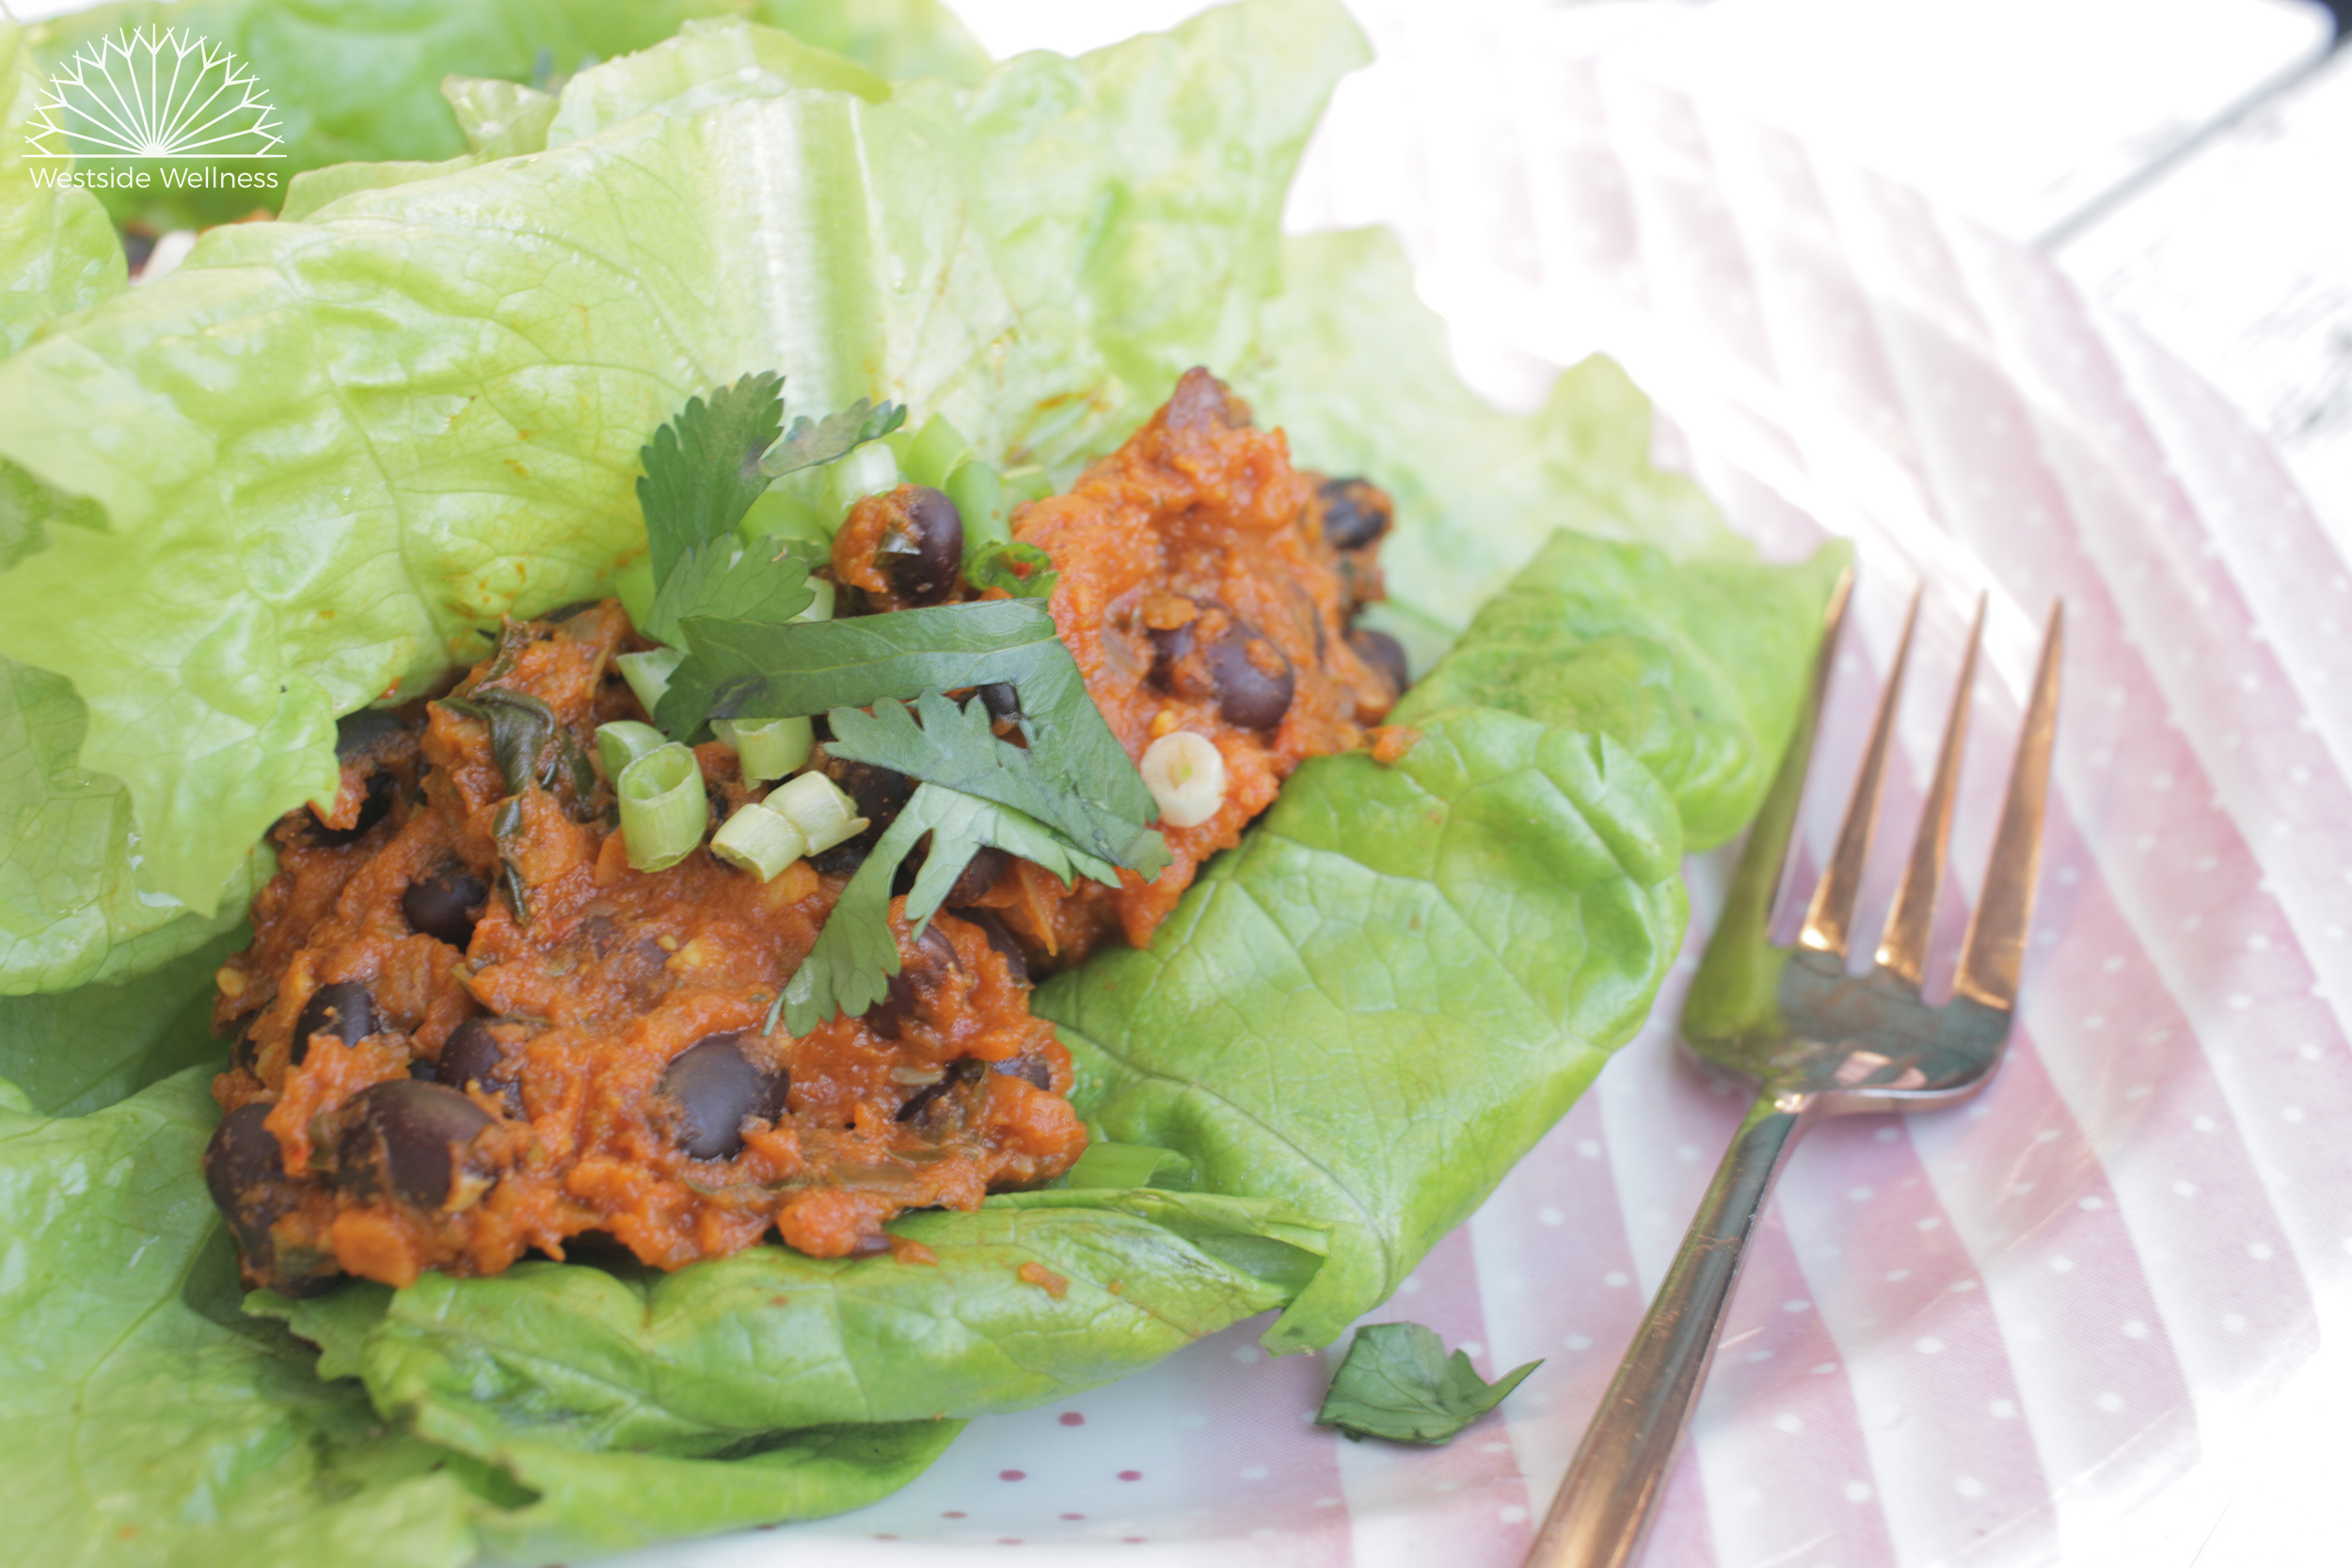
chilli bean taco.jpg
lettuce burrito web.jpg

Apple & Strawberry Gluten Free Muffins

strawberry muffin web.jpg

I've been working on a gluten free muffin recipe that was also egg/soy/dairy free (so it excluded the most common food intolerances that I encounter) AND wasn't too dense AND delicious. I knew I was onto something when my kids literally gobbled up the first batch that I made using the following recipe!

As with all of our recipes, you can swap things like the gluten free flours for regular wheat/spelt/khorasan flour, the milk for any milk your prefer, the coconut sugar for regular cane sugar and the apple puree for banana (or even pumpkin puree).

These gluten free muffins are perfect for lunch boxes or day trips, they keep well for up to 5 days (although best stored in the fridge) and freeze well. Enjoy! -Renee x

INGREDIENTS

  • 1 1/2 cups brown rice flour

  • 1/4 cup besan (chickpea) flour

  • 1/4 cup arrowroot/tapioca flour

  • 1 tsp baking soda

  • 1 1/2 tsp baking powder

  • 1 tsp ground cinnamon

  • 1/4 tsp salt

  • 1/2 cup coconut sugar (you can also use regular cane sugar)

  • 1/3 cup coconut oil

  • 2 flax eggs (2 tbs ground flaxseed combined with 4 tbs water, mixed well and set aside)

  • 1 cup apple puree

  • 1 tbs apple cider vinegar

  • 1 tsp vanilla essence

  • 1/2 cup milk (nut, soy, rice etc)

  • 1 cup fresh or frozen strawberries, chopped (you can use any berry)

apple puree web.jpg

METHOD

  1. Preheat oven to 180 degrees celsius. Grease two muffin trays and place both on a large baking tray and set aside.

  2. Combine the apple puree, sugar, vanilla essence and coconut oil until well mixed.

  3. Add the flours, salt, baking powder and soda, salt, flaxeggs, cinnamon and milk and process until smooth. 

  4. Gently stir in the chopped berries, then pour the mixture into the muffin trays (should make 10-12 muffins.

  5. Place tray in oven and bake for 25 minutes or until a skewer comes out clean. Allow to cool completely before removing from trays. Best stored in the fridge if not eaten within 2 days and they freeze well.


uncooked muffins web.jpg
fresh muffins in tray web.jpg
strawberries web.jpg

Hidden Veggies Baked Beans

When I was a poor vegan student, baked beans were an absolute staple for me (realistically, they were always a staple, I love baked bean jaffles as a kid!), and luckily for me they are a great source of protein because at the time I was uneducated about nutrition and ate very little protein.

Fast forward a few years and I realised how much sugar and thickeners were in baked beans and instead of giving them up I decided to work on my own recipe that tasted just as good as store bought baked beans. Over the years I've tweaked this recipe to get to the one that follows, which I can safely say is one of my favourite recipes and is loved by my whole family. And I love how much they love it because I know they're eating veggies they normally wouldn't eat and are getting a great hit of protein, magnesium, iron, zinc and complex carbohydrates.

I generally double this recipe and keep half for breakfasts for the week and the other half for more hectic weeks when I don't have time to cook.

I hope you enjoy my hidden veggies baked beans. x Renee

beans ingredients web.jpg

INGREDIENTS

  • 1 small onion, finely diced
  • 3 cloves garlic, finely diced
  • 2 tbs reduced salt tomato paste
  • 1 tin diced tomato, no added salt
  • 2 tins navy beans, drained and rinsed well
  • ½ tsp dried thyme or marjoram 
  • ½ tsp dried oregano
  • 1 tbs ACV (apple cider vinegar)
  • pepper to taste
  • ½ zucchini grated
  • 2 handfuls baby spinach or other leafy green, roughly chopped
  • 1/2 tsp salt 
  • 1 tbs olive oil

METHOD

  1. Heat the olive oil over a low flame, add onion and cook until translucent, around 5 minutes. Add the garlic, tomato paste, tinned tomato, thyme/marjoram, oregano, ACV, pepper and zucchini, combine well and cook over a medium heat for 15 minutes.
  2. Add the leafy greens, then allow to cool for a minute. Puree the mixture using a stick mixer, or by adding to a food processor. Place back in the pan, add the navy beans and cook for a couple of minutes.
  3. Will be good for in the coldest part of your fridge for up to 5 days, or can be frozen for up to 3 months.
baked beans and toast.jpg
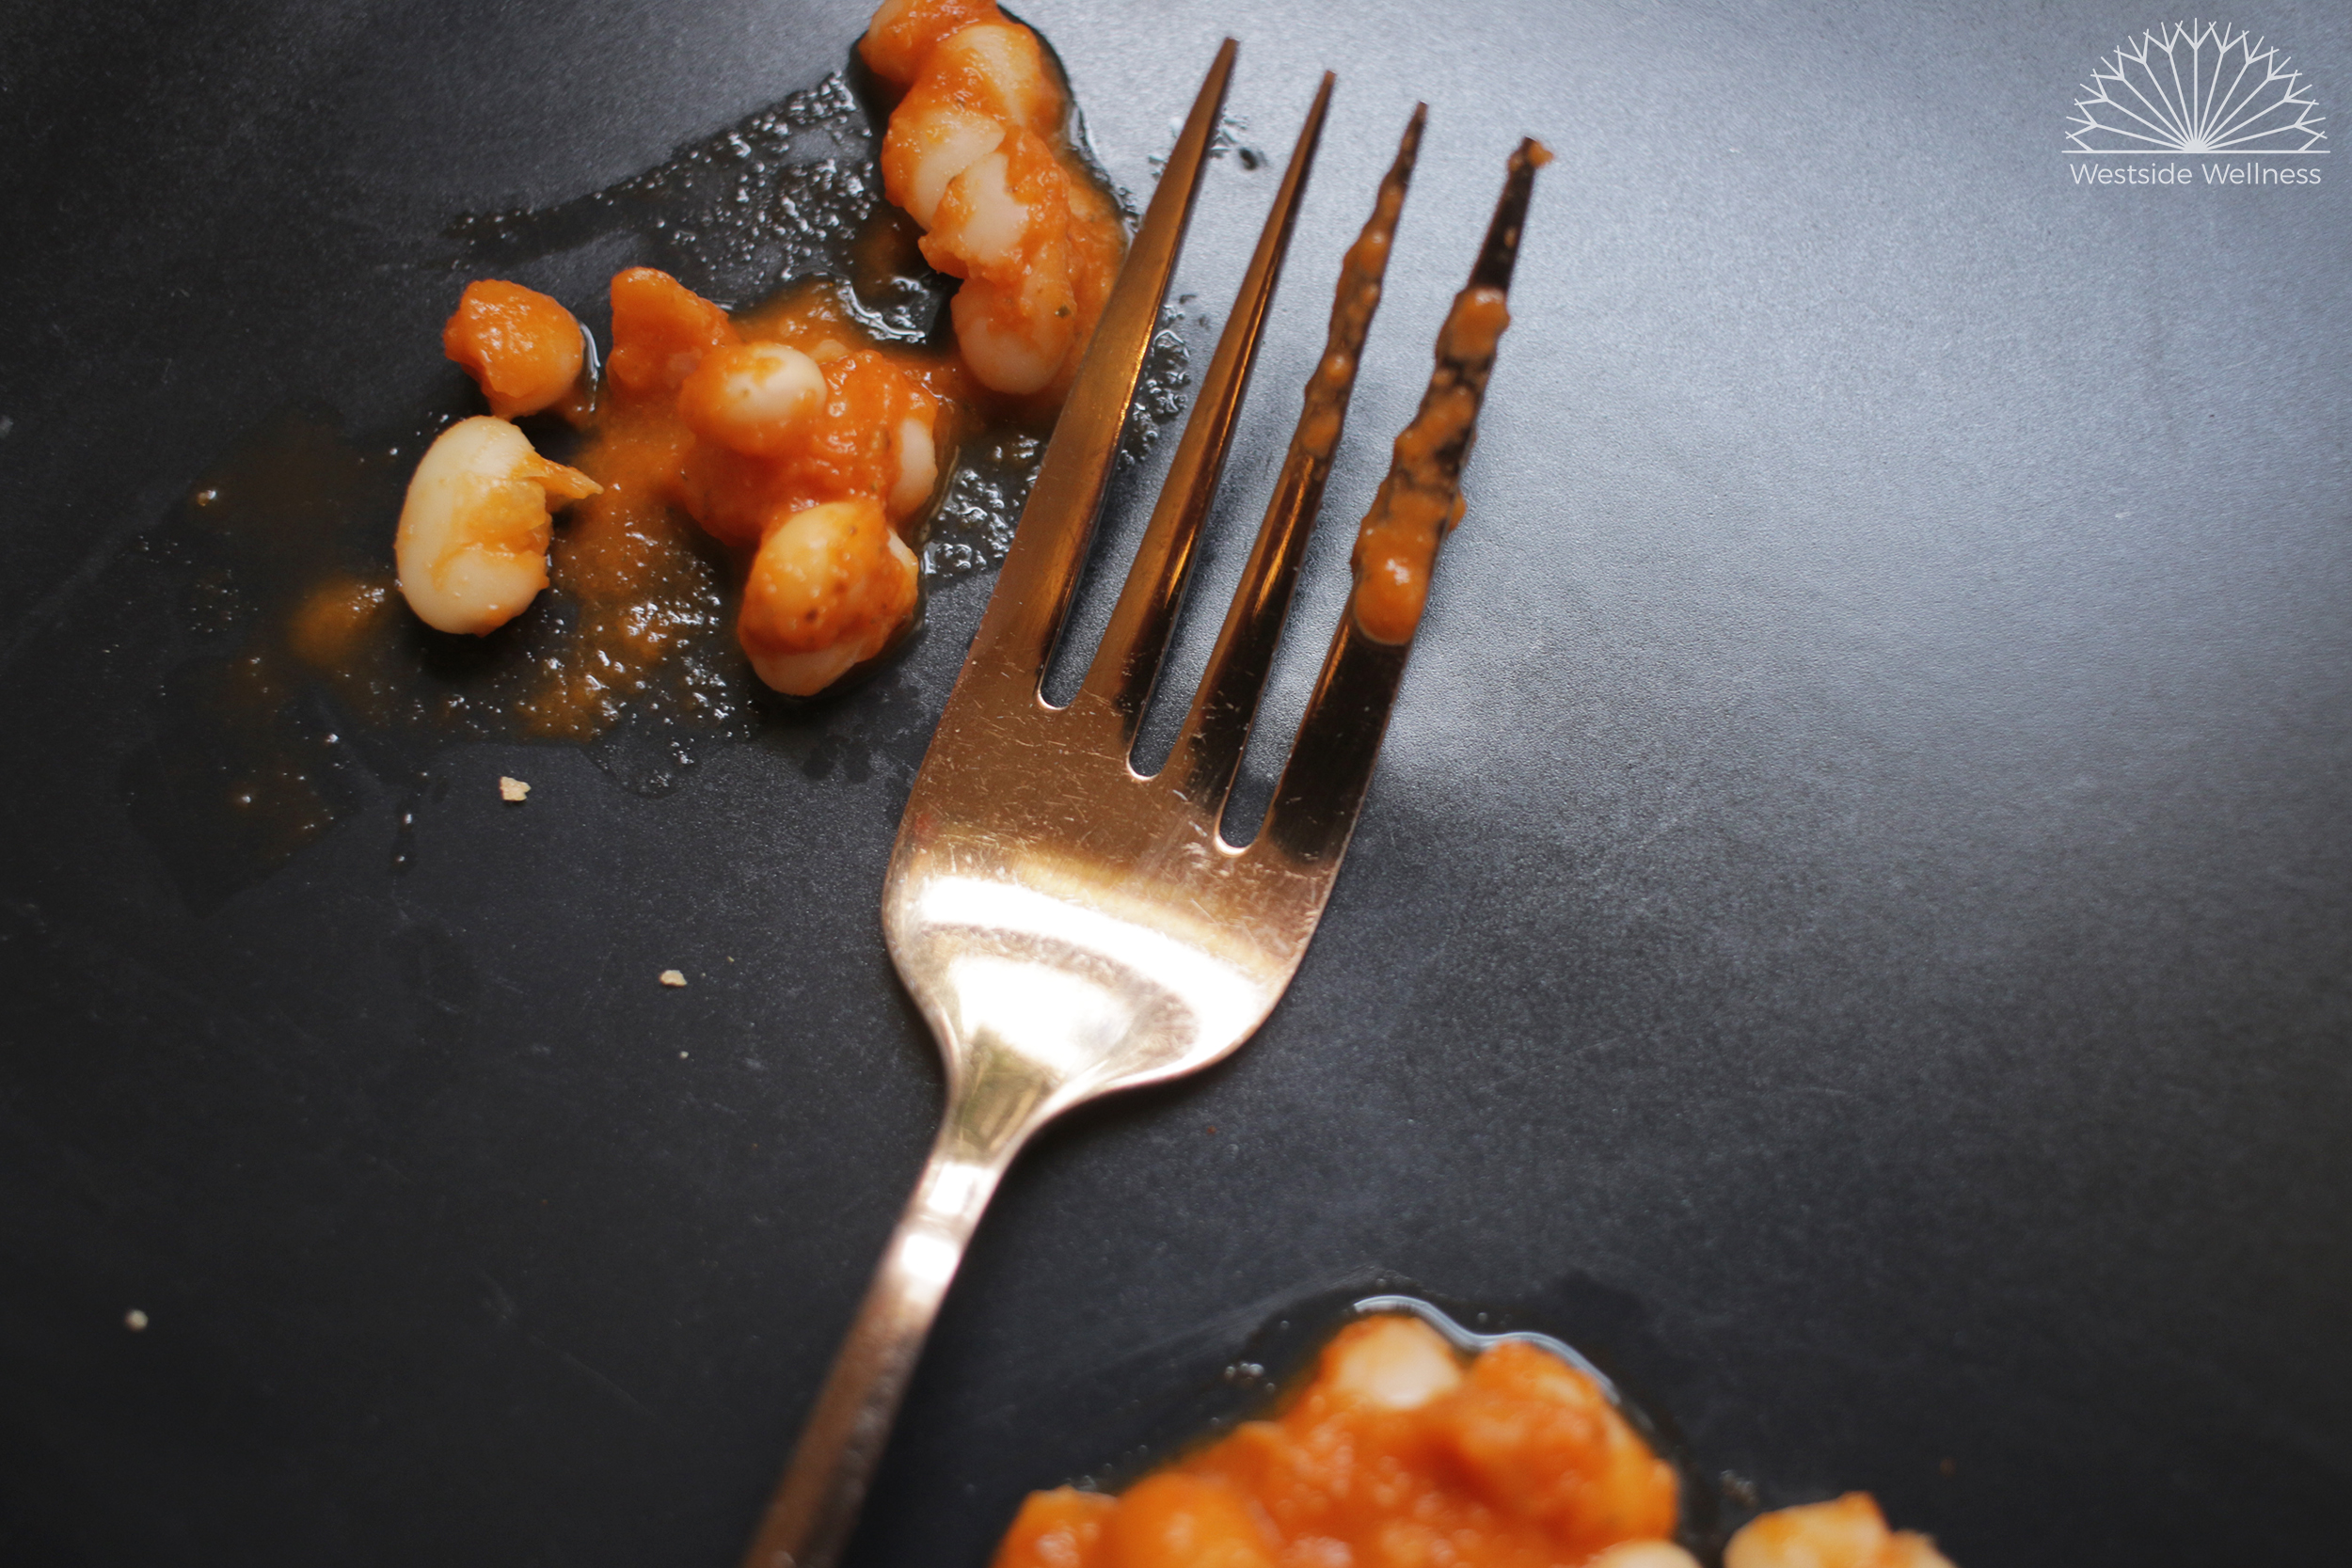
fork and beans web.jpg

Hot Cross Cookies

golden hot cross cookie.jpg

I love hot cross buns, and usually make a couple of batches around Easter for the kiddies because they love them too! But with my youngest being off gluten, dairy and soy and me not having enough time to play around with a gluten free recipe for hot cross buns, I decided to work on something a little easier and different, hot cross cookies!

And boy, have they been a hit! They are soft, with a hint of spice and just the right amount of dried fruit. Easy to make, and easily adapted to suit any other intolerances, such as nuts or eggs.

I hope you enjoy these hot cross cookies, just in time for Easter but they are literally perfect for any other occasion x Renee

Prep time: 5 mins

Cooking time: 15-20 mins

hot cross cookie ingredients web.jpg

INGREDIENTS

  • 2 ½ cups plain flour (for gluten free use: 1 cup almond meal, 1 cup brown rice flour, ½ cup tapioca/arrowroot flour)

  • ½ cup coconut sugar (you can also use regular sugar)

  • ¼ cup nut butter (you could also use sunflower seed butter or use more coconut oil)

  • ½ cup coconut oil

  • 2 tsp vanilla essence

  • 1 ½ tsp ground cinnamon

  • ½ tsp ground ginger

  • ¼ tsp ground nutmeg

  • 1/8 tsp ground cardamom

  • 1/8 tsp ground fennel

  • 1/8 tsp salt

  • 2 tbs cacao powder

  • 1 large egg (for egg free use 1 large banana mashed)

  • 1 ½ tsp baking powder

  • 1 tsp baking soda

  • ¾ cup dried fruit (1/2 cup sultanas, ¼ cup dried cranberries, ¼ cup apricots, roughly chopped)

‘Cross’ batter

  • 2 tbs plain flour (for gluten free, use tapioca/arrowroot flour)

  • 1 tbs rice malt syrup

  • 1 tsp vanilla extract

  • 1-2 tbs milk (dairy, non dairy etc)

METHOD


  1. Preheat the oven to 180 degrees Celsius. Line two baking trays with baking paper and set aside.

  2. Cream together the eggs (or banana), sugar, nut butter, coconut oil and vanilla essence.

  3. Add all the remaining cookie ingredients, except the dried fruit, and combine until well mixed. Then add the dried fruit and mix in.

  4. Using a tablespoon, spoon the mixture out and form into golf ball sized balls. Place on the baking tray, evenly spaced (these will spread) and gently flatten with your hand or with a fork.

  5. Combine the ‘cross’ batter ingredients, adding the milk in 1/2 tsp increments, until smooth and without lumps. You want this mixture to be thick enough to squeeze through a piping bag (or drizzled over the cookies) and not too runny or it will spread. Pipe the mixture across each cookie, forming a cross.

  6. Place trays in the oven and bake for 15-20 minutes. Allow to cool completely before removing from baking tray.

Hot cross cookie on plate web.jpg

Dairy Free Chocolate Popsicles

Prep time: 10 minutes

Freezing time: 2 hours

Serves: 4-6

These are a massive hit in our house! I love making these chocolate popsicles because they are dairy free, low sugar and super quick to make! I can whip them up in the morning or early afternoon, knowing that in a couple of hours they will be ready, perfect for those hot days when you need to cool off AND keep the kids happy!

If you need to keep them fructose free omit the dates, otherwise don't be afraid of the realistically small amount of sugar in them! Dates are also fibre rich which helps to slow down the absorption of sugar, and the addition of them in these popsicles adds a special sweetness and creaminess to the texture.

You can also play around with the flavours, omitting the cacao and swapping for carob powder or keeping them vanilla flavoured. If there's a cashew allergy, swap for other nuts such as almonds or macadamias or omit altogether.

I hope you enjoy my dairy free chocolate popsicles as much as we do in my house! x

INGREDIENTS

  • 1/2 cup raw cashews

  • 250 mls coconut milk (you could also use almond, rice or another non dairy milk)

  • 3 fresh dates, roughly chopped

  • 1 tsp vanilla essence

  • 2 tbs cacao powder

  • 2-3 tbs rice malt syrup

METHOD

  1. In a food processor or blender, process the cashews until a paste is formed.

  2. Add the rest of the ingredients and process until smooth.

  3. Pour the mixture into popsicle moulds (I use these and these).

  4. Place in the freezer for 2 hours until completely frozen. You will need to run the moulds under hot water for a for seconds to remove from the mould.

'Cheezy' Rosemary Seed Crackers

stack of crackers.jpg

I love a good cracker! Especially with homemade dip or a nut cheese like the phenomenal Botanical Cuisine cheeses. Seed crackers are a great way to get extra nutrition into your day, all whilst eating something delicious! These crackers are an excellent source of omega 3 from the flax and chia seeds, zinc from the pepitas and sunflower seeds, calcium from the sesame seeds and protein from all the seeds. 

You can whip these up quickly and have them on hand for whenever hungry strikes. They are also a great one to go for when you get that mid-arvo slump and want to reach for something sugary. Reach for these babies instead and stabilise your blood sugar and get an energy boost from the crunch, protein, carbs and healthy fats!

I hope you enjoy these tasty seed crackers, and check out our other recipes for dips to pair them with here.

seeded cracker ingredients.jpg

INGREDIENTS

  • 2 tbs buckwheat groats

  • 2 tbs chia seeds

  • 1/2 cup flaxseed (linseed)

  • 2 tbs sesame seeds

  • 1/2 cup sunflower seeds

  • 1/2 cup pepitas (pumpkin seeds)

  • 1/2-1 tsp salt

  • 3 tbs savoury yeast flakes (also called nutritional yeast)

  • 1 tsp dried rosemary (crushed)

  • 1 cup filtered or tap water

METHOD

  1. Preheat the oven to 180 degrees Celcius. Line two baking trays with baking paper or a silicone baking mat and set aside.

  2. Roughy chop the sunflower seeds and pepitas.

  3. Combine all the ingredients in a bowl and mix well. Allow to set for 20-30 minutes until the water has absorbed and the seeds have become gel like.

  4. Spread the mixture across both baking trays, ensuring it is evenly spread and not too thick (you want it less then 1/2 cm thick). Using a pizza cutter or knife, score the mix so the crackers will break apart easily once made (I usually make the crackers approximately 5 x 5 cm).

  5. Place the trays in the oven and bake for 20 minutes until slightly brown. remove the trays from the oven, allow to cool slightly then break the crackers apart.

  6. Flip the crackers over on the tray, place back in the oven and back for a further 15-20 minutes until golden brown.

  7. Allow to cool completely before storing in an airtight container.

uncooked crackers.jpg
toasted crackers web.jpg

Carrot & Date Balls

carrot-balls-westside-wellness

This beautiful recipe was given to me by dear friend. Without a doubt it was love at first bite - I am HOOKED on these suckers.... and guess what?! So are the kiddos!

These balls are sweet from the delicious medjool dates but the sweetness is nicely balanced by the addition of cinnamon which helps to regulate blood sugar levels. Because they are full of carrots they are packed fibre, anti-inflammatory healthy fats and beta-carotene. And I just LOVE the earthy taste of the nutmeg which gives them a delicious autumnal flavour.

At Westside we are constantly talking to clients about having healthy snacks like these on hand, so when you are feeling like a little "sumthim sumthin"  at the end of the day then you have some nutritious options to turn to. Simple!

Plus they take about 10 minutes to make so there really is no excuse.

Ingredients

  • 1 & 1/2 x cups of grated carrot
  • 6-8 x medjool dates
  • 1 x cup of raw nuts (I like pecan but walnut, cashew & almond all work well too).
  • 1 x small handful of shredded coconut
  • 1 x pinch of ground nutmeg
  • 1 x tsp of ground cinnamon
  • Zest from 1 orange
  • 1 x tbs of almond meal or LSA to bind 
  • Extra shredded coconut to roll the balls in at the end

Method

  1. Blend all ingredients except for the almond meal/LSA together in a food processor until well combined. 
  2. Stir in the LSA or almond meal
  3. Roll mixture into balls and then roll each ball in some shredded coconut.
  4. Refrigerate in a sealed container for up to 2 weeks. 

Enjoy xx 

carrot-balls-healthy-snack-westside-wellness

Slow Cooker Chickpea and Pumpkin Curry

butternut pumpkin.jpg

We love slow cooker curry in our house and easily eat one every week. I love being able to chuck something on first thing in the morning and know that all I need to do for dinner that night is cook some rice (I often do that in advance and freeze it too, saving even more time!).

This slow cooker chickpea and pumpkin curry is slightly sweet, creamy and very mild and a huge hit with my kids, especially my 2.5 year old who will ask for curry for days after we've had this one. Chickpeas are a fantastic source of fibre and magnesium, two nutrients most of us need extra of! The spices are great for settling tummies and reducing inflammation and the veggies are generally the cheapest you can get, making this a very cheap (and nutritious!) family meal.

It freezes well (minus the potatoes) and tastes even better when kept in the fridge for a few days before eating. I hope you enjoy my favourite slow cooker curry! x

chickpeas ginger IG.jpg

Serves 4-6

Prep time: 10 minutes

Cook time: 30 mins in a hurry; 6 hours slow cooked

INGREDIENTS

  • 1 onion, chopped

  • 4-6 cloves of garlic, finely chopped

  • 1 inch piece of ginger, peeled and finely chopped

  • 1 inch piece of fresh turmeric, peeled and finely chopped (OPTIONAL but delicious)

  • 1 medium potato, washed and cubed

  • roughly two cups butternut pumpkin, cubed

  • 1 medium zucchini, cubed

  • 1 tin diced tomato (salt reduced)

  • 1 tin coconut cream

  • 1 tin chickpeas, drained and rinsed well (or 300 g pre-soaked and cooked chickpeas)

  • 1 tbs sesame oil

  • 1/2 tsp salt

  • few cracks of pepper to taste

  • 1 ½-2 tbs curry powder

  • 1 tsp stock paste

  • couple handfuls of chopped greens like kale or silverbeet

curry spices.jpg

METHOD

  1. Heat the sesame oil in a pan, add the onion, garlic, ginger and turmeric. Sauté on a medium heat until the onion is translucent (approx. 5 minutes). This step intensifies the flavour, but can be totally skipped if your in a hurry.

  2. Set up your slow cooker*. Chuck in the cooked onion mix, and the rest of the ingredients, and combine well.

  3. Cook for 6 hours on low heat (stir occasionally to prevent the sides drying out). Chuck in the chopped greens in the last 10 minutes or so and mix through. Serve with cooked brown rice, quinoa or cauliflower rice. A dollop of natural yogurt goes very well with this too!

*If you don’t have a slow cooker, this can easily be slowed cooked in the oven at 180 degrees for 1 ½-2 hours, just chuck it in a casserole dish or dutch oven (you will need to stir occasionally). It can also make a pretty quick meal by cooking on the stove top in a large pot. Follow step one, then add the veggies and sauté for a few minutes. Add the remaining ingredients, bring to the boil, reduce heat and simmer for 30 minutes. It’ll be tasty but the flavours won’t be as rich.

slowcooker chickpea curry.jpg

Mini Choc Chip Cookies

chopped chocolate web.jpg

OMG, who doesn’t love tiny little choc chip cookies??? These babies have this lovely kinda wholemeal texture, but the chocolate makes them feel decadent and indulgent. Amazingly they stay really soft if kept in a airtight container, so I take a little box to work at the beginning of the week, for little arvo pick me ups, and they work a real treat! And bonus, my kids absolutely love them which is great as it can be difficult to find treats that are gluten, dairy and soy free for my two year old.

I generally bake them using coconut sugar, but have recently started using rice malt syrup instead in order to cut the sugar content down even further and love them! With rice malt syrup, they're more of a chewy, flat cookie and a little softer so be gently with them. If you're a real sweet tooth, stick with the coconut sugar, otherwise rice malt syrup is the way to go!

-Renee x

Makes 15 or so

sunflower seeds web.jpg

INGREDIENTS

  • ¼ cup sunflower seeds

  • 1 cup (or just under) Loving Earth mylk chocolate, chopped (use 90% Lindt chocolate instead to reduce fructose content further)

  • ½ cup unrefined coconut oil

  • ½ cup coconut sugar*

  • 1 tsp vanilla extract

  • 1 1/3 cup brown rice flour (you can also use almond flour)

  • 1/3 cup of each besan (chickpea) flour and tapioca/arrowroot flour

  • 1 tsp baking powder

  • 1 tsp baking soda

  • 1/8 tsp salt

  • 1 tsp cinnamon

  • 2 flax egg (2 tbs ground flaxseed + 4 tbs water mixed together)

  • 1/3 cup of plant based milk (soy, nut, rice, coconut)

  • 1 tbs vinegar

*swap for ½ cup rice malt syrup; adjust milk to 0

  1. Preheat the oven to 180 degrees. Line a couple of baking trays with baking paper, grease with a little coconut oil (you 100% need to do this if using rice malt syrup) and set aside. Add the vinegar to the ‘milk’ and roughly chop the chocolate and set both aside.

  2. In a large bowl cream together the coconut oil, coconut sugar and vanilla extract.

  3. Add the rest of the dry ingredients and combine well, then add the milk/vinegar combo and mix well. Stir in the chopped chocolate and sunflower seeds.

  4. Form the dough into walnut sized balls, place on the baking trays and gently flatten with a fork (if you're using rice malt syrup the mix will be quite wet, spoon 1 tbs of batter per cookie, keeping them spaced apart even further). Keep them fairly spaced out because they will expand a little.

  5. Bake for 10-12 minutes, or until they are golden brown. Keep an eye on them because they can overcook and will lose their chewiness.

**Please note these can dry out pretty quickly, so once they are cool (if there’s any left!) it’s best to keep them in an airtight container. If it’s really hot, best to keep them in the fridge and they’ll last close to a week.

cookie batter.jpg
raw cookies.jpg
cooked cookies Web.jpg

Not So Berry Teacake

beetroot and apple web vers.jpg

I don't know about other families, but my kids will positively rip through a box of organic frozen berries if they're in the freezer so I wanted to come up with an alternative to berries that I could use in desserts and smoothies. I start playing around with stewing apples and beetroot with citrus juice in order to create a faux berry flavour and it worked!

I do love a good hidden veggies recipe, and if its a sweet one too than it makes me even happier. Beetroot have exceptionally good nutritional value, and are a great source of fibre, folate,  manganese, iron, potassium and vitamin C, as well as potent antioxidants. They are also naturally sweet so a addition to sweet treats to help lower the added sugar.

Although this recipe is gluten and dairy free, you can sub the flours and milk for any that you like. Swap the nuts for sunflower seeds if it needs to be nut free, or omit altogether. Although cooking the apple and beetroot is a bit time consuming, you actually make enough for two cakes so you can freeze the other half for another time.

This teacake goes so well with a cup of tea on a lazy Saturday afternoon, however if you're a parent to young kiddos like myself, its realistically best eaten with one hand and a lukewarm cuppa in the other! Great for playdates and birthday parties too!

Enjoy! Renee x

Serves 8-10
Prep time: 15 mins
Total cooking time: 55 mins

INGREDIENTS

Not so berry mix:

  • 2 apples, peeled, cored and chopped into 1 cm cubes

  • 1 1/2 medium beetroot, peeled and chopped into 1 cm cubes

  • juice of 1 lemon (you will need to keep the zest)

  • juice of 1 orange (you will need to keep the zest)

Crumb mix:

  • 1 tbs coconut sugar

  • zest from above 1 lemon

  • 1/4 cup almonds/pistachios/pecans

Cake mix:

  • 1 1/4 cup plant based milk (rice, soy, nutmilk etc)

  • 2 tbs apple cider vinegar (ACV)

  • 1/2 cup coconut sugar

  • 1/3 cup coconut oil

  • 2 tsp vanilla extract/essence

  • 2 cups flour= 1 1/2 cup brown rice flour + 1/4 cup arrowroot/tapioca flour + 1/4 cup besan (chickpea flour)

  • 1/2 tsp baking soda (bicarb)

  • 1 1/2 tsp baking powder

  • 1/2 tsp cinnamon

  • 1/4 tsp salt

  • zest from above orange

uncooked berry cake web vers.jpg

METHOD

  1. Preheat oven to 180 degrees Celcius. Grease cake tin (I use a springform tin) and set aside.
  2. Place the apple, beetroot, lemon and orange juice in a small pan, cover with water and bring to the boil. Reduce the heat and cover with 3/4 with a lid. Cook for 20-25 mins until soft. Ensure that there is enough water at all times otherwise it will stick and burn.
  3. Pour off any excess water, puree and set aside. You will only be using half for this cake, the other half can be frozen for future cakes.
  4. While the beetroot and apple is cooking, combine the coconut sugar, lemon zest and nuts in a food processor until roughly chopped and set aside.
  5. Add the ACV to the milk and set aside.
  6. Cream together the coconut sugar, coconut oil and vanilla essence.
  7. Add the flours, baking powder and soda, salt, orange zest, and cinnamon and combine well. Pour in the milk + ACV mix and combine until smooth, ensuring there are no lumps.
  8. Pour batter into cake mix, giving a bang to get out any air bubbles. Gently add half the apple beetroot puree (freeze the other half for another cake), distributing it throughout the cake mix.
  9. Sprinkle the crumble on top of the cake, distributing it evenly.
  10. Cover the cake with foil, place in the oven and bake for 20 minutes. Remove the foil and bake for a further 10 minutes until a skewer comes out clean. Gluten free cakes can become quite dry if over baked, so ensure it isn't left in the oven for too long.
  11. Once cooked, remove from oven and allow to cool before serving.
slice of berry cake web vers.jpg

Chana Dal - Yellow Split Pea Curry

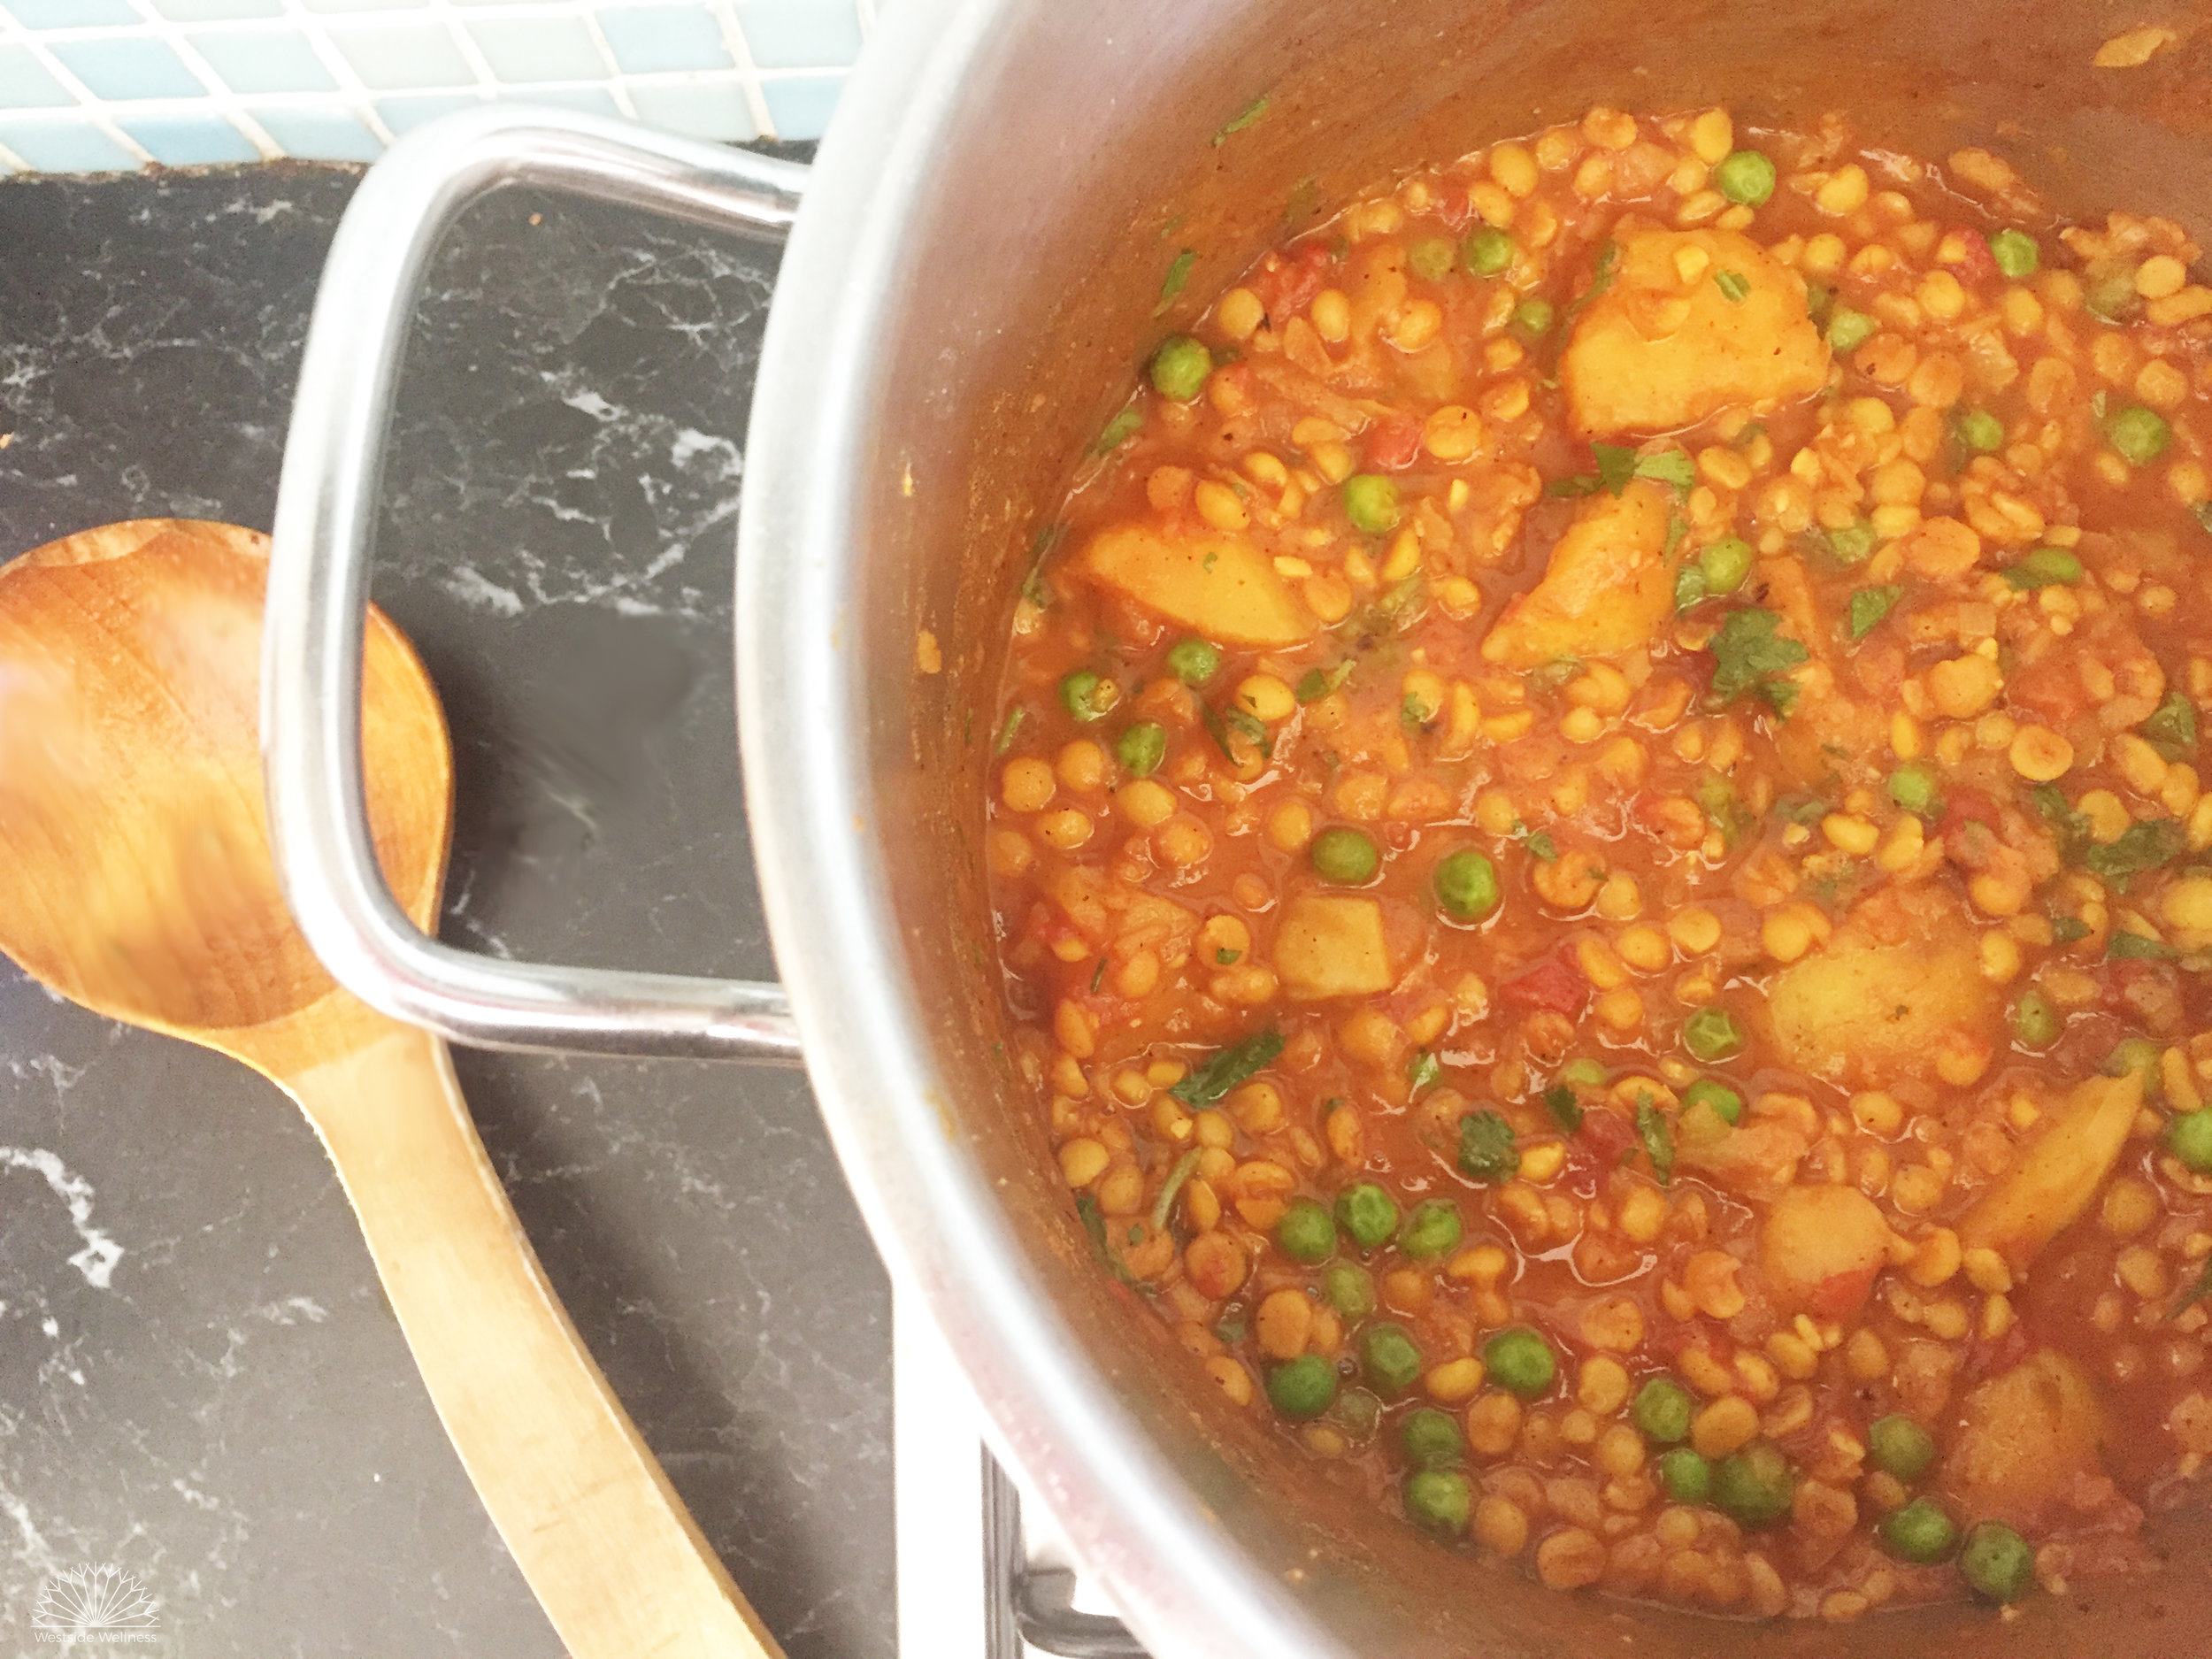
Yellow-split-pea-dahl-web-2.jpg

At Westside Wellness we could live on curry forever!! Chana dal is a nutrient dense, fast, easy and budget-savvy meal. I cook it at least once a fortnight. The kids love it and it has mild and simple favours as far as curry goes. You can always swap the frozen peas for a handful of fresh spinach leaves to brighten the meal up. 

Chana dal is made with split yellow peas - these legumes are packed full of fibre, carbohydrate, protein (including tryptophan, the precursor to our happy hormone - serotonin) and other minerals and vitamins. Yellow split peas contain both soluble and insoluble fibre which helps to keep your bowels regular, balance your blood sugar and cholesterol levels. And best of all - they are really filling! A cup of organic yellow split peas costs only $3 - so it's also an easy way to fill the family up when you are shopping on a budget!

Ingredients

  • 1 tbs extra virgin coconut oil
  • 500gm desiree or nicola potato, washed and chopped into large bite-sized chunks
  • 1 cup of yellow split peas, rinsed thoroughly
  • 1 brown onion, diced
  • 1 clove of garlic, chopped
  • 1 chunk of fresh ginger, grated (about the size of your thumb)
  • 1 tbs garam masala
  • 1 heaped tsp of turmeric powder
  • 1 tsp fenugreek powder (optional)
  • 1 tsp cumin powder
  • 1 x 400g can of tinned tomato (or 4 medium sized diced fresh tomatoes)
  • 1 tsp of tomato paste
  • 1 tbs stock paste (or stock powder)
  • 400mL water (or swap the stock past and water for bone broth).
  • 1 x 400mL can of full fat coconut cream (alternatively you can make your own)
  • 1 x cup of frozen peas 
  • Juice of 1 lime
  • Half a bunch of coriander, chopped

Method

  1. Wash the yellow split peas and leave to soak for as long as you can (up to 12 hours)
  2. Melt the coconut oil in a large pot on medium heat until shimmering, then add the onion.
  3. Once the onions start to soften (about 4 minutes) add the garlic, ginger, garam masala, turmeric, fenugreek and cumin powder. 
  4. Allow the spices to coat to the onions and the garlic and ginger to cook gently.
  5. Strain the yellow split peas and add them along with the potatoes to the onion mixture.
  6. Once the potatoes and peas are all coated in the spices then add the tomato paste, chopped/tinned tomatoes, stock paste/powder and water.
  7. After bringing the pot to the boil, add the coconut cream and quickly turn to the lowest heat.
  8. Simmer for 35 minutes, stirring the pot regularly to prevent the peas and potatoes from sticking to the pot.
  9. Add the peas and cook for another 8 minutes.
  10. Serve with chopped coriander and fresh lime juice. You can serve with cooked brown rice, quinoa or cauliflower rice to stretch the meal further.
Yellow-split-pea-dahl.jpg


Serves 6


Red Lentil & Veggie Curry

Another favourite of Renee's, this red lentil curry is flavoursome without being too 'spicy' for little ones but also tasty for grown ups. The cooking time helps to break down the veggies (hello hidden veggies!), meaning suspicious kids won't know any better and you will feel good knowing the whole family has eaten a veggie loaded meal.

This curry is great made a couple of days in advance, which allows the flavours to grow, and it freezes and defrosts well. A great one to prep on the weekends for a quick reheat through the week!

red lentil curry web vers.jpg

Serves 4-6
Prep time: 10 mins
Cooking time: 1 hour
Total time: 1 hour 10 minutes

INGREDIENTS

  • 2 tbs toasted sesame oil (you can use olive or coconut oil too)

  • 1 onion, finely chopped

  • 3 cloves garlic, finely chopped

  • 1 inch piece each of fresh ginger and turmeric, finely chopped

  • 1 carrot, cut into 1 cm cubes

  • 1 zucchini, cut into 1 cm cubes

  • 1 medium eggplant, cut into 1 cm cubes

  • 2 tsp mustard seeds

  • 1 cup split red lentils

  • 1 tin crushed tomatoes

  • 1/4 tsp ground cinnamon

  • 1/2 tsp ground fennel seeds

  • 3 tsp ground coriander

  • 2 tsp ground cumin

  • 1/2 tsp salt + pepper to taste

  • 4 cups water (tap or filtered, just not hot)

  • 2 handfuls of finely chopped leafy greens (spinach, silverbeet, kale etc)

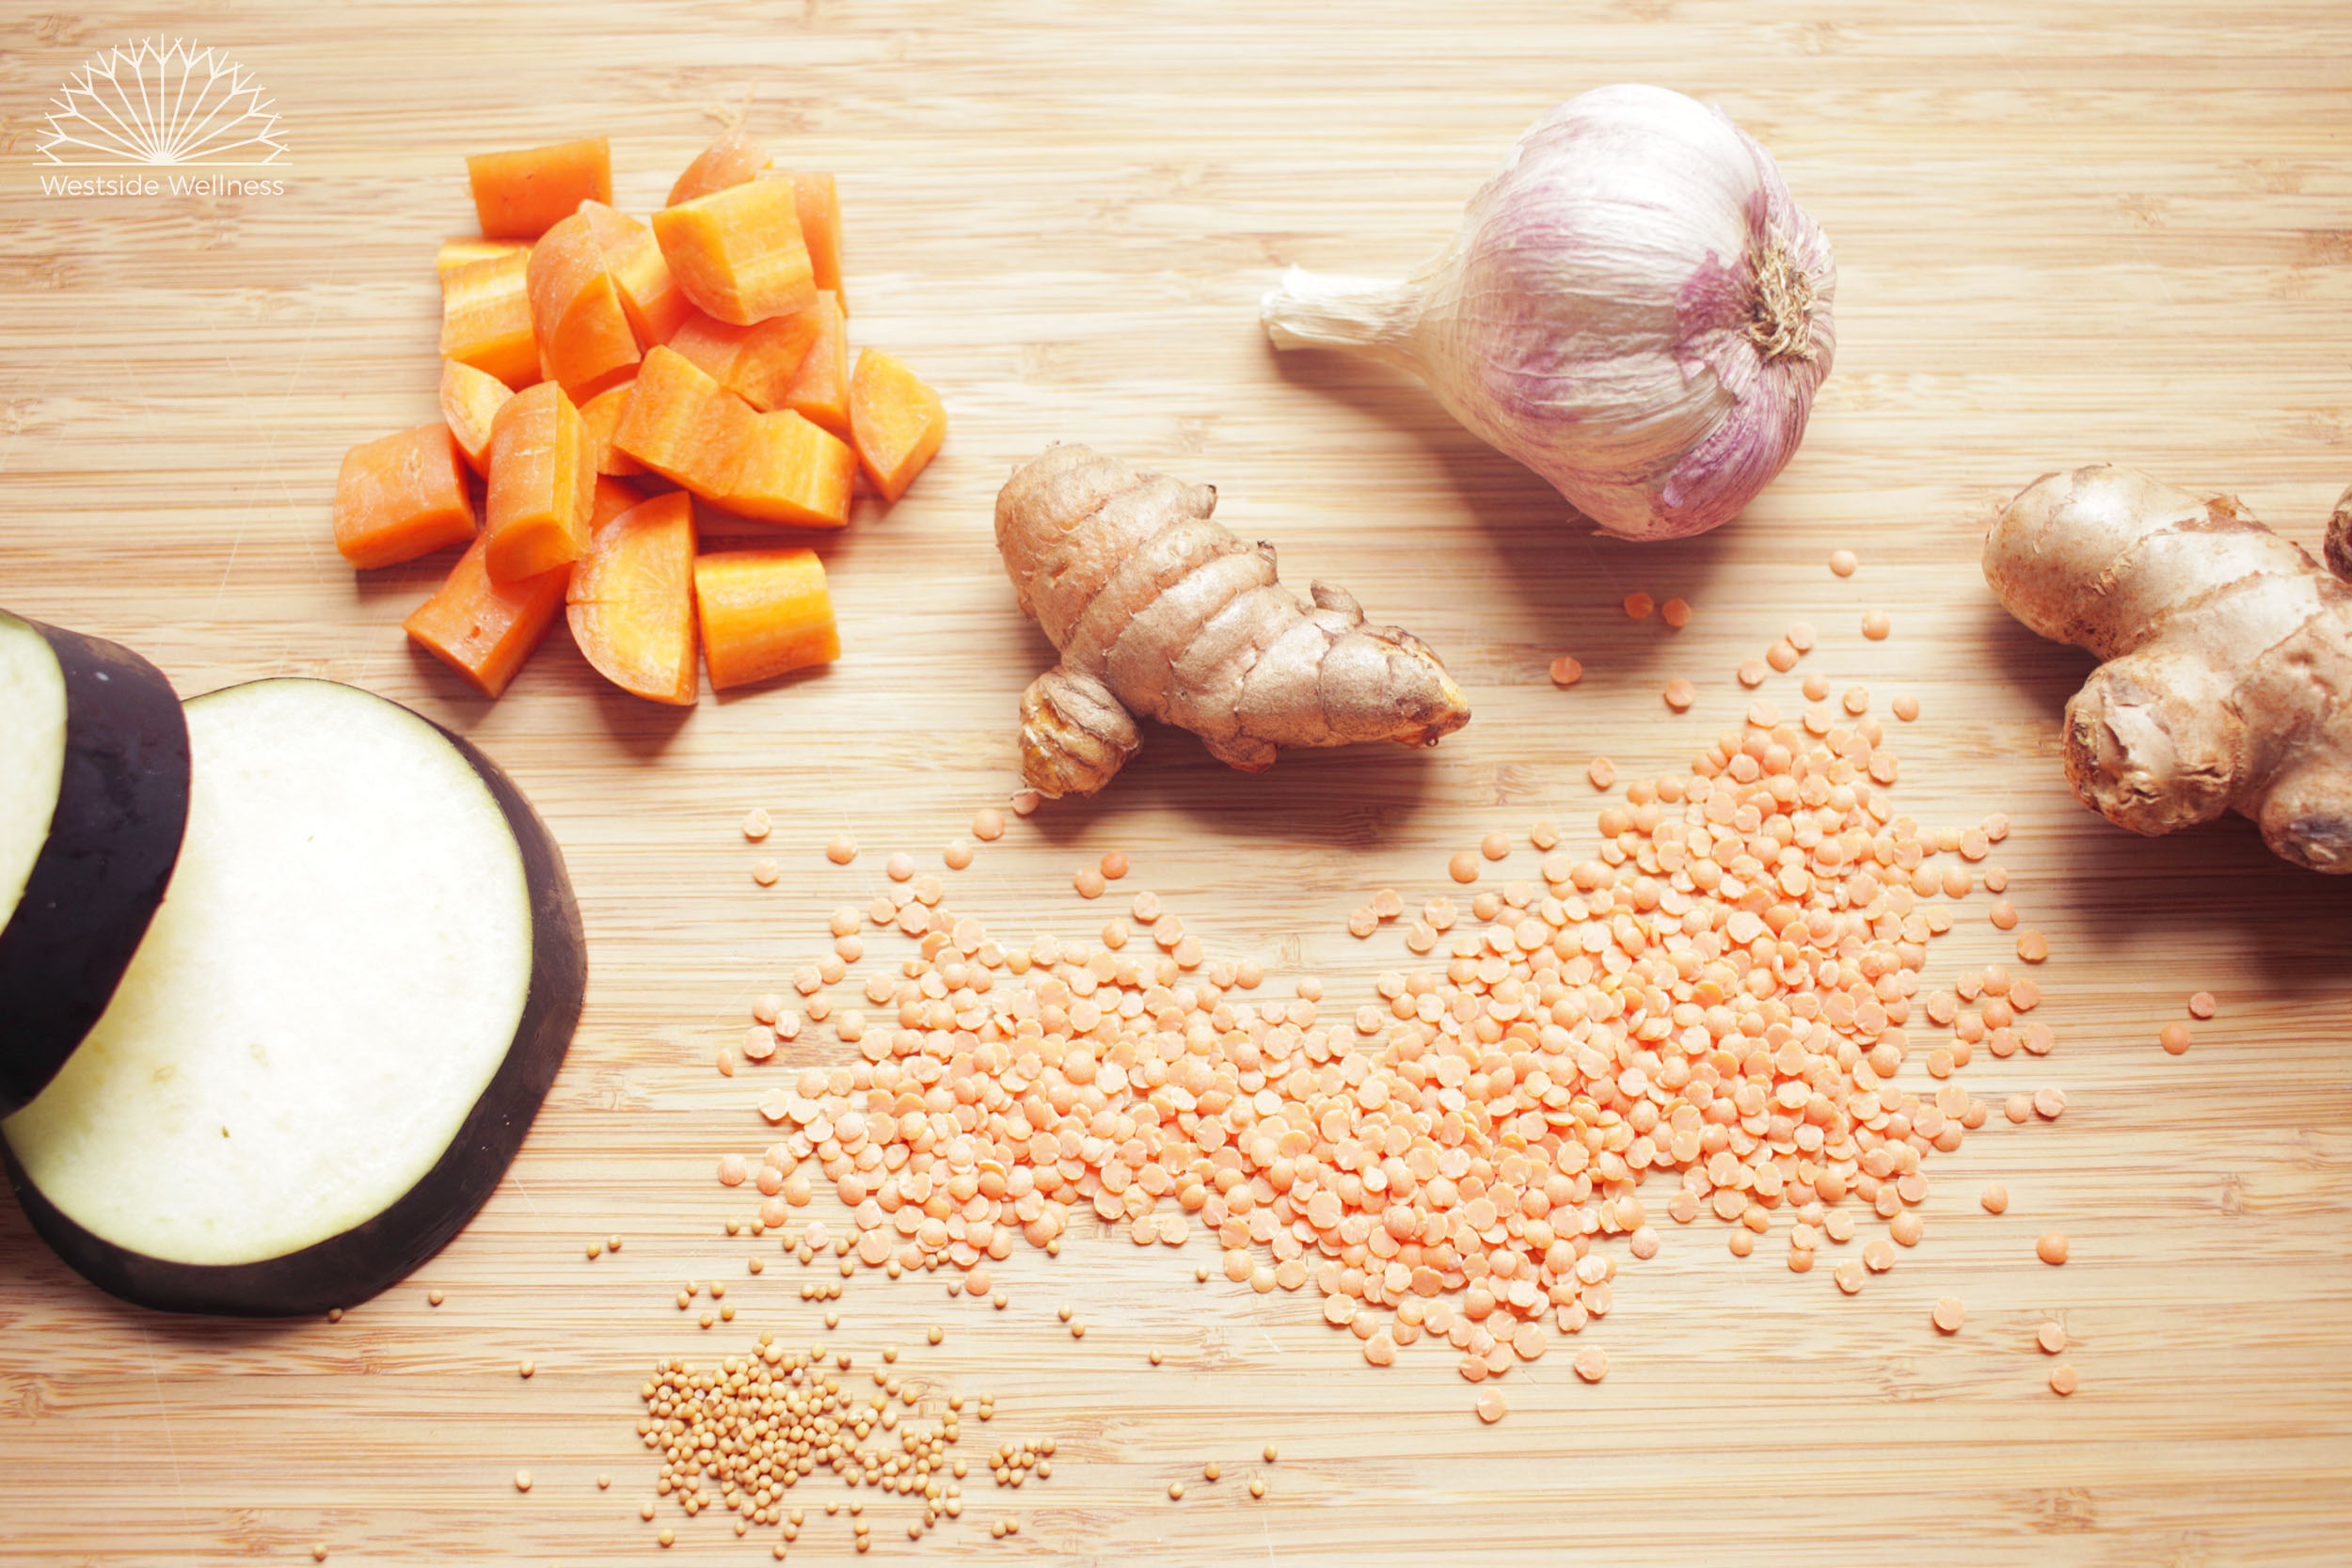
red lentil curry veg web vers.jpg

METHOD

  1. Slice the eggplant, sprinkle salt on each slice and leave aside for 5-10 minutes (this helps to remove any bitterness). Then chop into 1 cm cubes.
  2. In a large pot, add the sesame oil and heat over a medium flame. Add the onion and mustard seeds and sauté until translucent, approximately 5 minutes.
  3. Add the garlic, turmeric and ginger and sauté for another 5 minutes, stirring occasionally. 
  4. Add all the veggies and cook for a further 5 minutes, stirring to combine everything well.
  5. Pour in the crushed tomatoes, water and add all of the spices, lentils and salt and pepper and bring to the boil. Drop to a medium flame, place a lid on the pot (3/4 on to allow some air to escape) and cook for 1 hour, stirring occasionally.
  6. Taste and adjust seasonings. Add the chopped leafy greens and stir through. Serve with cooked rice, quinoa, cauliflower rice or toasted flat bread.
 

red lentil curry bowl web vers.jpg