paleo

Henri's Crackers

another crackers web.jpg

I first starting creating recipes whilst doing my naturopathy degree well over 15 years ago. At first I was creating basic healthy recipes, ones loaded with veggies and variety, but as I started to see real life clients in the student clinic with a range of food intolerances and allergies I realised I needed recipes that also contained alternatives to things like gluten, dairy and eggs.

In the beginning I was giving my clients recipes I’d found online without having tried them first, but when one of my supervisors asked me if I’d tried a particular recipe I knew I had to go back to the drawing board. I made a couple of gluten free recipes and they were GROSS; they generally required supermarket packet gluten free flour blends and always required xanthan gum! And recipes that eggs or dairy had ‘alternatives’ like ‘you should be able to substitute eggs for mashed banana but I haven’t actually tried that’ .

So I got experimenting, and sure some of my earlier recipes were probs a bit gross, but as time went on I became a pro at creating delicious recipes that catered to a range of dietary requirements. Many years later I wanted a gluten and grain free cracker recipe was soft and flaky (I am a HUGE cracker fan) and after a bit of work, these crackers came along. And boy, were they a HUGE hit with my then 2 year old. He would devour a whole batch within a day and cry asking for more ‘white crackers’. As time went on I learnt to make a double batch so that I would get some too!

My youngest son still loves these crackers to this day and asks for a batch almost weekly, hence the name ‘Henri’s Crackers’.

These are fairly easy to make once you get the hang of how the pastry should feel. And once you do nail it, they’ll be a hit with everyone you serve them too. They are always popular at parties when I serve them alongside dips and cheeses.

I hope you enjoy them as much as I do!

uncooked-crackers-web.jpg

Prep time: 5 minutes

Cooking time: 10-15 minutes

Total time: 15-20 minutes

INGREDIENTS

  • 1 cup tapioca/arrowroot flour

  • ¾ cup almond meal

  • 1 tbs apple cider vinegar

  • 1 tbs coconut oil

  • ½ tsp salt

  • 2 tbs savoury yeast flakes

  • 1 egg

METHOD

  1. Preheat your oven to 180 degrees.

  2. Combine the wet ingredients first and then add the dry ingredients and combine until well mixed. Add almond meal 1 tbs at a time if too wet or coconut oil ½ tbs at a time if too dry. Your dough should be soft and semi-pliable but not sticky.

  3. Roll out dough on a piece of baking paper or baking mat until its approximately 0.5 cm thick. Using a pizza cutter or knife, score the dough to make cracker sized squares/rectangles/ diamonds.

  4. Using a fork, gently poke a few holes into each cracker. This will assist with preventing cracking.

  5. Transfer baking sheet with dough onto a baking tray and bake for 10-15 minutes or until golden brown.

  6. Allow to cool completely before breaking the crackers up. Store in an airtight container.

white-crackers-with-dip.jpg

Oven Baked Paleo Meatballs

I’ll be the first to admit, I’m not very good at cooking ‘simple’ or one pot/pan dinners. I go in with a simple idea and often complicate it by adding an extra dish or experimenting with a new technique and before I know it, I’ve used a billion dishes, pots and pans.

I created this meatball recipe with the goal of creating a one pan dish and I’m pleased to say that I finally succeeded! This is something I make for the family once a week, loading up the tray with meatballs and homemade chips and then serving salad on the side. The leftover meatballs are perfect with an egg or two for breakfast the following morning or thrown together with salad or steamed veggies for a quick and nutritious lunch.

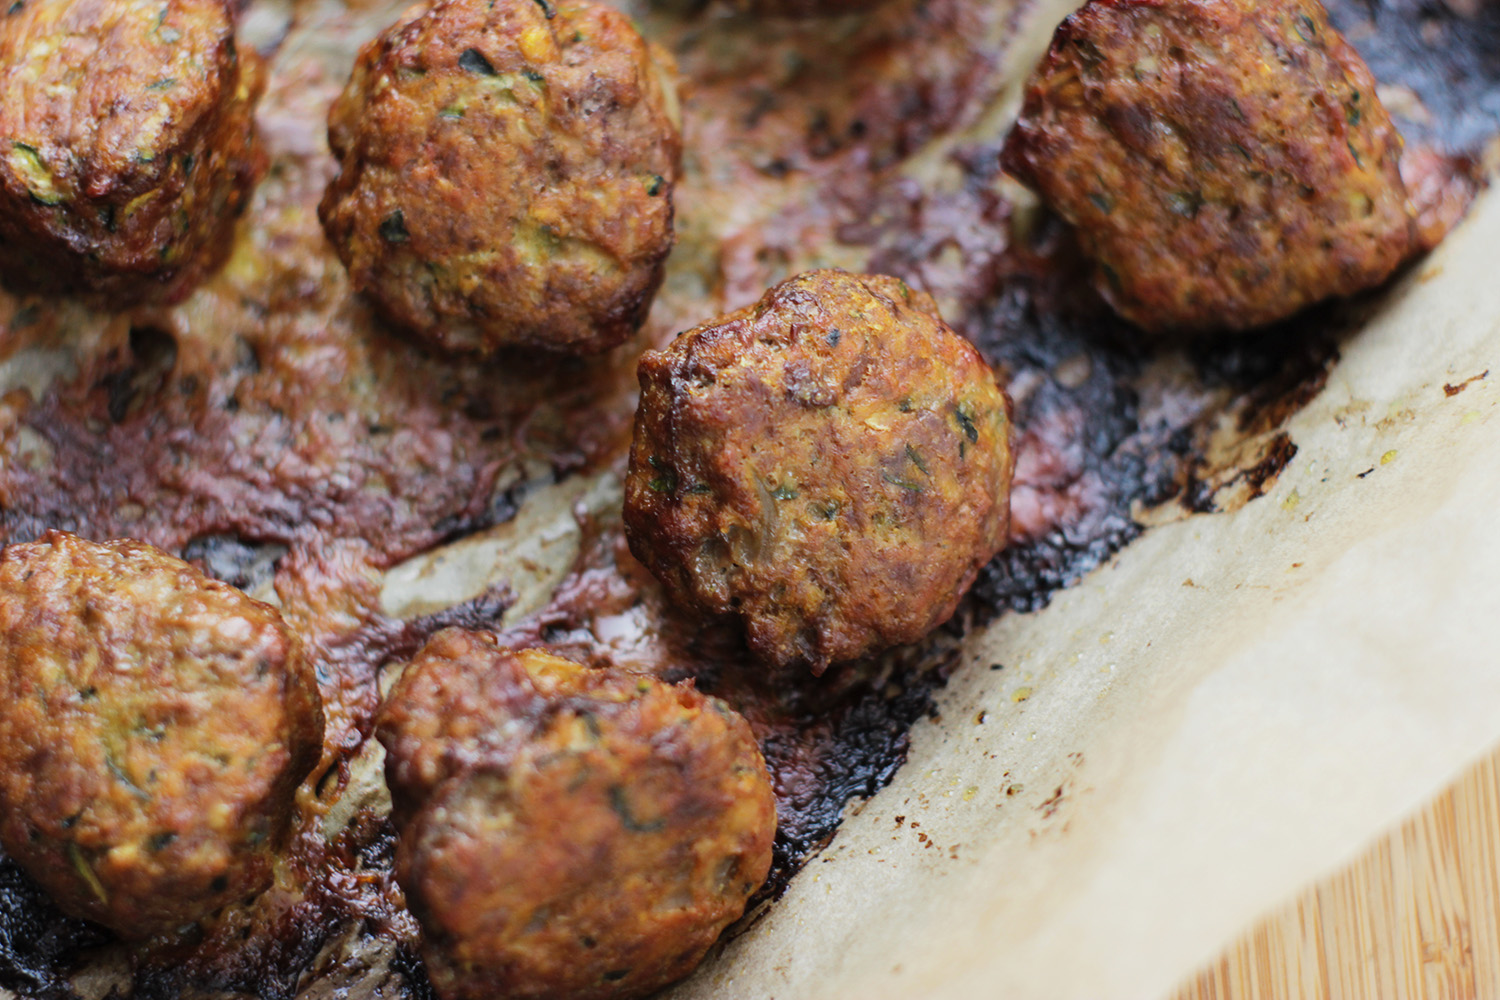
This recipe is gluten and grain free so perfect for those with intolerances or who follow a paleo diet, and can be adapted for those with nut allergies or fructose malabsorption. You can throw these together in under 10 minutes and cook or place in the freezer for an even quicker meal down the track. Enjoy! -Renee

paleo meatball ingredients.jpg

Makes: 18 meatballs

Prep time: 5 minutes

Baking time: 30-40 minutes

Total time: 45 minutes

INGREDIENTS

  • 500 g mince

  • 3/4- 1 cup almond meal*

  • ½ tsp ground turmeric

  • ½ small onion, finely diced**

  • 2 cloves garlic, finely chopped**

  • 1 egg

  • ½ zucchini, grated

  • 1 tbs tomato paste

  • salt and pepper to taste

  • large handful of fresh parsley, finely chopped

  • 1 tbs olive oil

*Swap for regular breadcrumbs if your prefer, or rice crumbs if you are allergic/intolerant to nuts

**Omit if you are have issues with high FODMAP foods or onion and garlic

cooked paleo meatballs.jpg

METHOD

  1. Preheat oven to 180 degrees Celsius. Line a baking tray with baking paper and set aside.

  2. Heat the olive oil in a non-stick pan and sauté the onion and garlic for 5 or so minutes until translucent.

  3. In a bowl, combine all of the ingredients until well mixed. If the mixture if a little wet, add extra almond meal 1/4 cup at a time.

  4. Form the mixture into golf sized balls (you should get 18-19 meatballs) and place on baking tray.

  5. Place the baking tray in the oven and bake for 20 minutes. Remove the tray from the over briefly, to turn the meatballs so they brown on the other side and bake for a further 15-20 minutes until the top is golden brown.

  6. Serve with salad and homemade chips, pasta/zoodles and sauce or eat with eggs for breakfast. The possibilities are endless!

hand grabbing meatball.jpg
meatballs & slaw.jpg

Salmon Patties

I have been making these patties for quick some time now, and created the recipe as a way of getting more calcium into my kids diet (we eat little dairy and don’t drink milk) and help the family move away from eating tuna on a regular basis (tuna is higher in mercury due to their large size).

For me, eating tinned salmon with the bones and skin is the ultimate in reducing waste, using the ‘whole’ animal and boosting the nutrition of meals. One of the questions I get asked every.single.time when I talk about reducing consumption of dairy or encounter clients with dairy intolerances or allergies, is where will I get calcium?

Calcium is an important nutrient, not only for bone health but also for cardiovascular, muscular and nervous system function. Yes, dairy is a source of calcium, but it is not the only source nor is it the best source. Many foods, including plant based foods, are abundant in calcium, including:

  • salmon and sardine bones

  • broccoli, kale and leafy greens

  • almonds, cashews and other nuts

  • tahini

  • tofu

  • chia seeds

  • legumes

  • dried figs

These salmon patties are an absolute sinch to make, my kids have NO IDEA there are salmon bones in them and you can make them in advance and reheat or freeze for another day. Enjoy!

xRenee

Tinned salmon bones are an excellent source of calcium

Tinned salmon bones are an excellent source of calcium

INGREDIENTS

  • 400 g tin pink or red salmon, drained (keeping the skin and bones)

  • 2 celery sticks, finely chopped

  • 1 cup almond meal

  • Juice of half lemon

  • 2-3 cloves garlic finely chopped

  • 1 small onion, finely chopped

  • handful fresh parsley and chives, finely chopped

  • salt and pepper to taste

  • 2 eggs

  • coconut oil for cooking

celery and onion cooking web.jpg
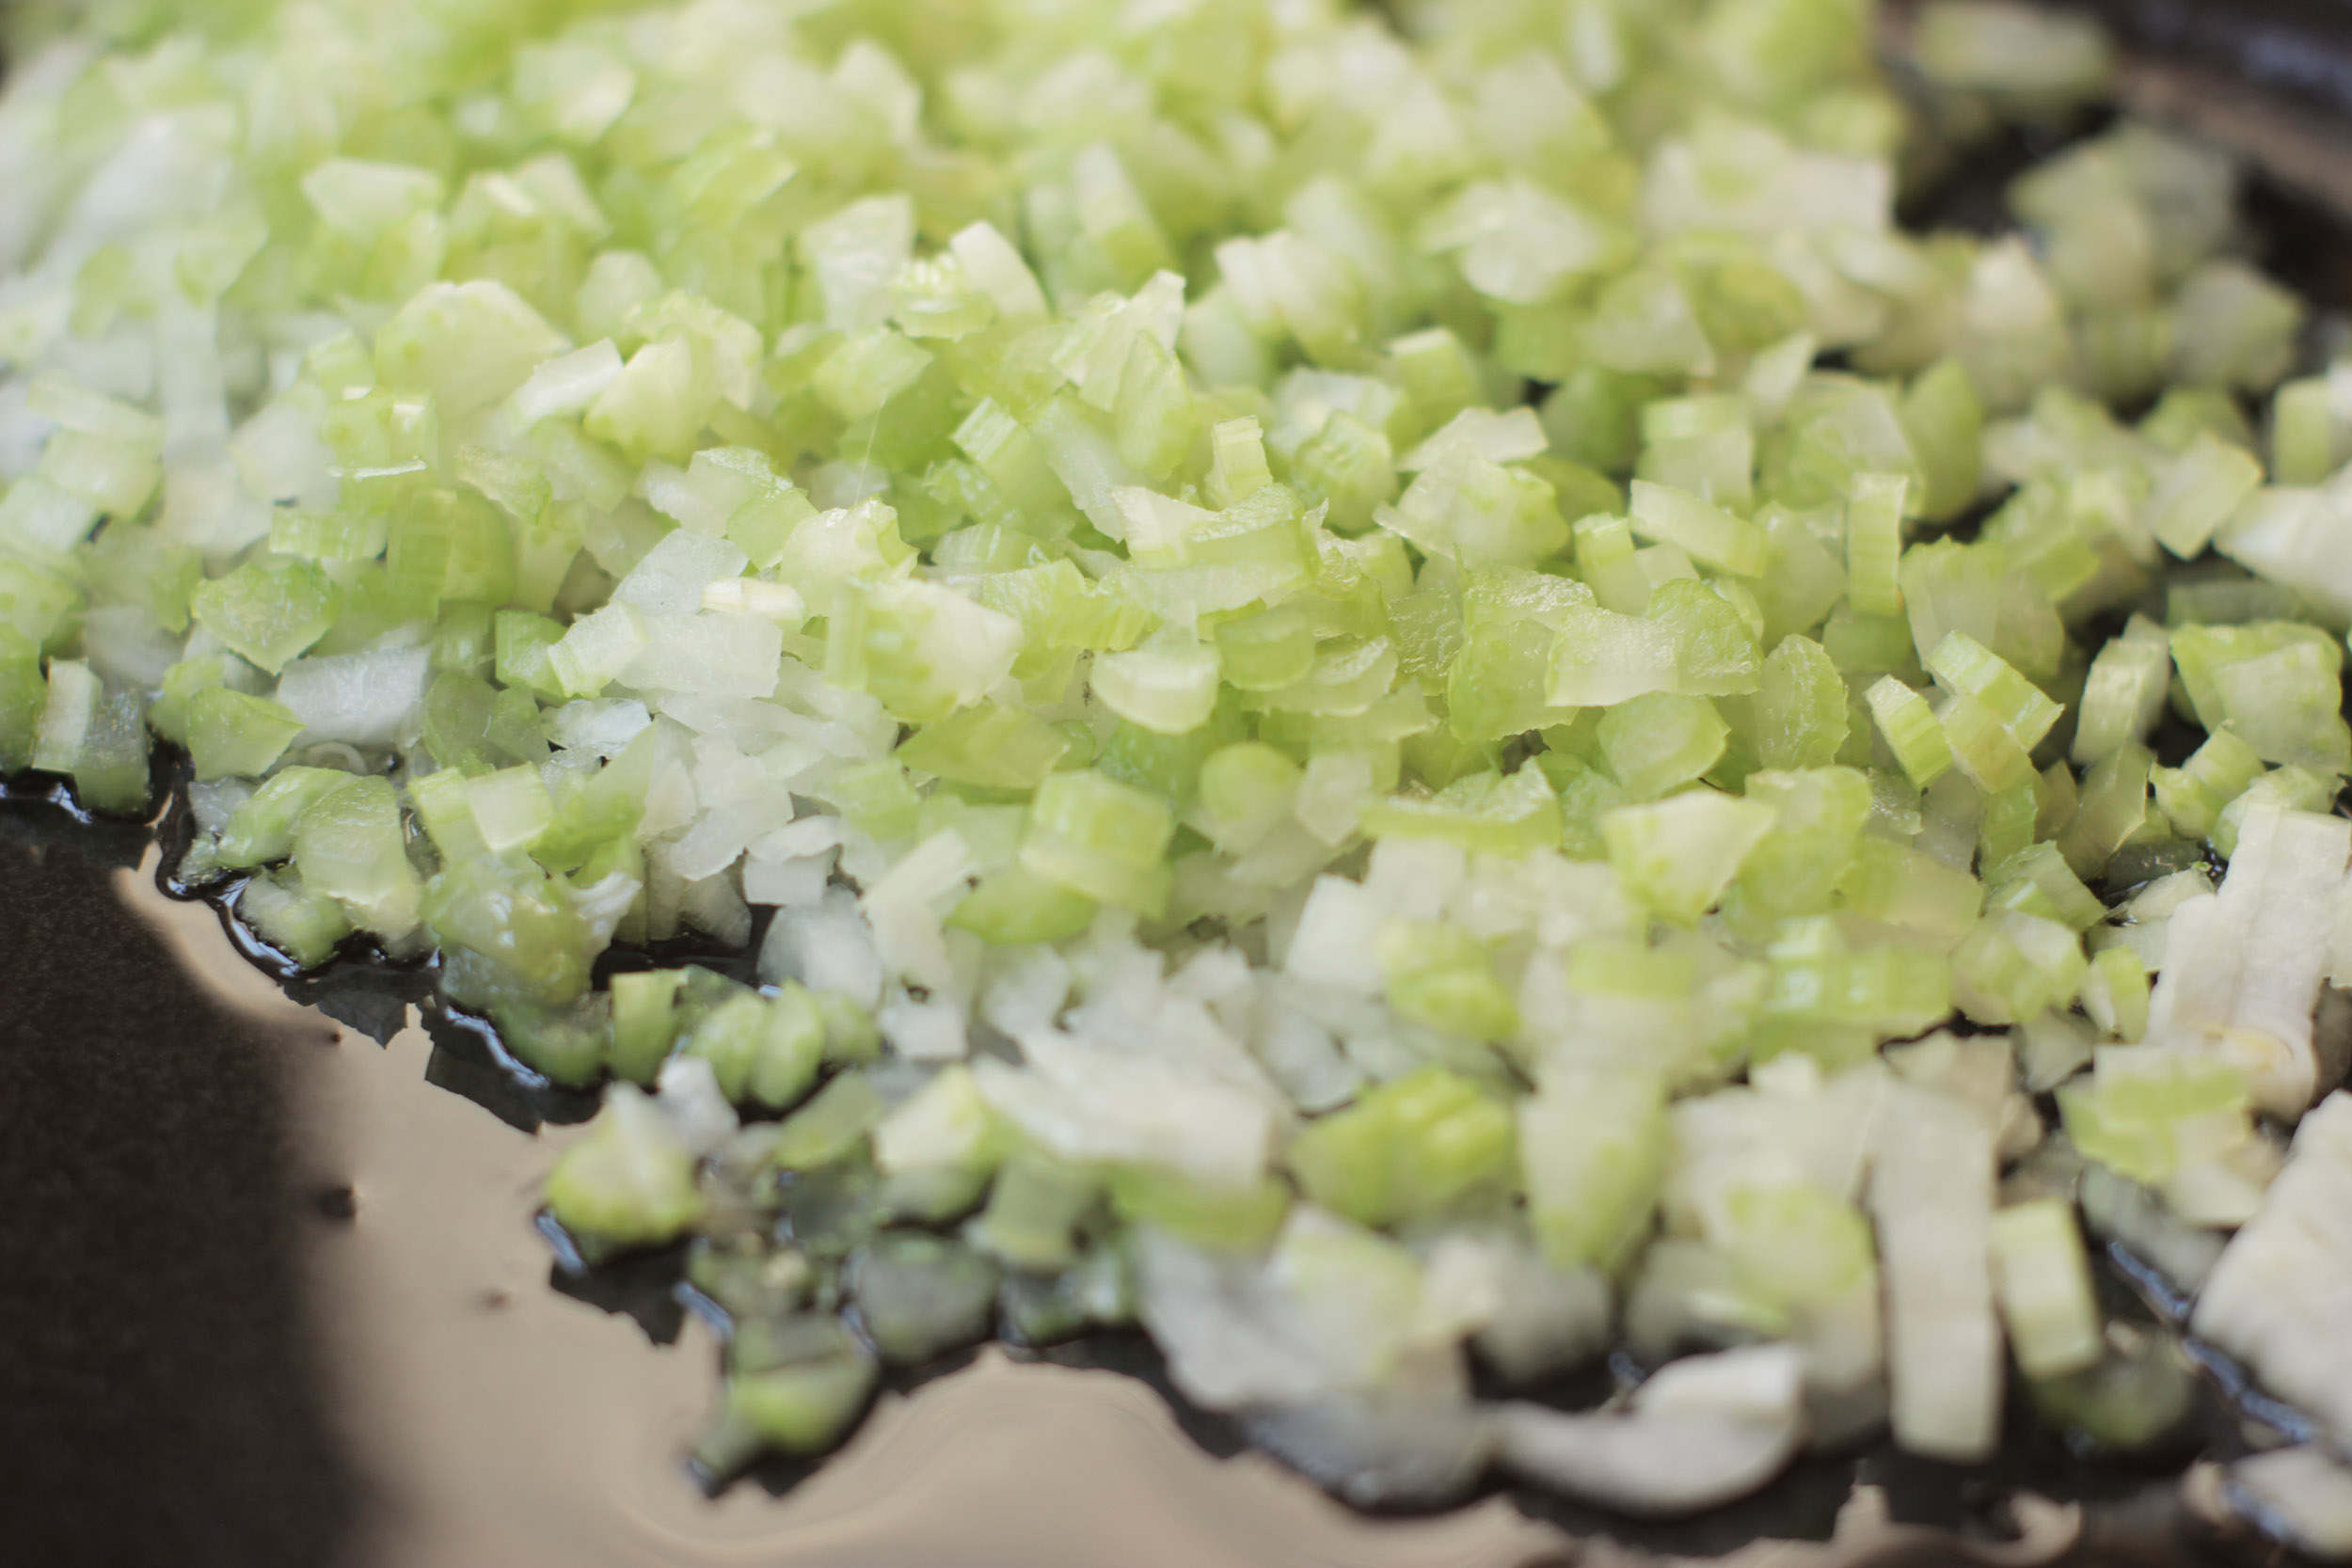
  1. Heat a little coconut oil in a frying pan and sauté the onion, garlic and celery for 5 minutes or so.

  2. Mash the salmon with the bones, getting in there so that all bones are broken down. This is particularly important for fussy eaters who may notice the bones!

  3. Add the remaining ingredients, except the coconut oil, in a bowl and combine until it all sticks together. Form into golf ball sized balls.

  4. Heat 1 tbs coconut oil in a non-stick pan and add 3-4 patties. Flatten with the back of a spatula and cook until golden brown and then flip to the other side. If they stick when trying to flip, you just need to cook that side a bit longer.

  5. Serve with salad and/or steamed veggies


salmon patties vers 2 IG.jpg

Hazelnut Choc Bliss Balls

nutella bliss balls ingredients web.jpg

I’m such a huge fan of bliss balls, they are a sinch to make and are a great snack for on the go. It’s easy enough to make them nutrient dense, loaded with good fats, protein, minerals and fibre. I prefer to keep my bliss balls on the fruit free and lower fructose side, firstly as I tend to eat thousands of them when they are super sweet, and secondly as I find I get quite a bad crash from the sugar high later on if they are loaded with dates and maple syrup or agave.

I created this particular recipe to have an example of how to add hemp seeds to your day for my clients. I personally love hemp seeds sprinkled on dishes or added to smoothies, but found that others really wanted another way of incorporating them into snacks/meals. I’m a HUGE fan of hemp seeds as they are an excellent source of omega 3 fatty acids and are therefore great for those who don’t eat or don’t like eating fish. They are also a great source of other fatty acids (making them the perfect anti-inflammatory food), protein, fibre, minerals and B vitamins.

They are also a sustainable food source and are grown here in Australia! Better still, they are finally legal for human consumption in Australia which means they are more readily available, I’ve even seen them in the big supermarket chains!

These are great to whip up when you’re in a hurry, you can even press the mix into a baking tray and cut into slices if you don’t have time for rolling them. They’re also a fun snack to make with little ones, allowing them to get their hands dirty and work on their rolling technique. Enjoy! -Renee x

Prep time: 5 minutes

Total time: 5 minutes

Makes: 10-12 balls

INGREDIENTS

  • 1 cup hazelnuts

  • 1/2 cup hemp seeds

  • 1 tbs coconut oil

  • 2 tbs rice malt syrup (you could also use maple syrup or honey)

  • pinch of salt

  • 1 1⁄2-2 tbs cacao (depends on how chocolaty you like it)

  • desiccated/shredded coconut (make sure it’s sulfur free)

METHOD

  1. Process the hazelnuts, in a food processor/thermomix/blender until they resemble meal/flour (not quite nut butter).

  2. Chuck in the remaining ingredients, except the coconut, and process until everything is smoothish and sticking together, adding a touch more rice malt if the mixture is too dry.

  3. Divide and roll the mixture into golf sized balls.

  4. Sprinkle a handful of the desiccated coconut onto a plate and roll the balls into it until covered.
    These will keep for a 5 days in the fridge, and freeze well too.

holding bliss ball.jpg
eaten  blissball.jpg

Quick & Easy Baked Eggs

baked eggs ingredients web.jpg

In a lot of ways, I can't believe I didn't create this recipe sooner! It contains pretty much most of my favourite ingredients, and I bloody well love a hearty savoury breakfast!

Although it seems indulgent and time consuming, I reckon that baked eggs is something you can enjoy any day of the week, as it only takes a few minutes to prepare and is then baked in the oven for 20 minutes. Prep it, wack it in the oven, get ready for work or your day then enjoy!

There's so many variations for this too, you could add chopped leafy greens or mix in our 'Hidden Veggies Baked Beans'. If you eat dairy, a little feta or goats cheese would be absolute perfection as well. I hope you enjoy my baked eggs as much as I do x

Prep time: 5 minutes

Cooking time: 20-25 minutes

Serves 2

uncooked baked eggs website.jpg

INGREDIENTS

  • 4 eggs (organic and free range is always best)

  • 1 medium sweet potato, sliced into 1 cm thick disks

  • 6-8 cherry tomatoes, halved

  • 1/2 red onion, finely chopped

  • salt and pepper to taste

  • drizzle of balsamic vinegar

Optional toppers: sliced chilli, chopped fresh chives and parsley, feta, goats cheese

METHOD

  1. Preheat your oven to 180 degrees Celsius. Grease a deep baking dish with a little olive oil and set aside.

  2. Place the sliced sweet potato into the baking dish, close together without overlapping.

  3. Crack the eggs on top of the sweet potato, fairly close together.

  4. Sprinkle the cherry tomatoes, drizzle on some balsamic vinegar, add a few cracks of salt and pepper and place baking tray in the oven.

  5. Bake for 20-25 minutes until whites are cooked and a glaze is over the whole egg.

  6. Add any of the additional toppers on top when serving.

Dairy Free Chocolate Popsicles

Prep time: 10 minutes

Freezing time: 2 hours

Serves: 4-6

These are a massive hit in our house! I love making these chocolate popsicles because they are dairy free, low sugar and super quick to make! I can whip them up in the morning or early afternoon, knowing that in a couple of hours they will be ready, perfect for those hot days when you need to cool off AND keep the kids happy!

If you need to keep them fructose free omit the dates, otherwise don't be afraid of the realistically small amount of sugar in them! Dates are also fibre rich which helps to slow down the absorption of sugar, and the addition of them in these popsicles adds a special sweetness and creaminess to the texture.

You can also play around with the flavours, omitting the cacao and swapping for carob powder or keeping them vanilla flavoured. If there's a cashew allergy, swap for other nuts such as almonds or macadamias or omit altogether.

I hope you enjoy my dairy free chocolate popsicles as much as we do in my house! x

INGREDIENTS

  • 1/2 cup raw cashews

  • 250 mls coconut milk (you could also use almond, rice or another non dairy milk)

  • 3 fresh dates, roughly chopped

  • 1 tsp vanilla essence

  • 2 tbs cacao powder

  • 2-3 tbs rice malt syrup

METHOD

  1. In a food processor or blender, process the cashews until a paste is formed.

  2. Add the rest of the ingredients and process until smooth.

  3. Pour the mixture into popsicle moulds (I use these and these).

  4. Place in the freezer for 2 hours until completely frozen. You will need to run the moulds under hot water for a for seconds to remove from the mould.

Beef Tagine

beef-tagine-westside-wellness

There is something sublime about slow cooked beef - it tastes so rich and is full of flavour. This recipe is no exception with it's intense spices, herbs and citrus notes. I've adapted the recipe from the wonderful Neil Perry who's recipes I cannot seem to get enough of.

As always I recommend using biodynamic or organic beef to limit exposure to toxins stored in the fats of livestock. 

Also this recipe is not exact - you can play with the flavours to have fun while cooking - just add and subtract according to your own palate and what's spices you have on hand in the cupboard.

Ingredients

  • 1.5kg oyster blade, diced into large chunks
  • 1 tbs extra virgin olive oil
  • 1 x 400g tinned whole tomatoes (or 1 x jar of BioNature organic tomatoes which we love at Westside!).

Chermoula 

  • 1/2 bunch of coriander
  • 1/2 bunch of flat leaf parsley 
  • 1 purple (Spanish) onion, roughly chopped
  • 3 cloves of garlic
  • 1 tbs of ground turmeric
  • 1 tbs extra vigin olive oil
  • 1 tbs garam masala
  • 1 tsp smokey paprika 
  • 1 tsp ground ginger
  • 1 tsp ground cumin
  • 1 tbs whole coriander seeds
  • Juice and rind from 1 orange
  • 1 tsp of chilli flakes (optional)

Method

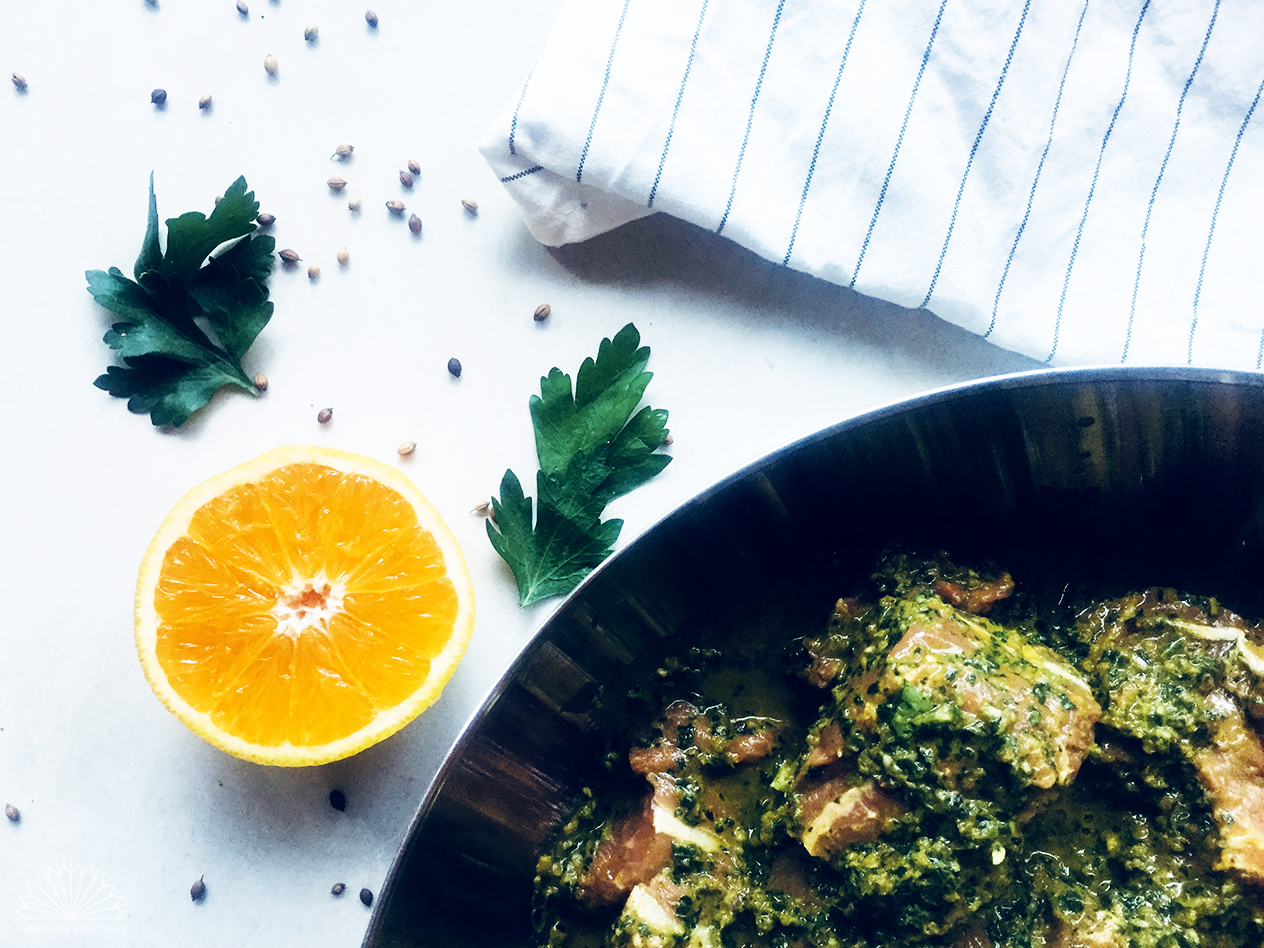
  1. Add all the chermoula ingredients to a food processor or blender and process until smooth.
  2. Marinate the beef in a large bowl covered in the chermoula for about an hour. Leaving it on the bench top covered during this time to allow the flavours to infuse.
  3. Preheat the oven to 170C.
  4. Place your dutch oven or large casserole dish brown on a medium heat on the stove top. Add olive oil and heat until shimmering. Add the beef (retain the remaining chermoula liquid in the bowl) and brown the meat until sealed on all sides (this retains the flavour).
  5. Add the tinned or jarred tomatoes to the remaining chermoula liquid in the bowl. Stir and then add this sauce to the beef.  Mix well. 
  6. Place the dish, covered, in the oven and cook for 2-2.5 hours. Check the dish once or twice to make sure that liquid hasn't cooked off and to stir the beef to prevent from sticking to the bottom. 
  7. Serve this meal with brown rice or quinoa. Sprinkle the dish with chopped parsley or coriander before serving.

Serves 5

Enjoy! x

Beef-tagin-web.jpg

'Cheezy' Rosemary Seed Crackers

stack of crackers.jpg

I love a good cracker! Especially with homemade dip or a nut cheese like the phenomenal Botanical Cuisine cheeses. Seed crackers are a great way to get extra nutrition into your day, all whilst eating something delicious! These crackers are an excellent source of omega 3 from the flax and chia seeds, zinc from the pepitas and sunflower seeds, calcium from the sesame seeds and protein from all the seeds. 

You can whip these up quickly and have them on hand for whenever hungry strikes. They are also a great one to go for when you get that mid-arvo slump and want to reach for something sugary. Reach for these babies instead and stabilise your blood sugar and get an energy boost from the crunch, protein, carbs and healthy fats!

I hope you enjoy these tasty seed crackers, and check out our other recipes for dips to pair them with here.

seeded cracker ingredients.jpg

INGREDIENTS

  • 2 tbs buckwheat groats

  • 2 tbs chia seeds

  • 1/2 cup flaxseed (linseed)

  • 2 tbs sesame seeds

  • 1/2 cup sunflower seeds

  • 1/2 cup pepitas (pumpkin seeds)

  • 1/2-1 tsp salt

  • 3 tbs savoury yeast flakes (also called nutritional yeast)

  • 1 tsp dried rosemary (crushed)

  • 1 cup filtered or tap water

METHOD

  1. Preheat the oven to 180 degrees Celcius. Line two baking trays with baking paper or a silicone baking mat and set aside.

  2. Roughy chop the sunflower seeds and pepitas.

  3. Combine all the ingredients in a bowl and mix well. Allow to set for 20-30 minutes until the water has absorbed and the seeds have become gel like.

  4. Spread the mixture across both baking trays, ensuring it is evenly spread and not too thick (you want it less then 1/2 cm thick). Using a pizza cutter or knife, score the mix so the crackers will break apart easily once made (I usually make the crackers approximately 5 x 5 cm).

  5. Place the trays in the oven and bake for 20 minutes until slightly brown. remove the trays from the oven, allow to cool slightly then break the crackers apart.

  6. Flip the crackers over on the tray, place back in the oven and back for a further 15-20 minutes until golden brown.

  7. Allow to cool completely before storing in an airtight container.

uncooked crackers.jpg
toasted crackers web.jpg

Grain & Refined Sugar Free Granola

jar of granola web.jpg

My go to breakfast pretty much 7 days a week is eggs in some form or other, but every now and then I really want crunchy granola with a bit of fruit and natural yogurt. I'm finding myself eating fewer grain based meals due to digestive issues, it really helps to cut down that stodgy and bloated feeling post eating that I often experience with things like oats. I'd been working on a grain free granola recipe in my head for quite a few months before I finally whipped out the ingredients and had a crack at making it, and boy is it delicious (and easy to make)!

I have this as a snack in the arvo when I need a little pick me up as crunchy foods are great for improving focus and concentration due to the work of our jaws having to chump those harder foods, and the protein and good fats give that slow burn that maintains energy for the rest of the day.

This grain and refine sugar free granola can be enjoyed with yogurt, fruit and milk (dairy free or otherwise), but its also great as a topper for fruit and yogurt or even eaten like trail mix. Enjoy! x Renee 

granola ingredients web.jpg

INGREDIENTS

  • 2 cups buckwheat groats
  • 1/2 cup sunflower seeds
  • 1/2 cup almonds
  • 1/4 cup hazelnuts
  • 1/4 cup chia seeds
  • 1 cup shredded coconut
  • 1/4 cup melted coconut oil
  • 1/4 cup rice malt syrup
  • 2 tsp vanilla essence/extract
  • 1/2 tsp ground cinnamon
uncooked granola.jpg

METHOD

  1. Preheat oven to 180 degrees Celsius. Line two baking trays with baking paper or silicon baking mats and set aside.
  2. Roughly chop the almonds and hazelnuts and place in a large bowl with the remaining ingredients.
  3. Combine well until thoroughly mixed. Scoop half the mixture on each baking tray and spread across thinly and evenly.
  4. Place in the oven and bake for 15 minutes, then swap the trays in the oven and stir the mixture around to ensure even baking.
  5. Bake for a further 20-30 minutes until golden brown. Allow to cool completely before placing in an airtight container. 
Carrot & Date Balls

carrot-balls-westside-wellness

This beautiful recipe was given to me by dear friend. Without a doubt it was love at first bite - I am HOOKED on these suckers.... and guess what?! So are the kiddos!

These balls are sweet from the delicious medjool dates but the sweetness is nicely balanced by the addition of cinnamon which helps to regulate blood sugar levels. Because they are full of carrots they are packed fibre, anti-inflammatory healthy fats and beta-carotene. And I just LOVE the earthy taste of the nutmeg which gives them a delicious autumnal flavour.

At Westside we are constantly talking to clients about having healthy snacks like these on hand, so when you are feeling like a little "sumthim sumthin"  at the end of the day then you have some nutritious options to turn to. Simple!

Plus they take about 10 minutes to make so there really is no excuse.

Ingredients

  • 1 & 1/2 x cups of grated carrot
  • 6-8 x medjool dates
  • 1 x cup of raw nuts (I like pecan but walnut, cashew & almond all work well too).
  • 1 x small handful of shredded coconut
  • 1 x pinch of ground nutmeg
  • 1 x tsp of ground cinnamon
  • Zest from 1 orange
  • 1 x tbs of almond meal or LSA to bind 
  • Extra shredded coconut to roll the balls in at the end

Method

  1. Blend all ingredients except for the almond meal/LSA together in a food processor until well combined. 
  2. Stir in the LSA or almond meal
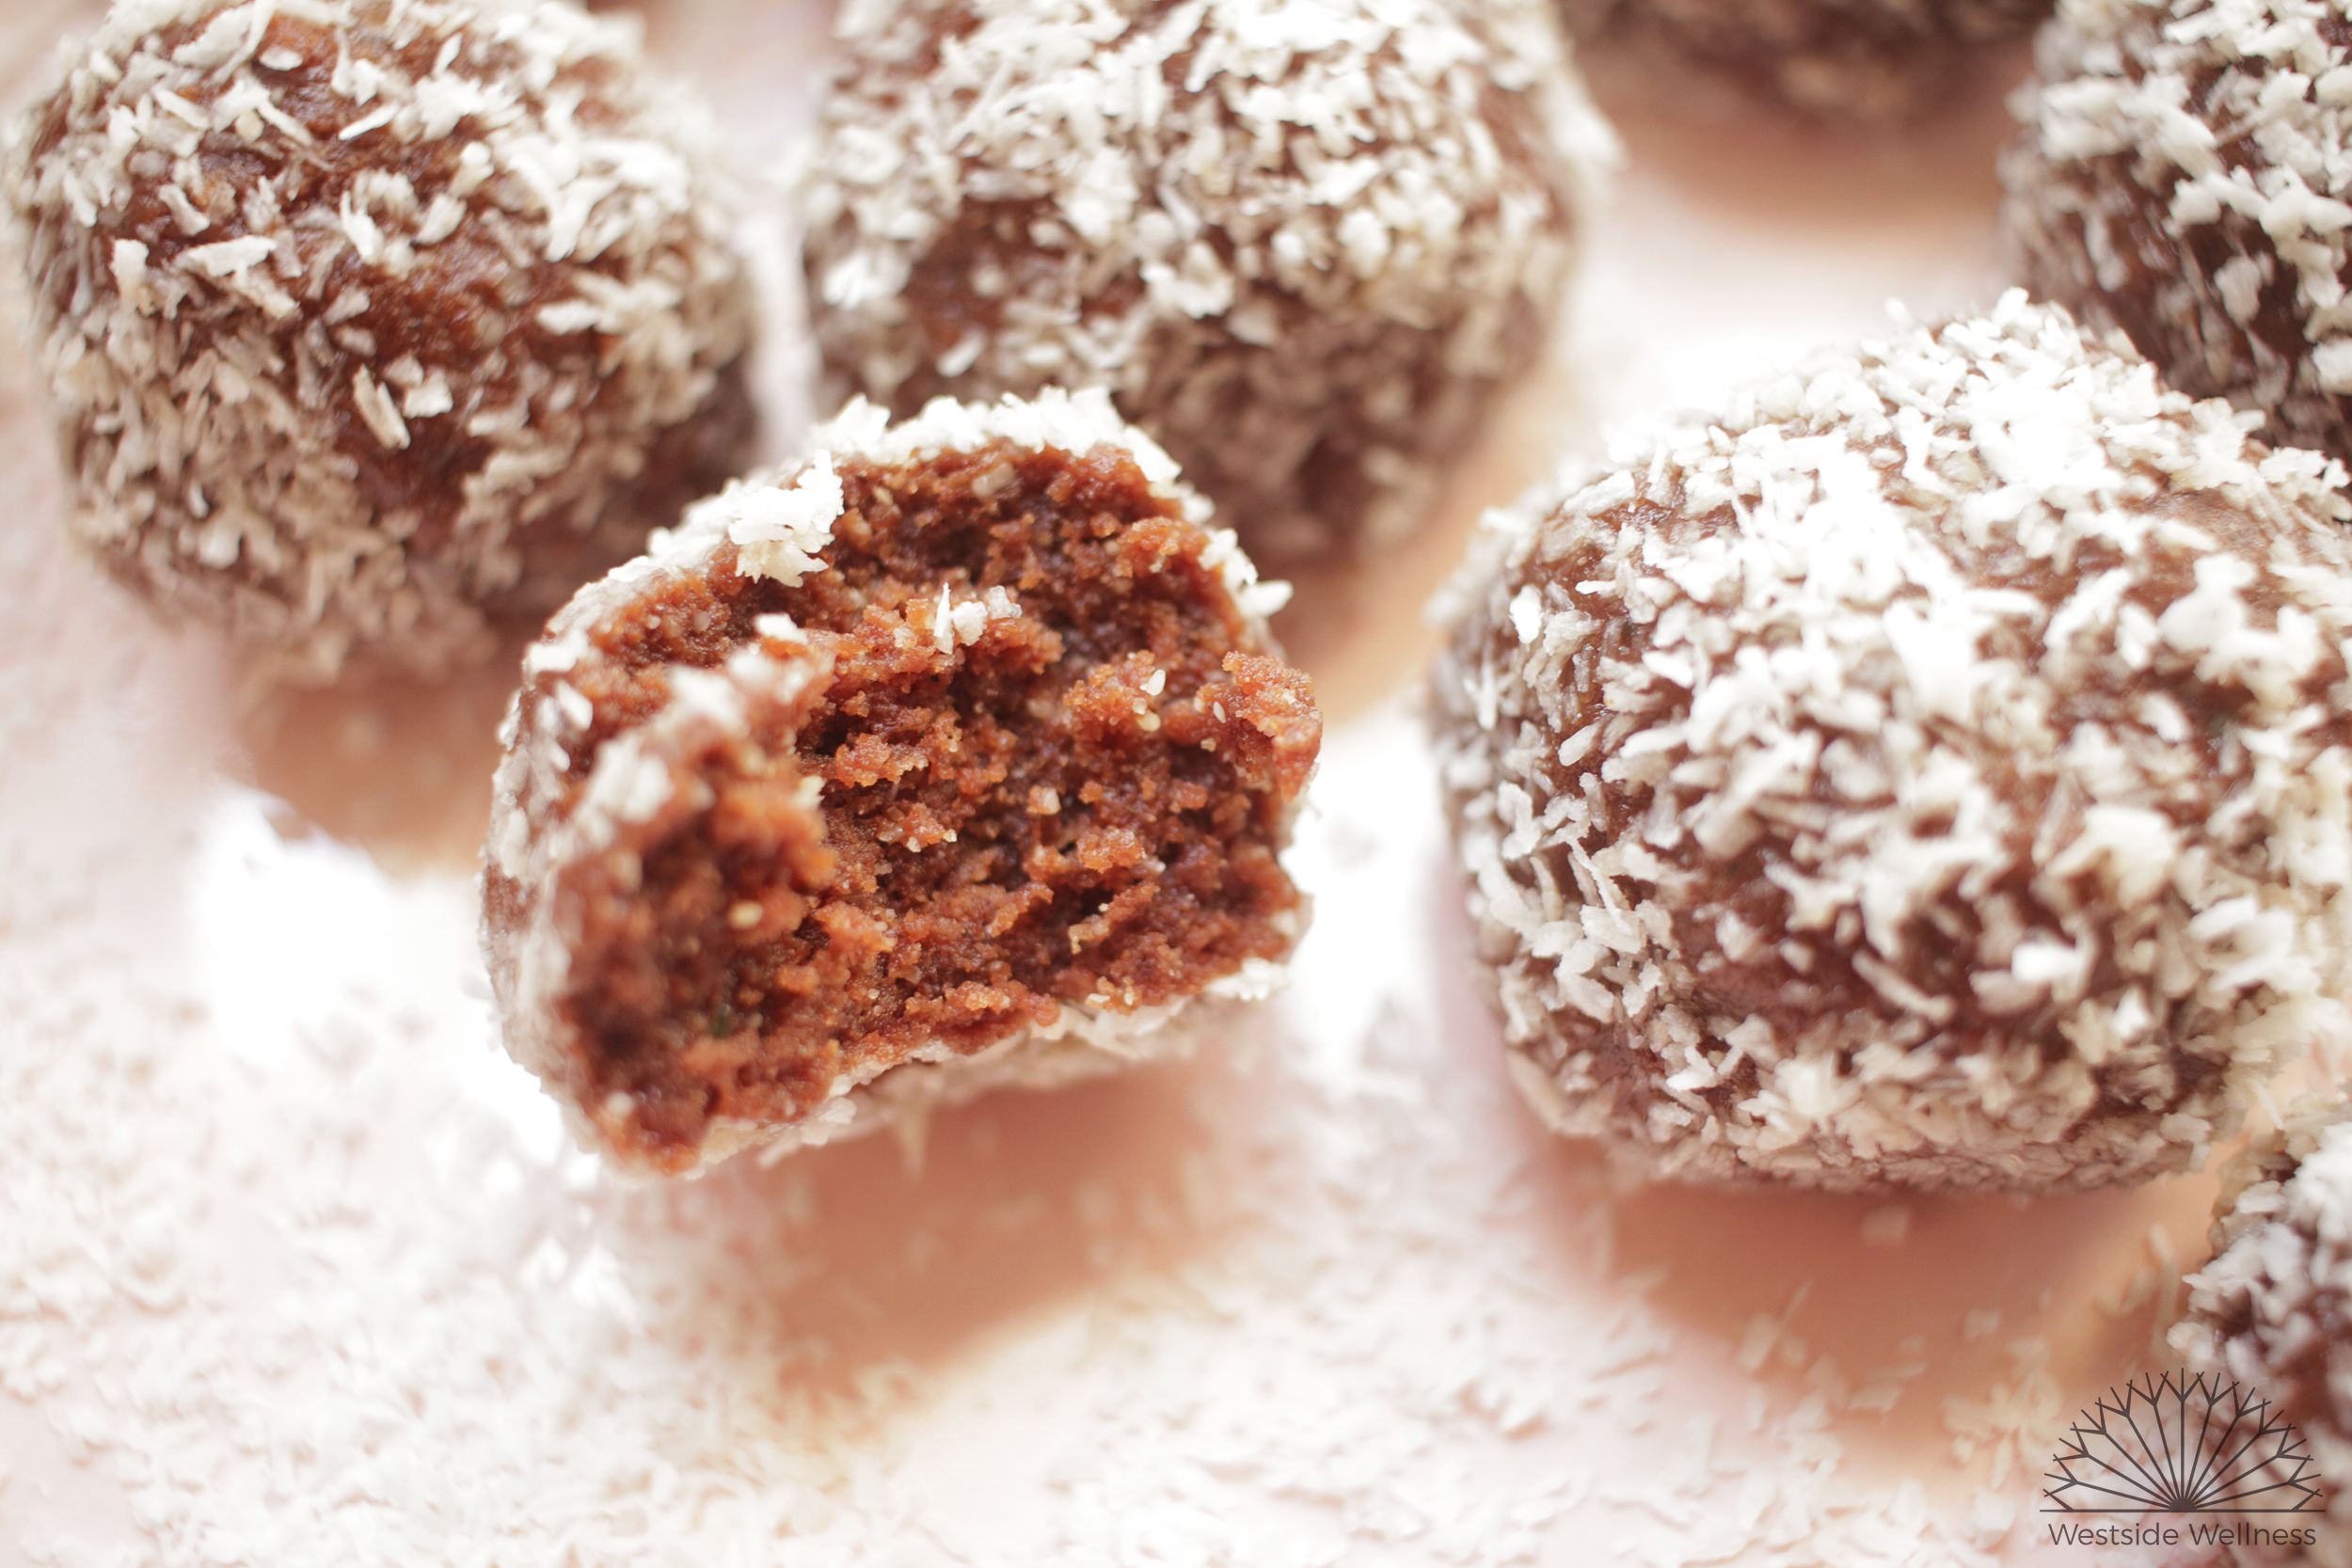
  3. Roll mixture into balls and then roll each ball in some shredded coconut.
  4. Refrigerate in a sealed container for up to 2 weeks. 

Enjoy xx 

carrot-balls-healthy-snack-westside-wellness

Homemade Hazelnut Chocolate

I love chocolate so much! Its such a nice treat to have here and there, and although I thoroughly enjoy my quick chocolate recipe, I wanted something that was a bit more true to store bought chocolate without the dairy, refined sugar and fillers.

I always have cacao butter on hand in the cupboard, it stores well and its a nice thing to have on hand for desserts. I had been playing around with a 'nutella' recipe using hazelnuts and thought why not combine the two to make chocolate? The result? A delicious, dairy and refined sugar free chocolate that ticks ALL the boxes. It's enjoyed by all members of my family (especially my youngest who has to avoid dairy to manage his eczema), and I made a big batch to give away in little jars as gifts over the festive season and they were a HUGE hit!

I hope you enjoy this chocolate recipe as much as I do. xRenee

roasting hazelnuts.jpg

Cooking time: 25 mins

Total time: 1 hour 25 mins

Makes: 3-4 trays of chocolates in moulds

Ingredients

  • 1 cup hazelnuts*

  • 200 g cacao butter, roughly chopped

  • 1/8-1/4 tsp salt

  • 1 1/2 tsp vanilla essence

  • 100 g rice malt syrup**

  • 1/4 cup cacao powder

Method

  1. Preheat your oven to 150 degrees Celcius.

  2. Line a baking tray with baking paper (or silicon baking sheet) and spread hazelnuts on top. Bake for 10-15 mins, rolling the hazelnuts around at the halfway point for even roasting. Remove from oven once the skins have become darker brown and started to split.

  3. Allow the hazelnuts to cool, then place in an airtight container and shake vigorously until the majority of the skins have come off. Once the skins have been removed place in a food processor/blender/thermomix and process until smooth, scraping down the sides to ensure its processed evenly. Set aside.

  4. Set up a double boiler (a pot half filled with water with a glass or metal bowl on top) and bring the water to the boil. Add the cacao butter and melt, stirring occasionally with a whisk.

  5. Once the cacao butter has melted add the remaining ingredients (including the hazelnut butter) and whisk over the heat until well combined.

  6. Pour the mixture into chocolate moulds (I place the moulds on a baking tray so they don't spill as I transfer) and place them in the freezer for 1 hour. As you are pouring the chocolate mix, stir regularly as the hazelnut butter tends to sink to the bottom. These chocolate don't melt as quickly as other homemade ones, but are still best kept in the freezer.


*You can use 1/2 cup of store bought hazelnut butter instead

**You can use any other liquid sweetener (honey, maple, coconut nectar etc) or very finely ground coconut sugar. Using rice malt syrup allows this recipe to be fructose friendly.
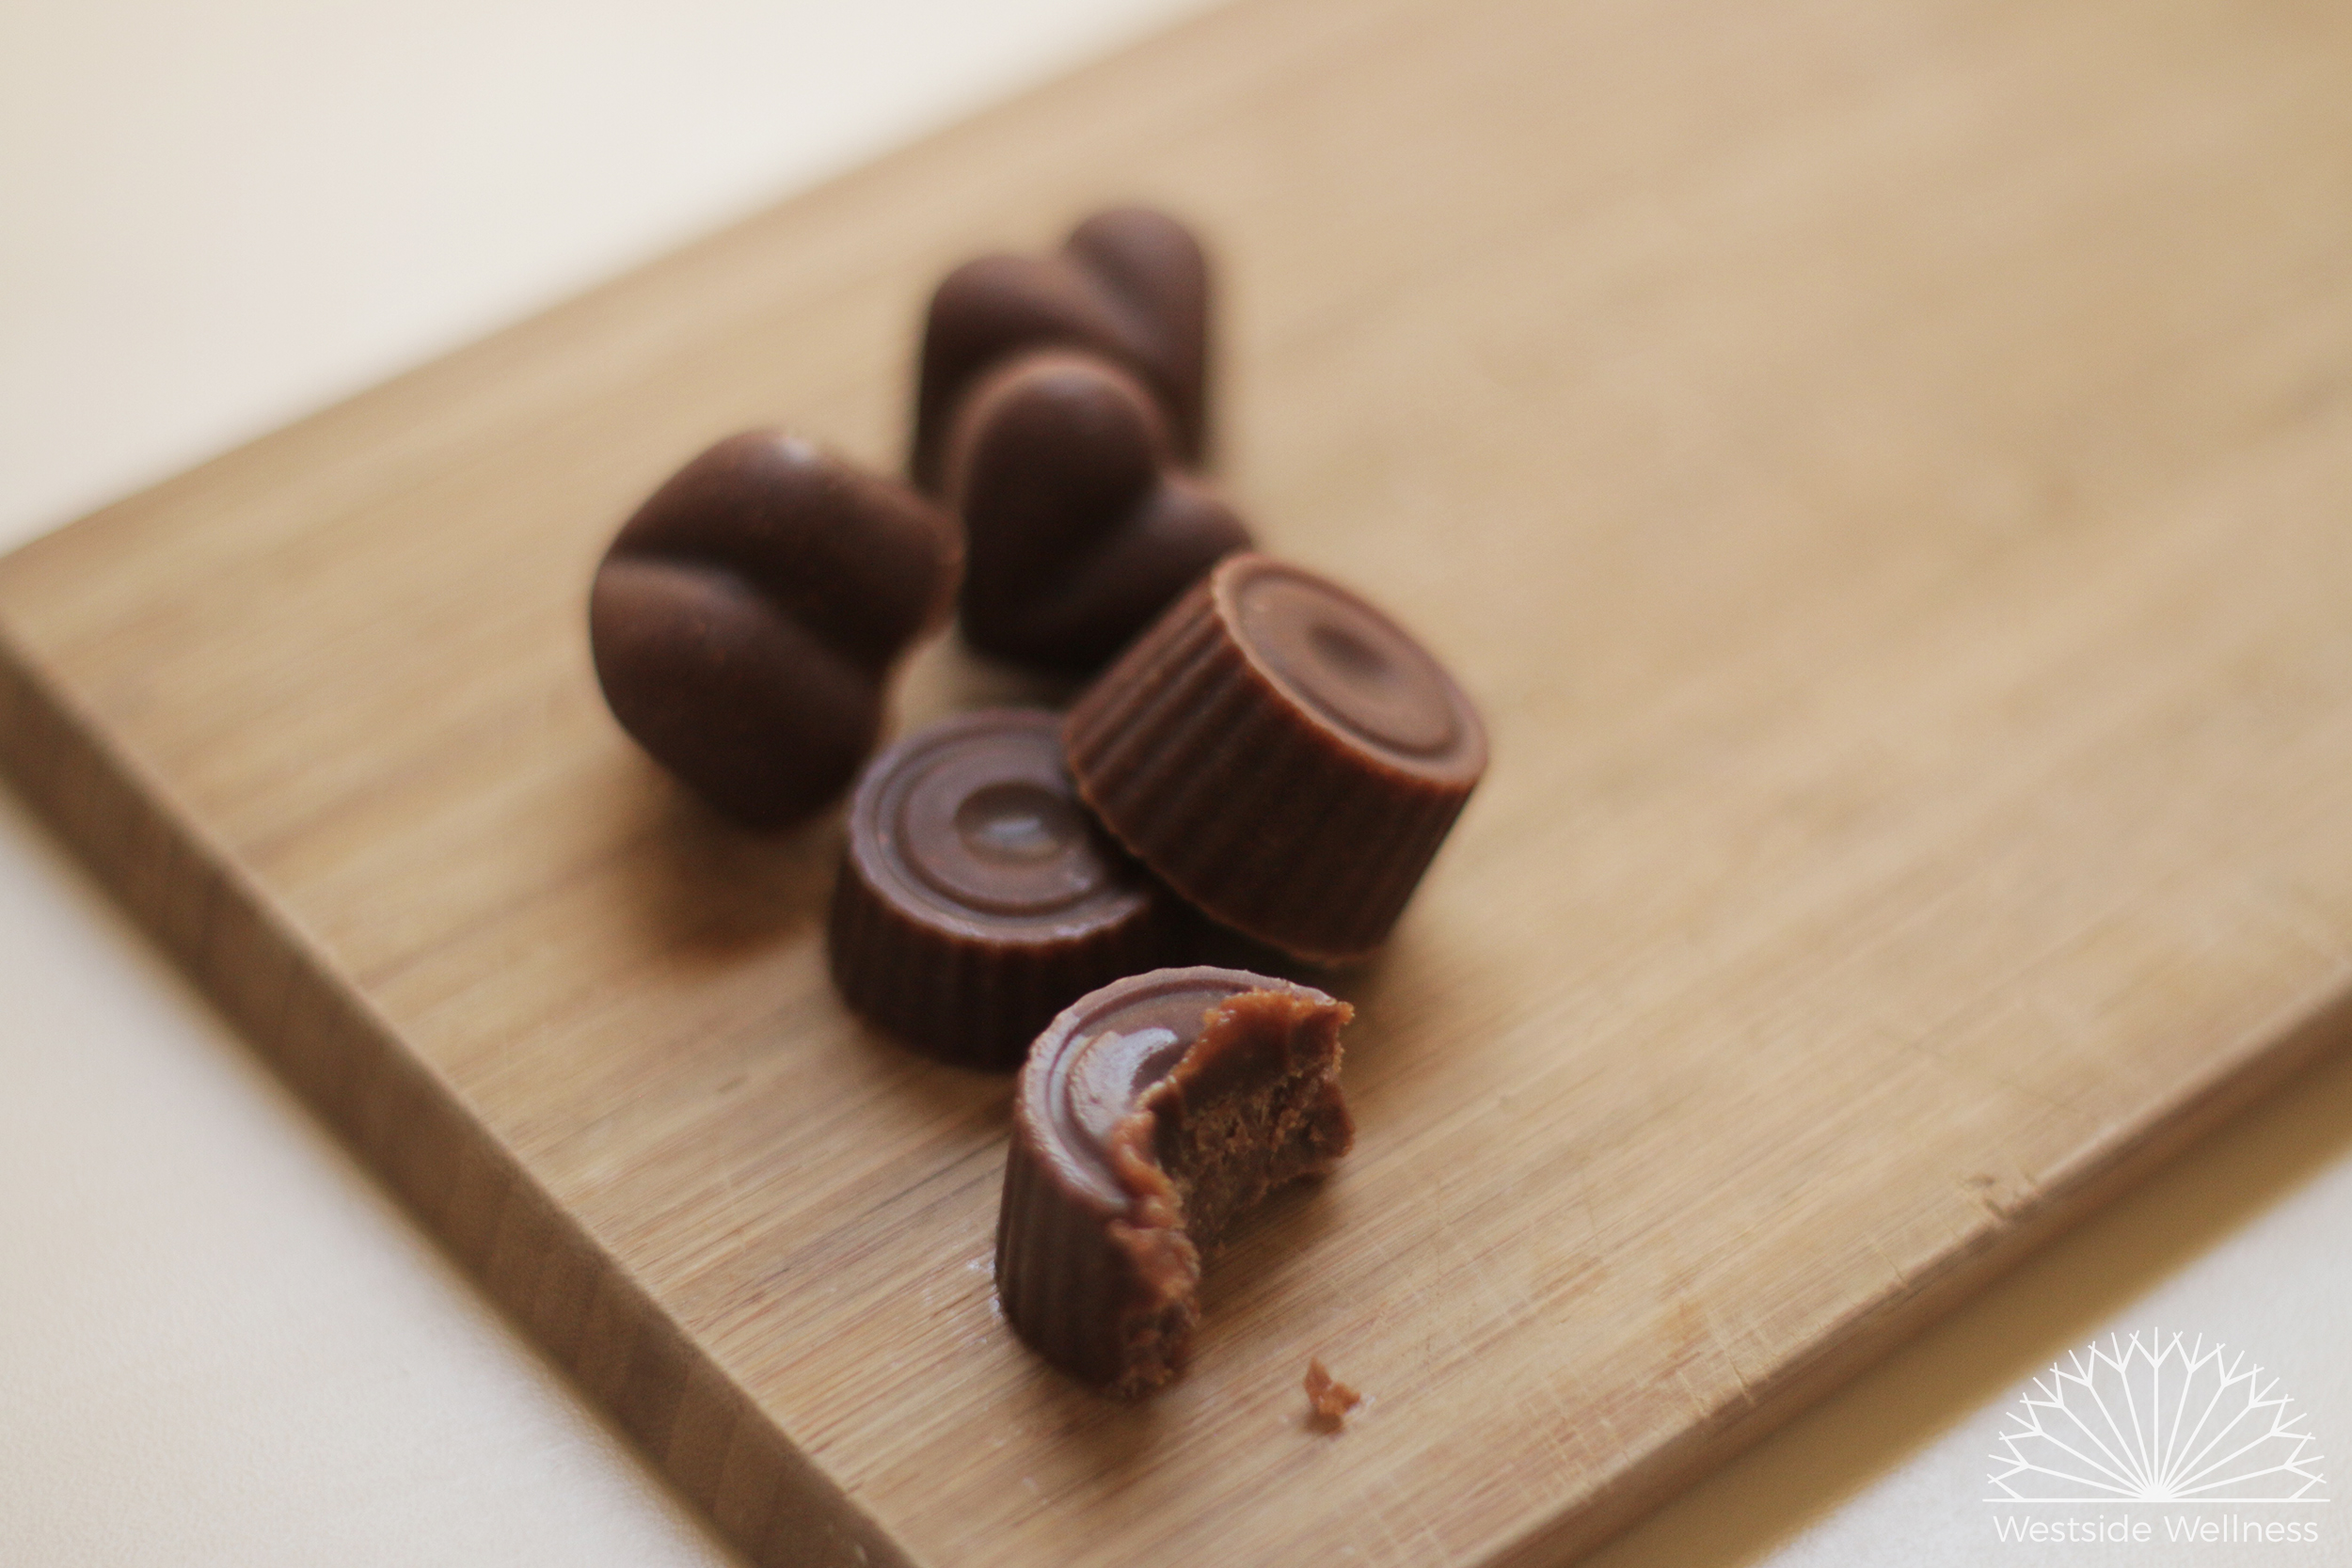
small chocolates website.jpg

Veggie & Egg Breakfast Muffins

We so know what its like to be rushing around in the morning, trying to get yourself ready, maybe even your kids, trying to find clean clothes and drink bottles and all that jazz.  Getting a good breakfast in can be nearly impossible during these mornings! Some of us can handle that, but Renee absolutely cannot go without breakfast so she whipped up this veggie loaded, egg muffin recipe that you can make in advance and eat a couple on the go!

They make great, nutrient dense snacks too and freeze well, so you can double the recipe and freeze some for busy, busy times. Enjoy!

Makes 10 muffins

not cooked egg muffins.jpg

INGREDIENTS

  • 6 eggs
  • ½ medium zucchini, grated with excess moisture squeezed out
  • ½ small sweet potato, grated with excess moisture squeezed out
  • Large handful of leafy greens, roughly chopped
  • ¼ cup of milk (soy, rice, almond, dairy etc)
  • Salt and pepper

Optional additions:

  • 100 g beef mince, cooked in a pan with a little olive oil
  • 50 g feta, crumbled
  • 1 tbs savoury yeast flakes
  • handful fresh, chopped herbs such as chives, parsley, basil

METHOD

  1. Preheat oven to 180 degrees Celsius. Grease 2 muffins trays with a little olive oil and set aside.
  2. In a large bowl, whisk together the eggs, milk, salt and pepper. Add the zucchini, sweet potato and leafy greens and combine well. Add any of the additional ingredients and mix well.
  3. Pour mixture into muffin trays, half filling each segment.
  4. Bake for 20-30 minutes, until brown on top. These will keep in the fridge for 5 days, and freeze well.
egg muffins website version.jpg

Carrot Hummus with Paleo Crackers

carrot hummus.jpg
carrot hummus ingredients.jpg

If you're wanting to mix things up in the dip department, then this carrot hummus is definitely one to give a try! It's go a similar spiced flavour to regular hummus with the cumin and coriander, but the roasted carrots add a lovely sweetness to it, and the cashews add a punch nutritionally with protein, calcium and magnesium.

The crackers are great for those who eat paleo, grain or gluten free but also for those who want need a little variety in the cracker department.

You can omit the cashews in the dip and swap the almond meal for more coconut flour or tapioca flour if there's nut allergies or to keep them lunchbox friendly for school. You can also eat the baked carrot as is for a salty and sweet snack (I bake extra for that exact purpose).

The carrot hummus freezes well and the crackers will last 5 days in an airtight container and up to 10 days in a container in the fridge. Enjoy!

Ingredients

  • 2 carrots, cut into 1 cm thick disks
  • 2 tbs coconut oil, melted
  • 1 tsp ground coriander
  • 1 tsp ground cumin
  • ½ tsp ground sumac (or smoked paprika)
  • cracked pepper and a pinch of salt
  • Juice of ½-1 lemon
  • ½ cup cashews
  • 2 tbs tahini
  • ¼ tsp salt
  • pepper to taste
  • ½ tsp each ground cumin and coriander
  • 1 tsp olive oil

Method

  1. Preheat oven to 180 degrees celcius. Place cashews in a bowl, add 1/2 tsp salt and cover with water, leaving to soak for at least 2 hours (up to 6 hours).
  2. In bowl, combine the carrots, 1 teaspoon each of coriander and cumin, the sumac and coconut oil. Place a sheet of baking paper on a baking tray and pour the carrot mixture on top. Spread out and bake for around 20-30 minutes, until crispy on the outside and soft on the inside.
  3. Throw the baked carrots, soaked cashews (drained and rinsed), and the rest of the ingredients in a food processor or thermomix and blend until smoothish (depends on the texture you like it). Taste and add salt, pepper, cumin and coriander if necessary. If the mixture is a little too dry, add olive oil a teaspoon at a time until you get the consistency you like.
uncooked crackers.jpg

    Paleo Crackers

    Ingredients

    • 1/4 cup sesame seeds
    • 1/3 cup sunflower seeds
    • 1 tbs savoury yeast flakes
    • 3 tbs melted coconut oil
    • 1/2 cup coconut flour
    • 1 cup almond meal
    • 1/2 tsp salt
    • 2 eggs or 2 flaxeggs (2 tbs ground flaxseed + 4 tbs water)

    Method

    1. Preheat your oven to 180C.
    2. If you are using flaxeggs instead of eggs, place the ground flaxseed and water into a cup and mix well. Set aside.
    3. In a dry pan, toast the sesame and sunflower seeds until golden brown, this will take around 7 minutes.
    4. Place the toasted seeds into a food processor and grind into a fine powder
    5. Add the remaining ingredients (savoury yeast, melted coconut oil, coconut flour, almond meal, salt and eggs or flaxegg) and process until well combined.
    6. Form the mix into a large ball and flatten with a rolling pin between two sheets of baking paper until the pastry is approx 1/2 cm thick. Using a biscuit cutter or knife, cut the pastry into cracker shapes. Place the baking paper with the cut out pastry on a baking tray and bake for 10-15 minutes, until golden brown. You do want to watch these as the line between golden brown and burnt is pretty fine.

    Stored in an airtight container, these will keep for 5 days.

    carrot hummus & crackers.jpg

    DIY Coconut Milk

    coconut-milk.jpg

    Making your own coconut milk is super easy! At first I was daunted by the idea of making coconut milk - it seemed like I was taking the whole "making food from scratch" thing a bit to far. But now I can't imagine buying coconut milk in a store because it's honestly super simple to make, inexpensive and doesn't involve lots of preparation time. I often whip up a batch before making  coconut-based curry. 

    All you need is two ingredients (desiccated coconut and water) and a couple of household kitchen items. Best of all you can make some coconut body scrub with the leftover coconut pulp - this stuff leaves your skin exfoliated, moisturised and silky smooth!

    Ingredients

    • 1.5 cups desiccated coconut
    • 4 cups of filtered water

    Utensils

    • Food processor, blender or thermomix
    • Fine mesh sieve, cheesecloth, nut milk bag or clean tea towel
    • Large bowl

    Method

    1. Heat water until almost boiling.
    2. Place coconut in the bowl and pour in hot water.
    3. Leave the coconut to absorb the water (about 3 minutes)
    4. Blend the coconut and water for 5 minutes or so until the liquid appears creamy. You may need to do this in two batches  depending on the volume capacity of your blender. 
    5. Strain through fine mesh sieve or cheesecloth.
    6. Keeps refrigerated for 3-4 days. Simply stir to recombine if the water and fat separate. 

    Makes 1L.