fructose free

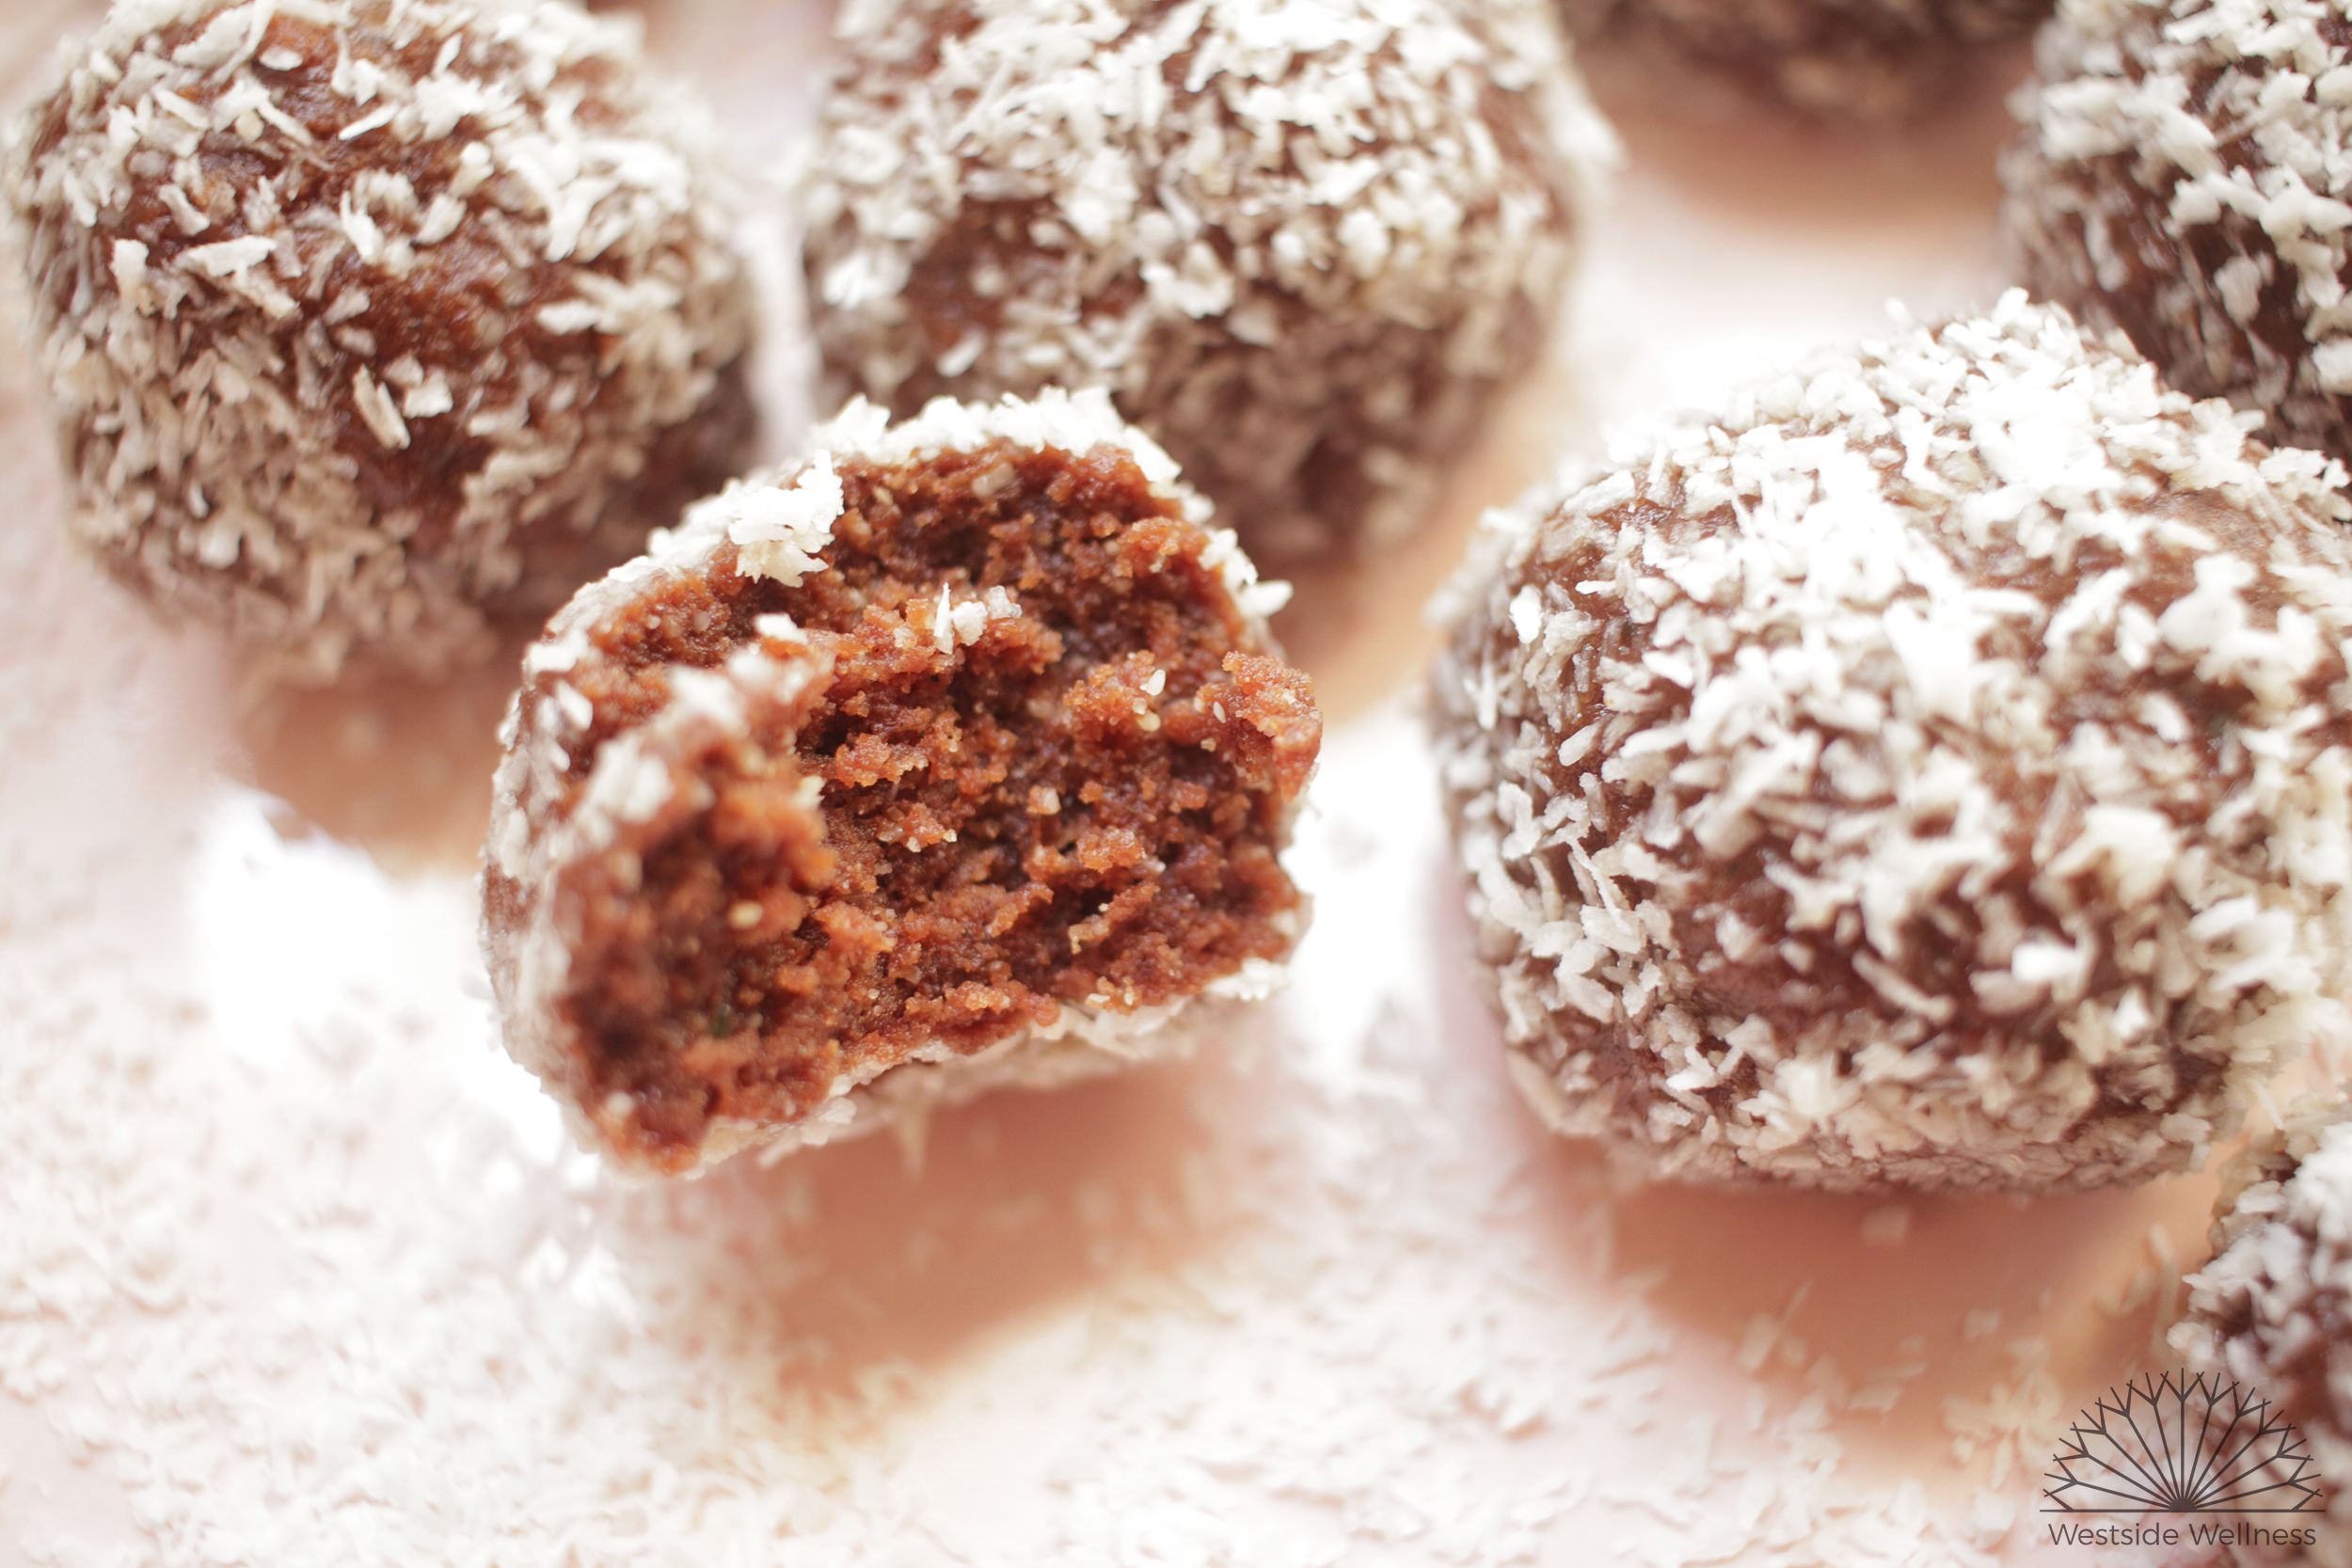
Hazelnut Choc Bliss Balls

nutella bliss balls ingredients web.jpg

I’m such a huge fan of bliss balls, they are a sinch to make and are a great snack for on the go. It’s easy enough to make them nutrient dense, loaded with good fats, protein, minerals and fibre. I prefer to keep my bliss balls on the fruit free and lower fructose side, firstly as I tend to eat thousands of them when they are super sweet, and secondly as I find I get quite a bad crash from the sugar high later on if they are loaded with dates and maple syrup or agave.

I created this particular recipe to have an example of how to add hemp seeds to your day for my clients. I personally love hemp seeds sprinkled on dishes or added to smoothies, but found that others really wanted another way of incorporating them into snacks/meals. I’m a HUGE fan of hemp seeds as they are an excellent source of omega 3 fatty acids and are therefore great for those who don’t eat or don’t like eating fish. They are also a great source of other fatty acids (making them the perfect anti-inflammatory food), protein, fibre, minerals and B vitamins.

They are also a sustainable food source and are grown here in Australia! Better still, they are finally legal for human consumption in Australia which means they are more readily available, I’ve even seen them in the big supermarket chains!

These are great to whip up when you’re in a hurry, you can even press the mix into a baking tray and cut into slices if you don’t have time for rolling them. They’re also a fun snack to make with little ones, allowing them to get their hands dirty and work on their rolling technique. Enjoy! -Renee x

Prep time: 5 minutes

Total time: 5 minutes

Makes: 10-12 balls

INGREDIENTS

  • 1 cup hazelnuts

  • 1/2 cup hemp seeds

  • 1 tbs coconut oil

  • 2 tbs rice malt syrup (you could also use maple syrup or honey)

  • pinch of salt

  • 1 1⁄2-2 tbs cacao (depends on how chocolaty you like it)

  • desiccated/shredded coconut (make sure it’s sulfur free)

METHOD

  1. Process the hazelnuts, in a food processor/thermomix/blender until they resemble meal/flour (not quite nut butter).

  2. Chuck in the remaining ingredients, except the coconut, and process until everything is smoothish and sticking together, adding a touch more rice malt if the mixture is too dry.

  3. Divide and roll the mixture into golf sized balls.

  4. Sprinkle a handful of the desiccated coconut onto a plate and roll the balls into it until covered.
    These will keep for a 5 days in the fridge, and freeze well too.

holding bliss ball.jpg
eaten  blissball.jpg

Grain & Refined Sugar Free Granola

jar of granola web.jpg

My go to breakfast pretty much 7 days a week is eggs in some form or other, but every now and then I really want crunchy granola with a bit of fruit and natural yogurt. I'm finding myself eating fewer grain based meals due to digestive issues, it really helps to cut down that stodgy and bloated feeling post eating that I often experience with things like oats. I'd been working on a grain free granola recipe in my head for quite a few months before I finally whipped out the ingredients and had a crack at making it, and boy is it delicious (and easy to make)!

I have this as a snack in the arvo when I need a little pick me up as crunchy foods are great for improving focus and concentration due to the work of our jaws having to chump those harder foods, and the protein and good fats give that slow burn that maintains energy for the rest of the day.

This grain and refine sugar free granola can be enjoyed with yogurt, fruit and milk (dairy free or otherwise), but its also great as a topper for fruit and yogurt or even eaten like trail mix. Enjoy! x Renee 

granola ingredients web.jpg

INGREDIENTS

  • 2 cups buckwheat groats
  • 1/2 cup sunflower seeds
  • 1/2 cup almonds
  • 1/4 cup hazelnuts
  • 1/4 cup chia seeds
  • 1 cup shredded coconut
  • 1/4 cup melted coconut oil
  • 1/4 cup rice malt syrup
  • 2 tsp vanilla essence/extract
  • 1/2 tsp ground cinnamon
uncooked granola.jpg

METHOD

  1. Preheat oven to 180 degrees Celsius. Line two baking trays with baking paper or silicon baking mats and set aside.
  2. Roughly chop the almonds and hazelnuts and place in a large bowl with the remaining ingredients.
  3. Combine well until thoroughly mixed. Scoop half the mixture on each baking tray and spread across thinly and evenly.
  4. Place in the oven and bake for 15 minutes, then swap the trays in the oven and stir the mixture around to ensure even baking.
  5. Bake for a further 20-30 minutes until golden brown. Allow to cool completely before placing in an airtight container. 

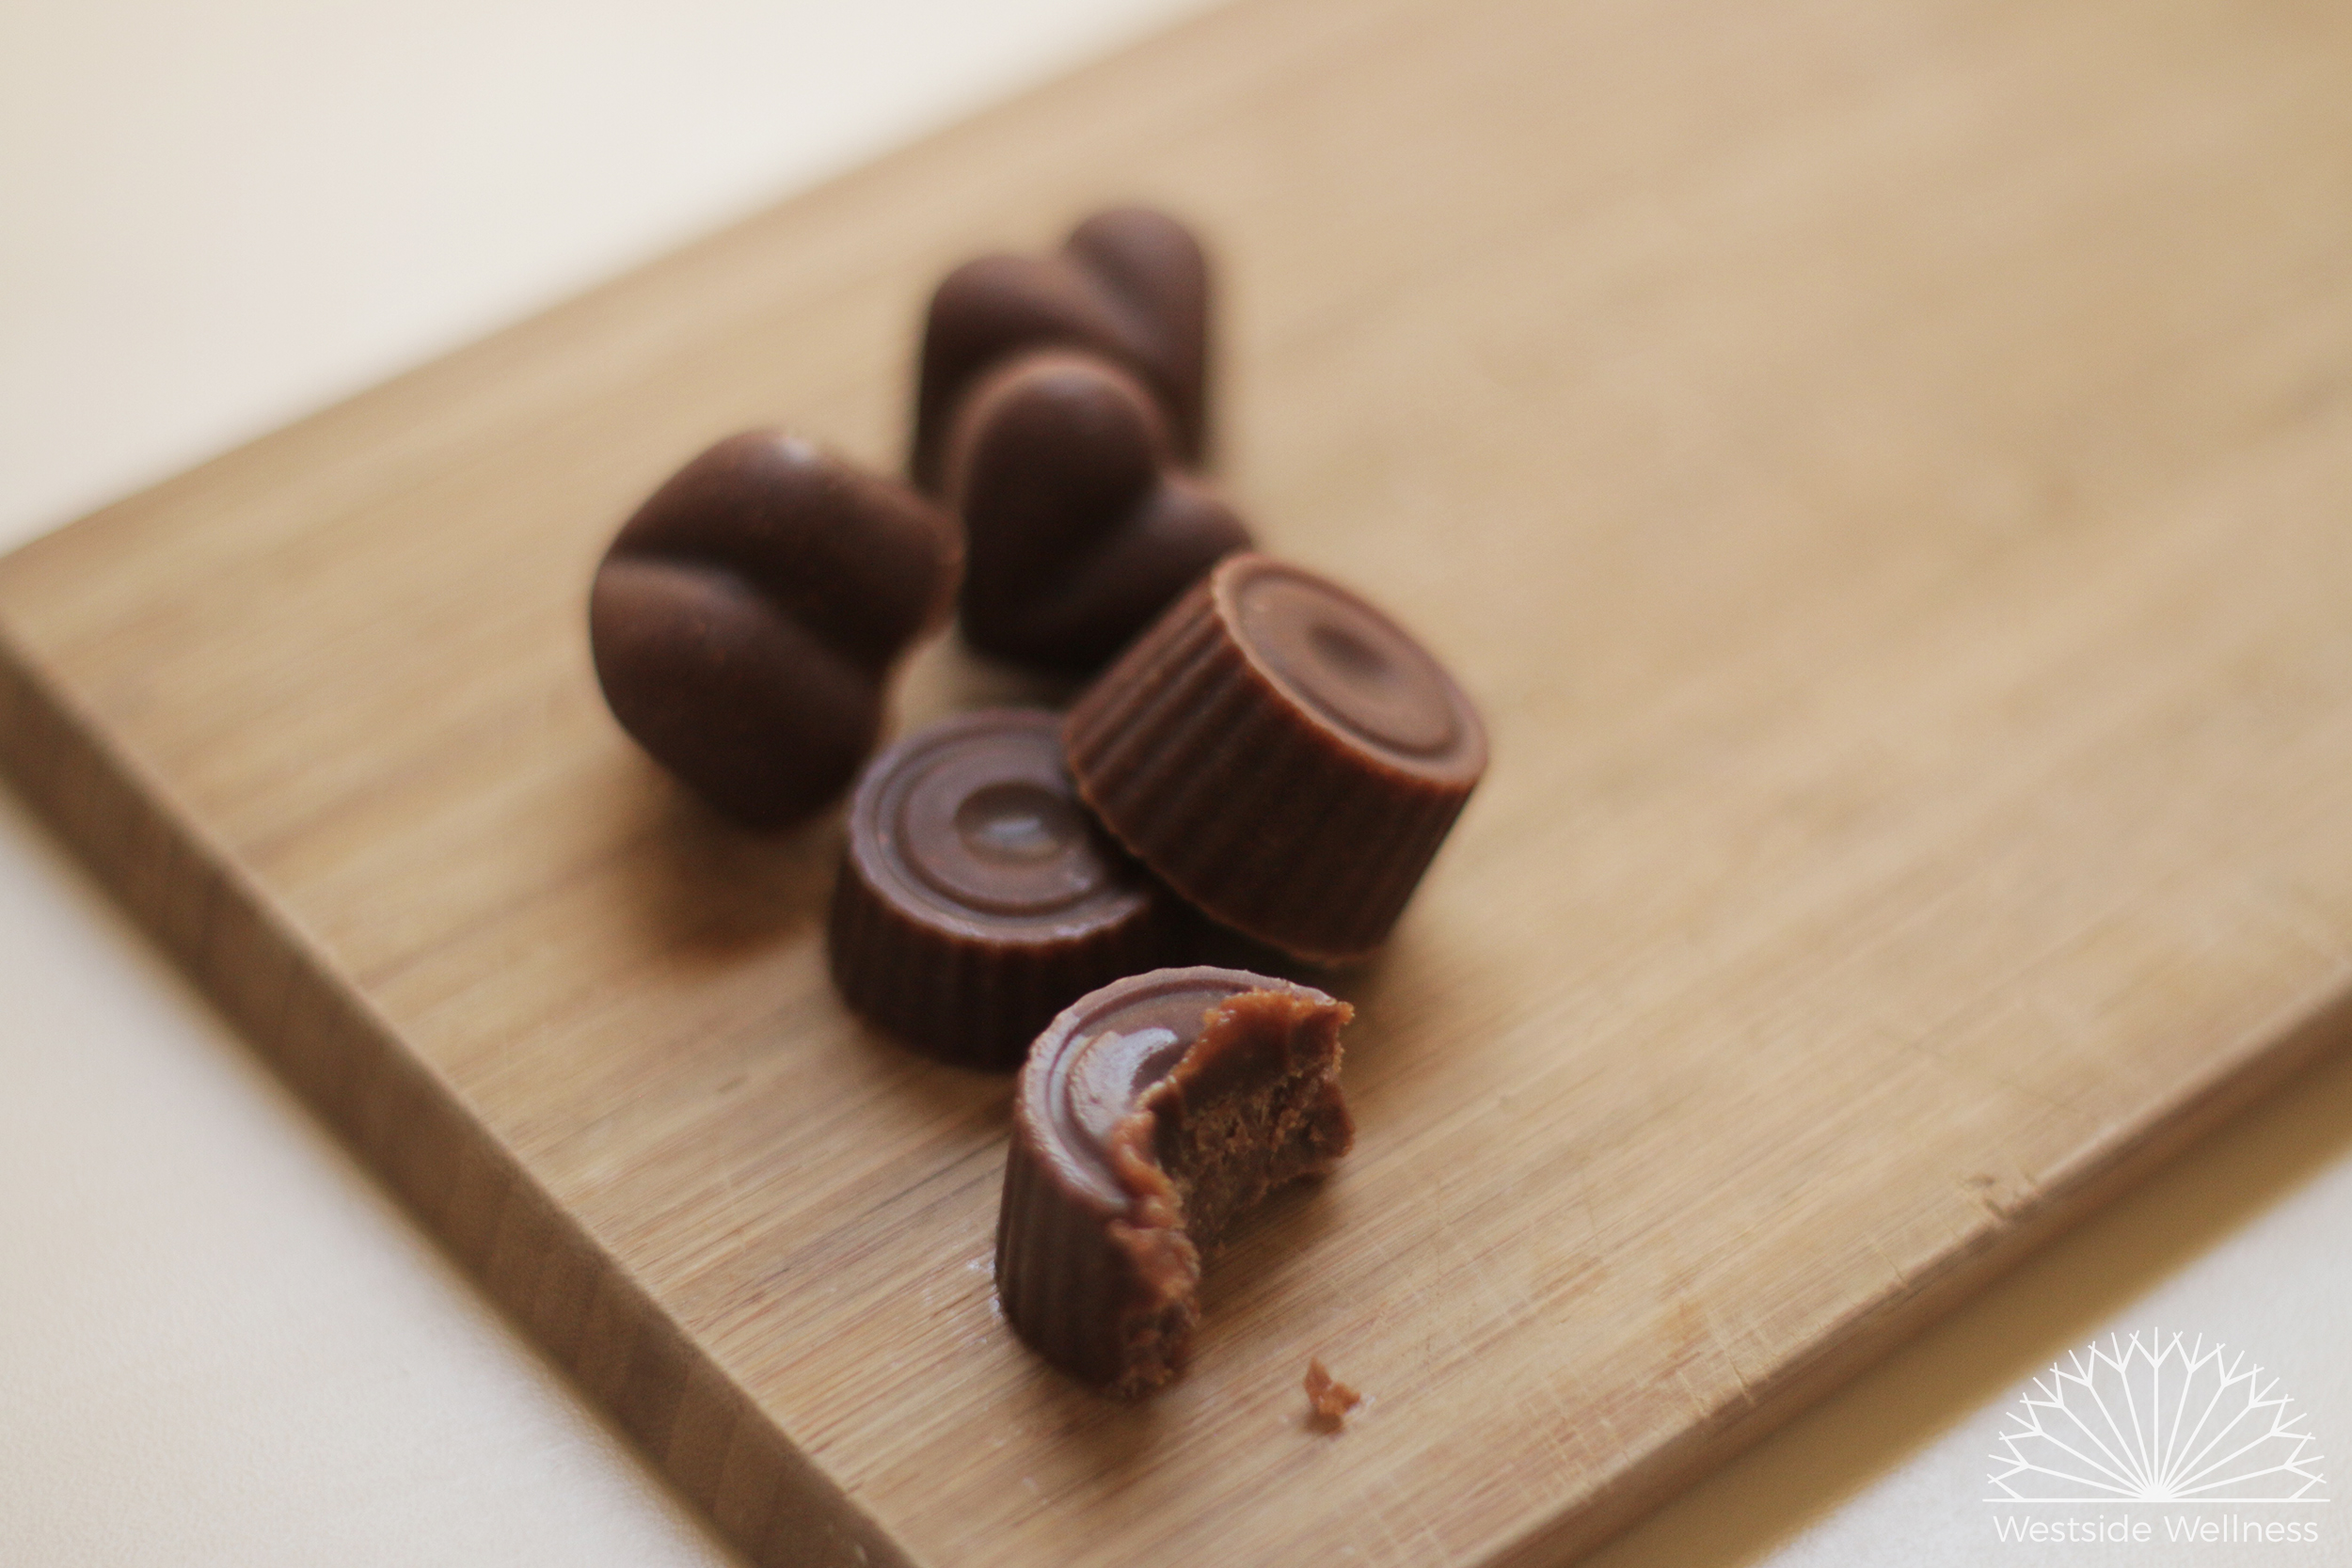
Homemade Hazelnut Chocolate

I love chocolate so much! Its such a nice treat to have here and there, and although I thoroughly enjoy my quick chocolate recipe, I wanted something that was a bit more true to store bought chocolate without the dairy, refined sugar and fillers.

I always have cacao butter on hand in the cupboard, it stores well and its a nice thing to have on hand for desserts. I had been playing around with a 'nutella' recipe using hazelnuts and thought why not combine the two to make chocolate? The result? A delicious, dairy and refined sugar free chocolate that ticks ALL the boxes. It's enjoyed by all members of my family (especially my youngest who has to avoid dairy to manage his eczema), and I made a big batch to give away in little jars as gifts over the festive season and they were a HUGE hit!

I hope you enjoy this chocolate recipe as much as I do. xRenee

roasting hazelnuts.jpg

Cooking time: 25 mins

Total time: 1 hour 25 mins

Makes: 3-4 trays of chocolates in moulds

Ingredients

  • 1 cup hazelnuts*

  • 200 g cacao butter, roughly chopped

  • 1/8-1/4 tsp salt

  • 1 1/2 tsp vanilla essence

  • 100 g rice malt syrup**

  • 1/4 cup cacao powder

Method

  1. Preheat your oven to 150 degrees Celcius.

  2. Line a baking tray with baking paper (or silicon baking sheet) and spread hazelnuts on top. Bake for 10-15 mins, rolling the hazelnuts around at the halfway point for even roasting. Remove from oven once the skins have become darker brown and started to split.

  3. Allow the hazelnuts to cool, then place in an airtight container and shake vigorously until the majority of the skins have come off. Once the skins have been removed place in a food processor/blender/thermomix and process until smooth, scraping down the sides to ensure its processed evenly. Set aside.

  4. Set up a double boiler (a pot half filled with water with a glass or metal bowl on top) and bring the water to the boil. Add the cacao butter and melt, stirring occasionally with a whisk.

  5. Once the cacao butter has melted add the remaining ingredients (including the hazelnut butter) and whisk over the heat until well combined.

  6. Pour the mixture into chocolate moulds (I place the moulds on a baking tray so they don't spill as I transfer) and place them in the freezer for 1 hour. As you are pouring the chocolate mix, stir regularly as the hazelnut butter tends to sink to the bottom. These chocolate don't melt as quickly as other homemade ones, but are still best kept in the freezer.


*You can use 1/2 cup of store bought hazelnut butter instead

**You can use any other liquid sweetener (honey, maple, coconut nectar etc) or very finely ground coconut sugar. Using rice malt syrup allows this recipe to be fructose friendly.

small chocolates website.jpg