healthy eating

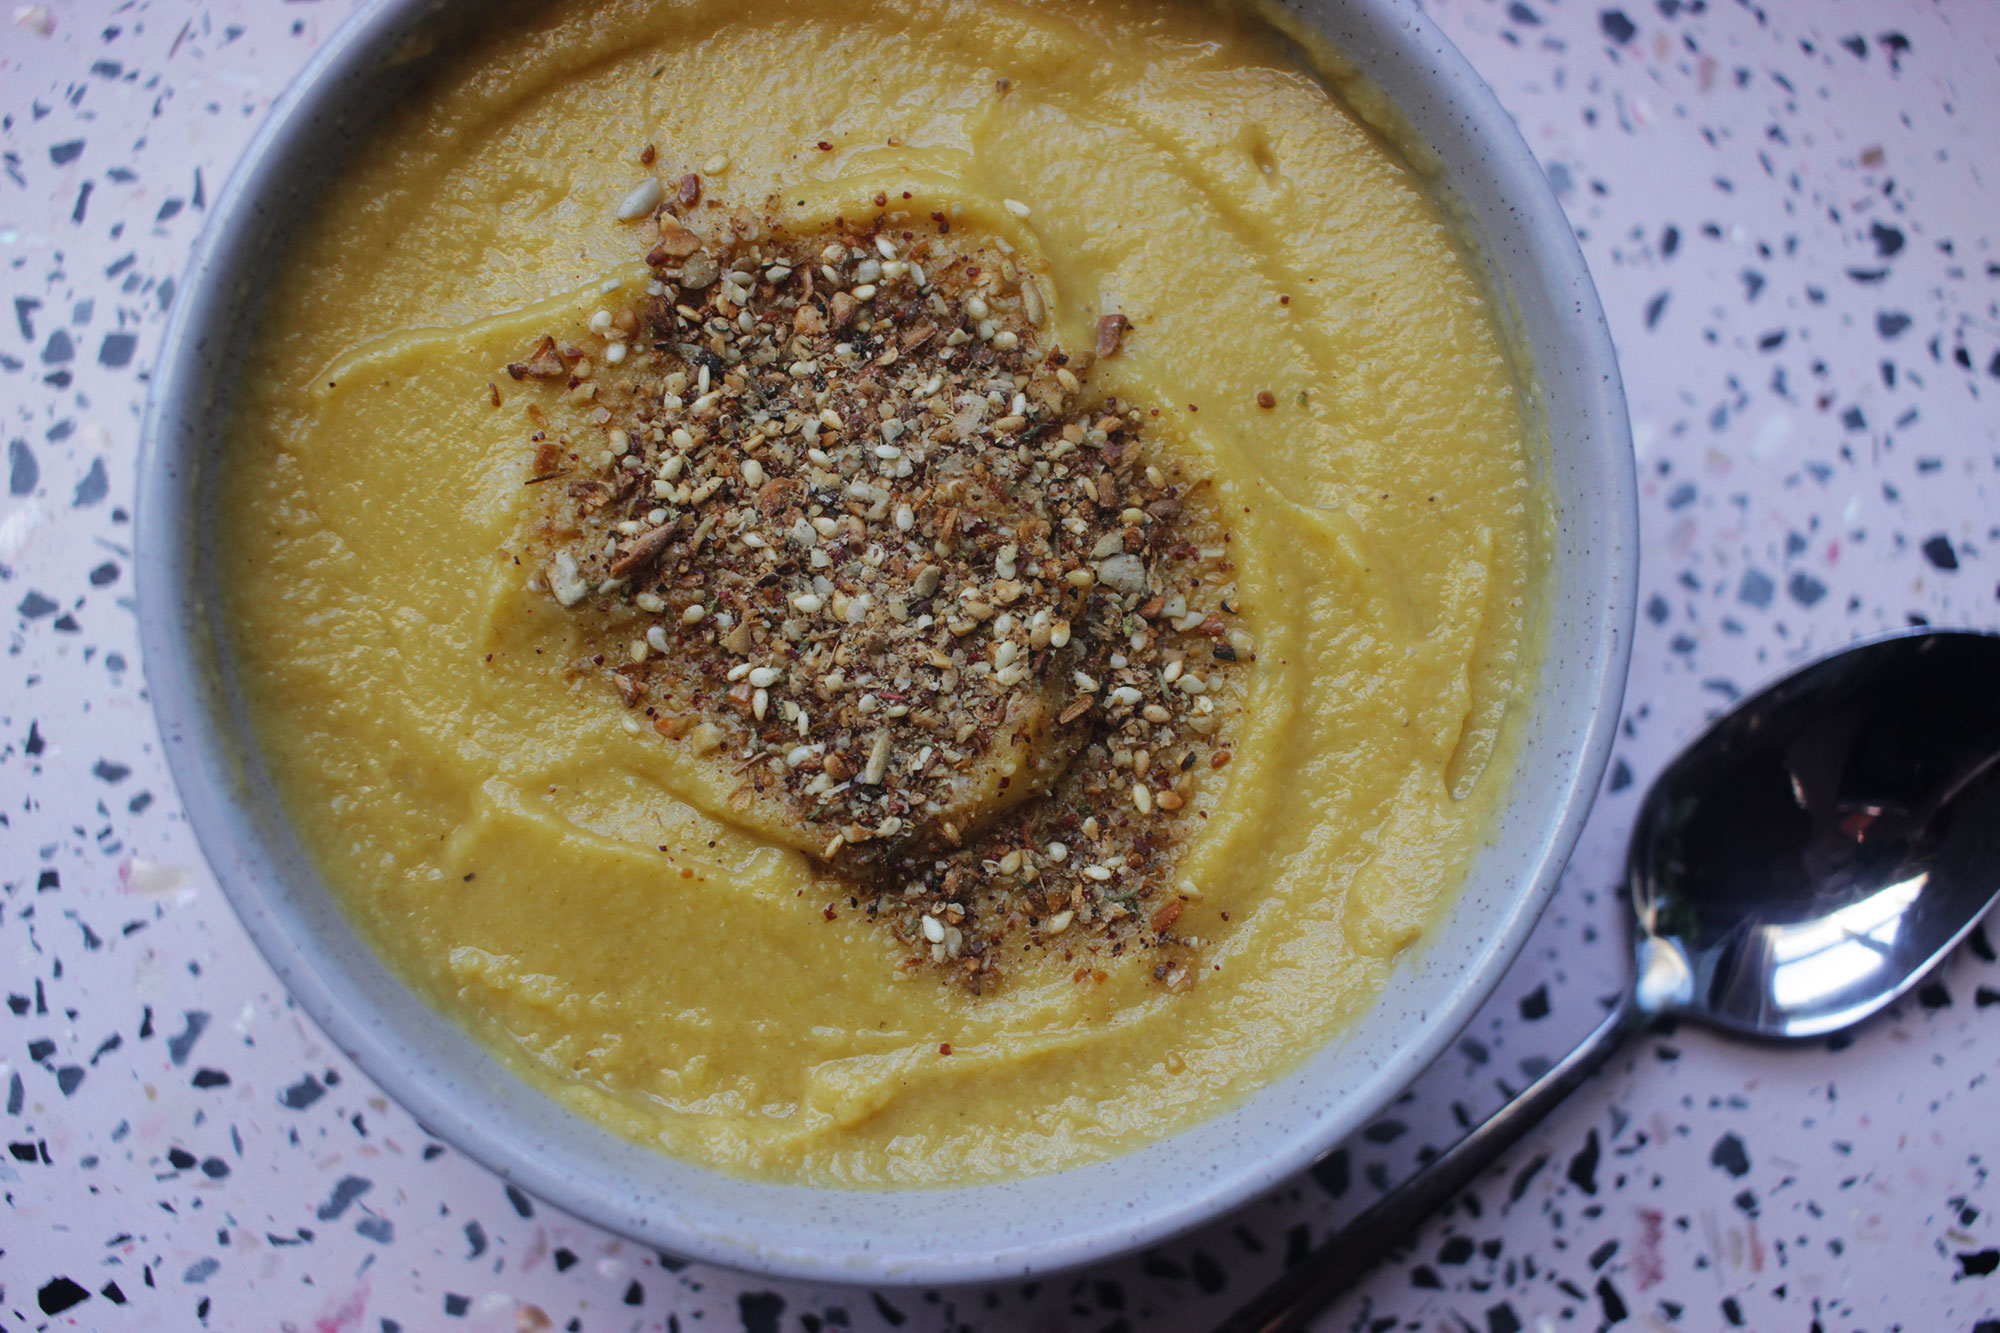
Pumpkin, Ginger & Parsnip Soup

pumpkin-soup-headonweb.jpg

Soup is our go to make in advance meal in our house, I generally pick the busiest night of the week (usually when we have swimming) to ensure a batch is sitting in the fridge waiting to be heated and served in under 5 minutes. Pumpkin soup is my go to for cramming a ton of veggies into it, because if it’s orange and slightly tastes like pumpkin my kids will actually eat it!

This soup was created after I realised that no one in the house except me was going to eat parsnip, one day I chucked some in with a batch of soup and the end result was this delightfully creamy soup without a dash of dairy added to it. Personally, I love the carrot-y (they’re actually related to carrots and parsley!), nutty flavour and love adding them to vegetable mash or eating them roasted with olive oil and spices. Nutritionally, they contain a plethora of important minerals (calcium, iron, zinc and potassium), vitamins (vitamin C & K, folate, B6 and B5) and are rich in antioxidants and fibre (both insoluble and soluble).

This soup also contains broccoli stalk, which is also super nutritious but tends to get chucked out once the florets have been eaten. You won’t even notice it’s there will get extra nutrition as a result AND you’ll be reducing food waste at the same time, win win!

This soup will last 4-5 days once made, and freezes well. Enjoy! -Renee x

pumpkin-parsnip-ginger-web.jpg

Serves 4
Prep time: 
10 minutes
Cook time: 30 minutes
Total time: 40 minutes

INGREDIENTS

  • 1 onion, finely chopped

  • 3-4 cloves garlic, finely chopped

  • 1 inch fresh ginger, finely chopped

  • 1/2 inch fresh turmeric, finely chopped or 1/2 heaped tsp ground turmeric

  • 2 celery sticks, finely sliced

  • 1 large parsnip, cut into 2 cm pieces (approx. 300-400 grams)

  • 1/2 medium butternut pumpkin; skin off, seeds removed and cut into 2 cm pieces (approx. 500 grams) (you can also use Jap pumpkin too)

  • 1 1/2 tbs stock paste or powdered stock

  • 3/4 cup split red lentils, rinsed and washed thoroughly

  • 4 cups water (tap or filtered, not hot) or bone broth (just omit the stock paste)

  • 2 tbs olive oil

  • 1 broccoli stalk, roughly chopped

METHOD

  1. In a large pot, heat the olive oil over a medium heat. Add the onions, garlic, celery, ginger and turmeric and sauté for 5 minutes until translucent.

  2. Add remaining veggies and sauté for another 2 minutes.

  3. Chuck in the remaining ingredients and bring to the boil. Drop the a medium heat, pop the lid on and cook for 25 minutes, stirring occasionally.

  4. Once cooked, taste and adjust seasoning as needed. Puree the soup with either a stick mixer or by processing in a blender/food processor/thermomix. Add extra water 1/2 cup at a time to reach desired consistency.

  5. Top with our sumac seeded dukkah or cashew pesto. Serve as is or with a slice of toasted mountain bread, sourdough or gluten free bread.


pumpkin-parsnip-soup-web.jpg


Sumac Seeded Dukkah

another-sumac-ingredients.jpg

Dukkah is probably one of my all time favourite ‘toppers’.

What’s a ‘topper’ you say?

Well, a topper is a nutrient dense addition to a meal, usually something eaten in small amounts but gives ultimate bang for your buck in terms of micro and macro nutrients. Bonus points if it also adds extra flavour to a meal too, and this is why dukkah is my favourite one.

This sumac seeded dukkah is an absolute sinch to make and a great one for whipping up for a gift when you want to be thrifty yet creative (the gift of food is my favourite gift!). It’s loaded with zinc rich seeds, and spices and herbs that add a little zing to your meal. It goes great with eggs cooked anyway, sprinkled over salads and steamed veggies, as a garnish for tip, the possibilities are truly endless! -Renee x

jar-of-sumac.jpg

Makes: 1 medium sized jar

Prep time: 5 minutes

Cooking time: 10 minutes

Total time: 15 minutes

INGREDIENTS

  • 1/2 cup sunflower seeds

  • 1/4 cup sesame seeds

  • 2 tablespoons coriander seeds

  • 1/4 tablespoon peppercorns

  • 3/4 tsp ground fennel

  • 3 tsp sumac

  • 1/2 tsp sweet paprika

  • 3/4-1 tsp salt (we use Mount Zero Pink Lake Salt)

  • 1 1/2 tsp dried thyme

METHOD

  1. In a non-stick pan and over a medium/high heat, dry roast the peppercorns and coriander seeds until they are fragrant and start to pop (approx. 2-3 minutes). Remove from heat and process until broken down but not completely ground.

  2. Add the sunflower seeds and dry roast for a minute or two until they start to brown, then add the sesame seeds and cook until the seeds are fully browned. Move around frequently to prevent sticking and burning.

  3. Remove from heat and add to your process/blender/thermomix along with the toasted coriander and peppercorns and remaining ingredients.

  4. Process until well broken down (I like to leave a few little chunks here and there). Taste and adjust seasoning, adding more salt or sumac if needed.

  5. Allow to cool completely, then store in an airtight container. Best consumed within 3 months as it will lose fragrance over time.

sumac-seeded-dukkha.jpg

Salmon Patties

I have been making these patties for quick some time now, and created the recipe as a way of getting more calcium into my kids diet (we eat little dairy and don’t drink milk) and help the family move away from eating tuna on a regular basis (tuna is higher in mercury due to their large size).

For me, eating tinned salmon with the bones and skin is the ultimate in reducing waste, using the ‘whole’ animal and boosting the nutrition of meals. One of the questions I get asked every.single.time when I talk about reducing consumption of dairy or encounter clients with dairy intolerances or allergies, is where will I get calcium?

Calcium is an important nutrient, not only for bone health but also for cardiovascular, muscular and nervous system function. Yes, dairy is a source of calcium, but it is not the only source nor is it the best source. Many foods, including plant based foods, are abundant in calcium, including:

  • salmon and sardine bones

  • broccoli, kale and leafy greens

  • almonds, cashews and other nuts

  • tahini

  • tofu

  • chia seeds

  • legumes

  • dried figs

These salmon patties are an absolute sinch to make, my kids have NO IDEA there are salmon bones in them and you can make them in advance and reheat or freeze for another day. Enjoy!

xRenee

Tinned salmon bones are an excellent source of calcium

Tinned salmon bones are an excellent source of calcium

INGREDIENTS

  • 400 g tin pink or red salmon, drained (keeping the skin and bones)

  • 2 celery sticks, finely chopped

  • 1 cup almond meal

  • Juice of half lemon

  • 2-3 cloves garlic finely chopped

  • 1 small onion, finely chopped

  • handful fresh parsley and chives, finely chopped

  • salt and pepper to taste

  • 2 eggs

  • coconut oil for cooking

celery and onion cooking web.jpg
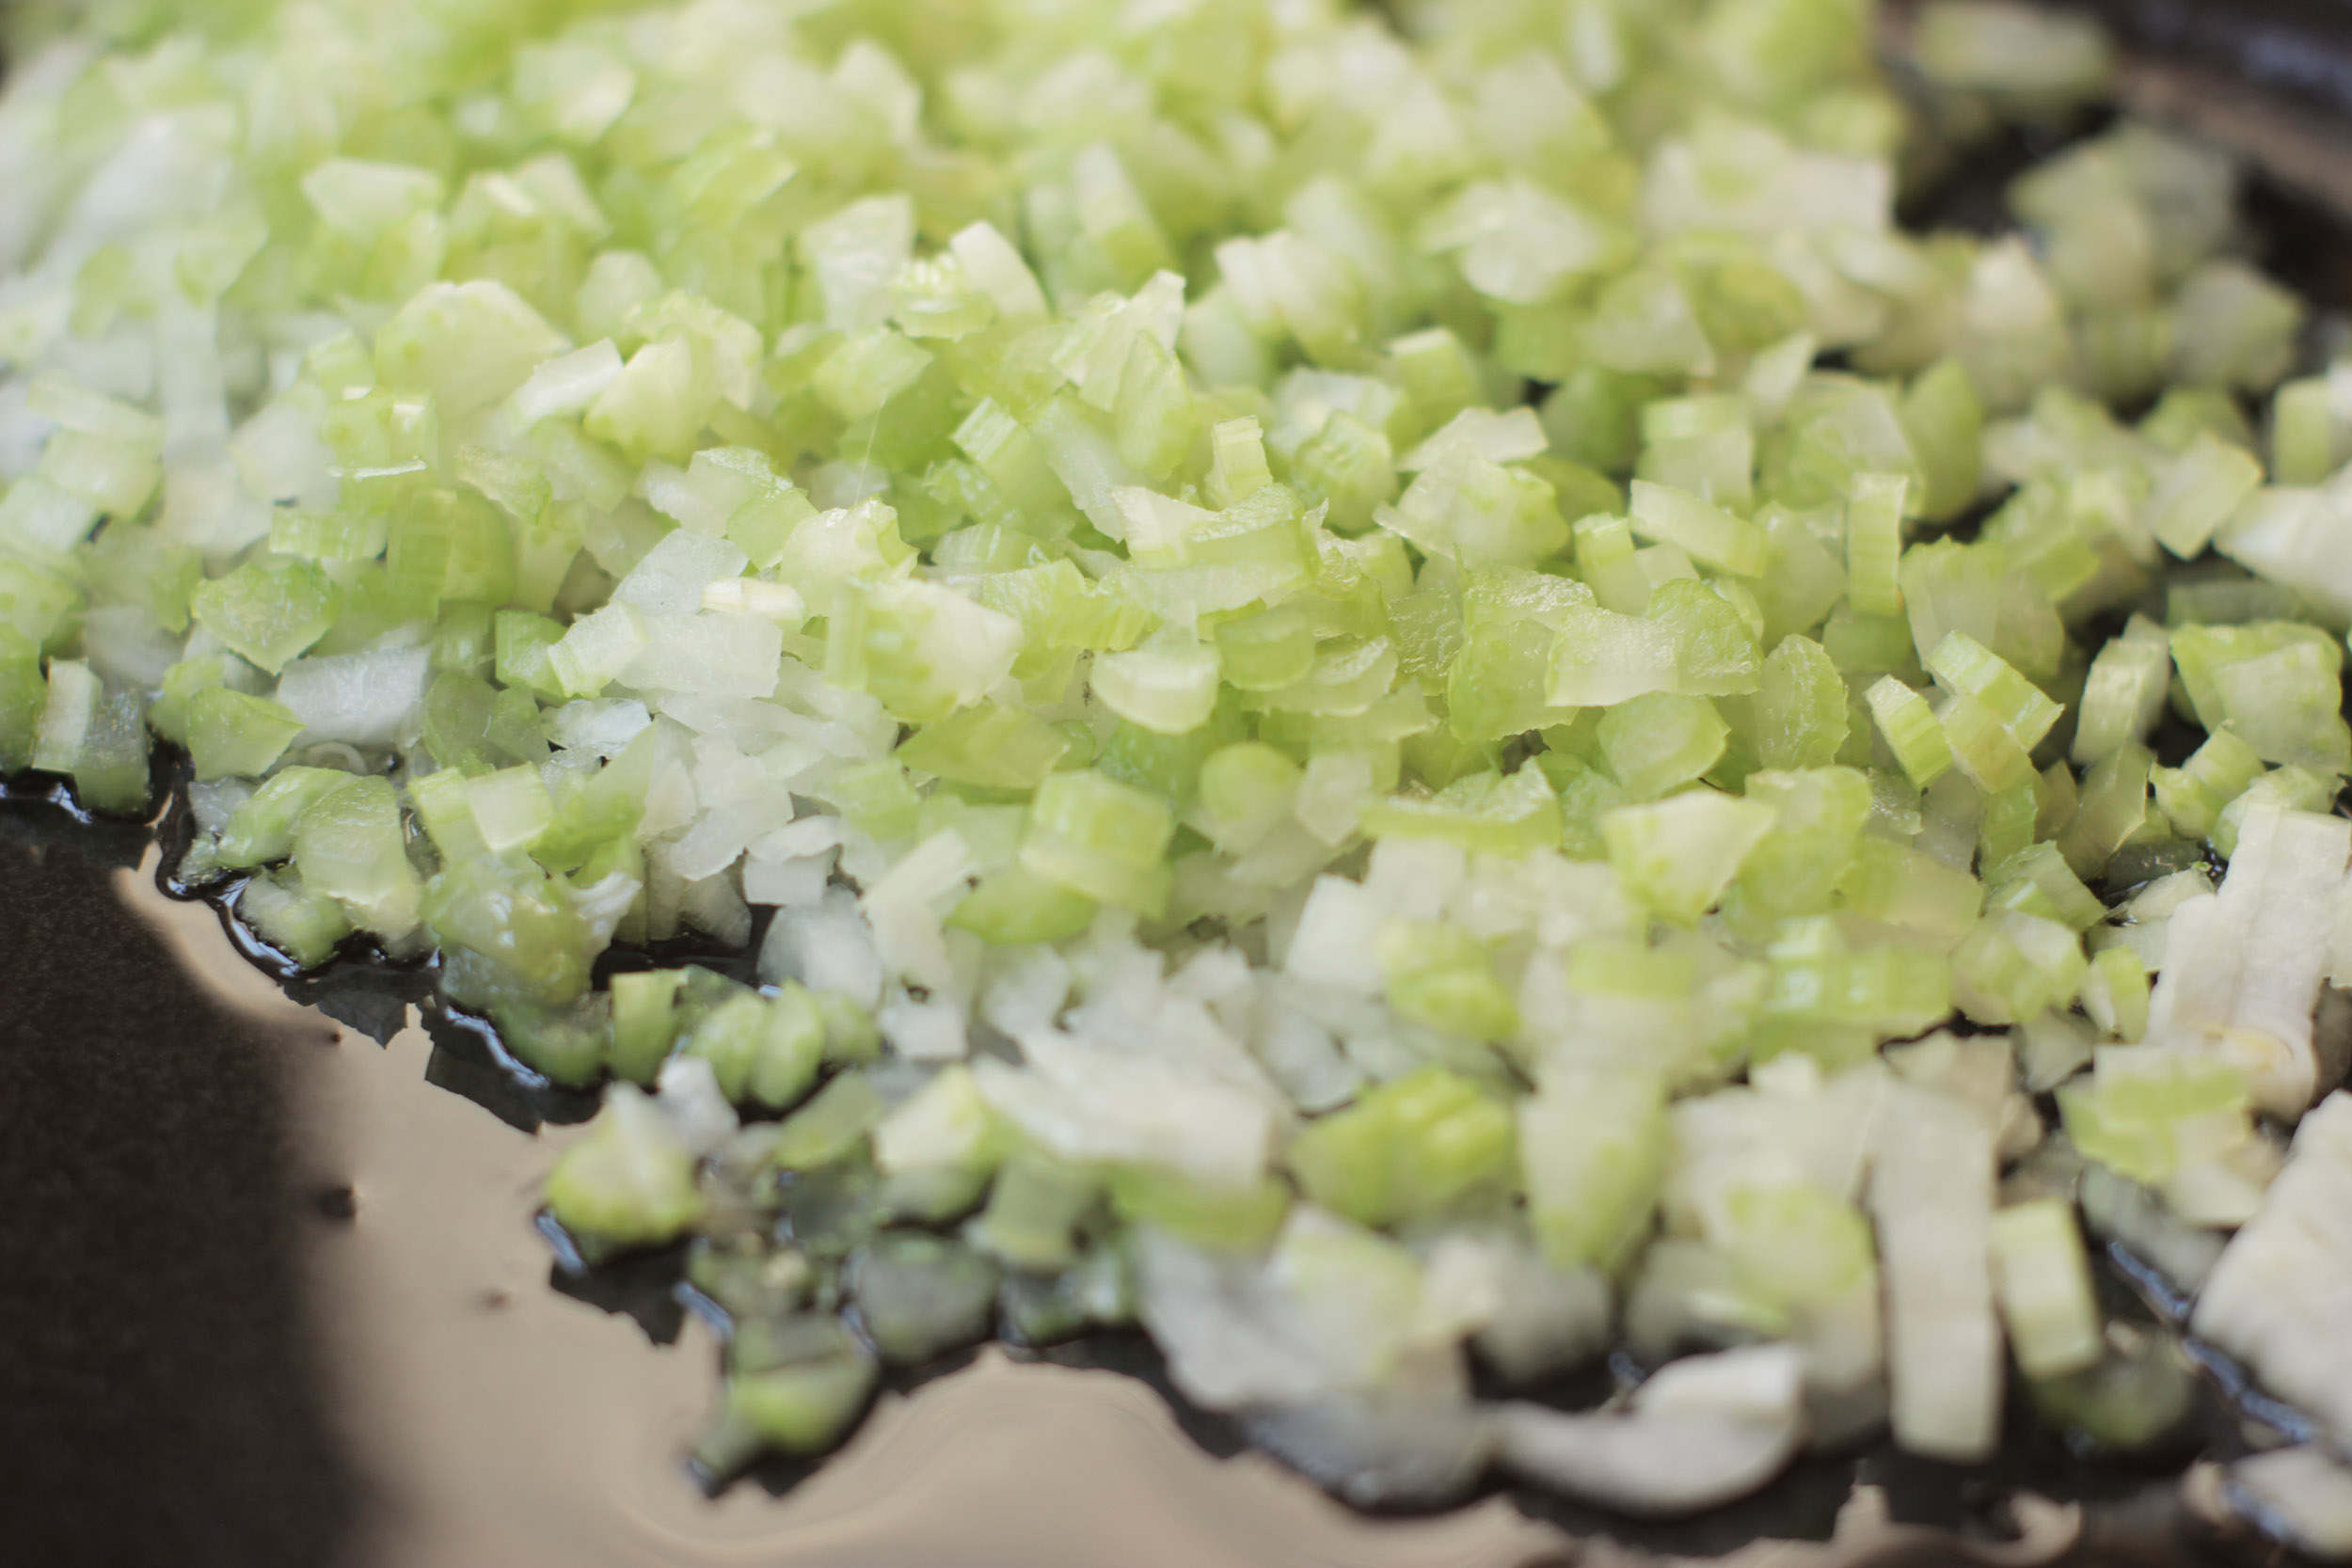
  1. Heat a little coconut oil in a frying pan and sauté the onion, garlic and celery for 5 minutes or so.

  2. Mash the salmon with the bones, getting in there so that all bones are broken down. This is particularly important for fussy eaters who may notice the bones!

  3. Add the remaining ingredients, except the coconut oil, in a bowl and combine until it all sticks together. Form into golf ball sized balls.

  4. Heat 1 tbs coconut oil in a non-stick pan and add 3-4 patties. Flatten with the back of a spatula and cook until golden brown and then flip to the other side. If they stick when trying to flip, you just need to cook that side a bit longer.

  5. Serve with salad and/or steamed veggies


salmon patties vers 2 IG.jpg

Hazelnut Choc Bliss Balls

nutella bliss balls ingredients web.jpg

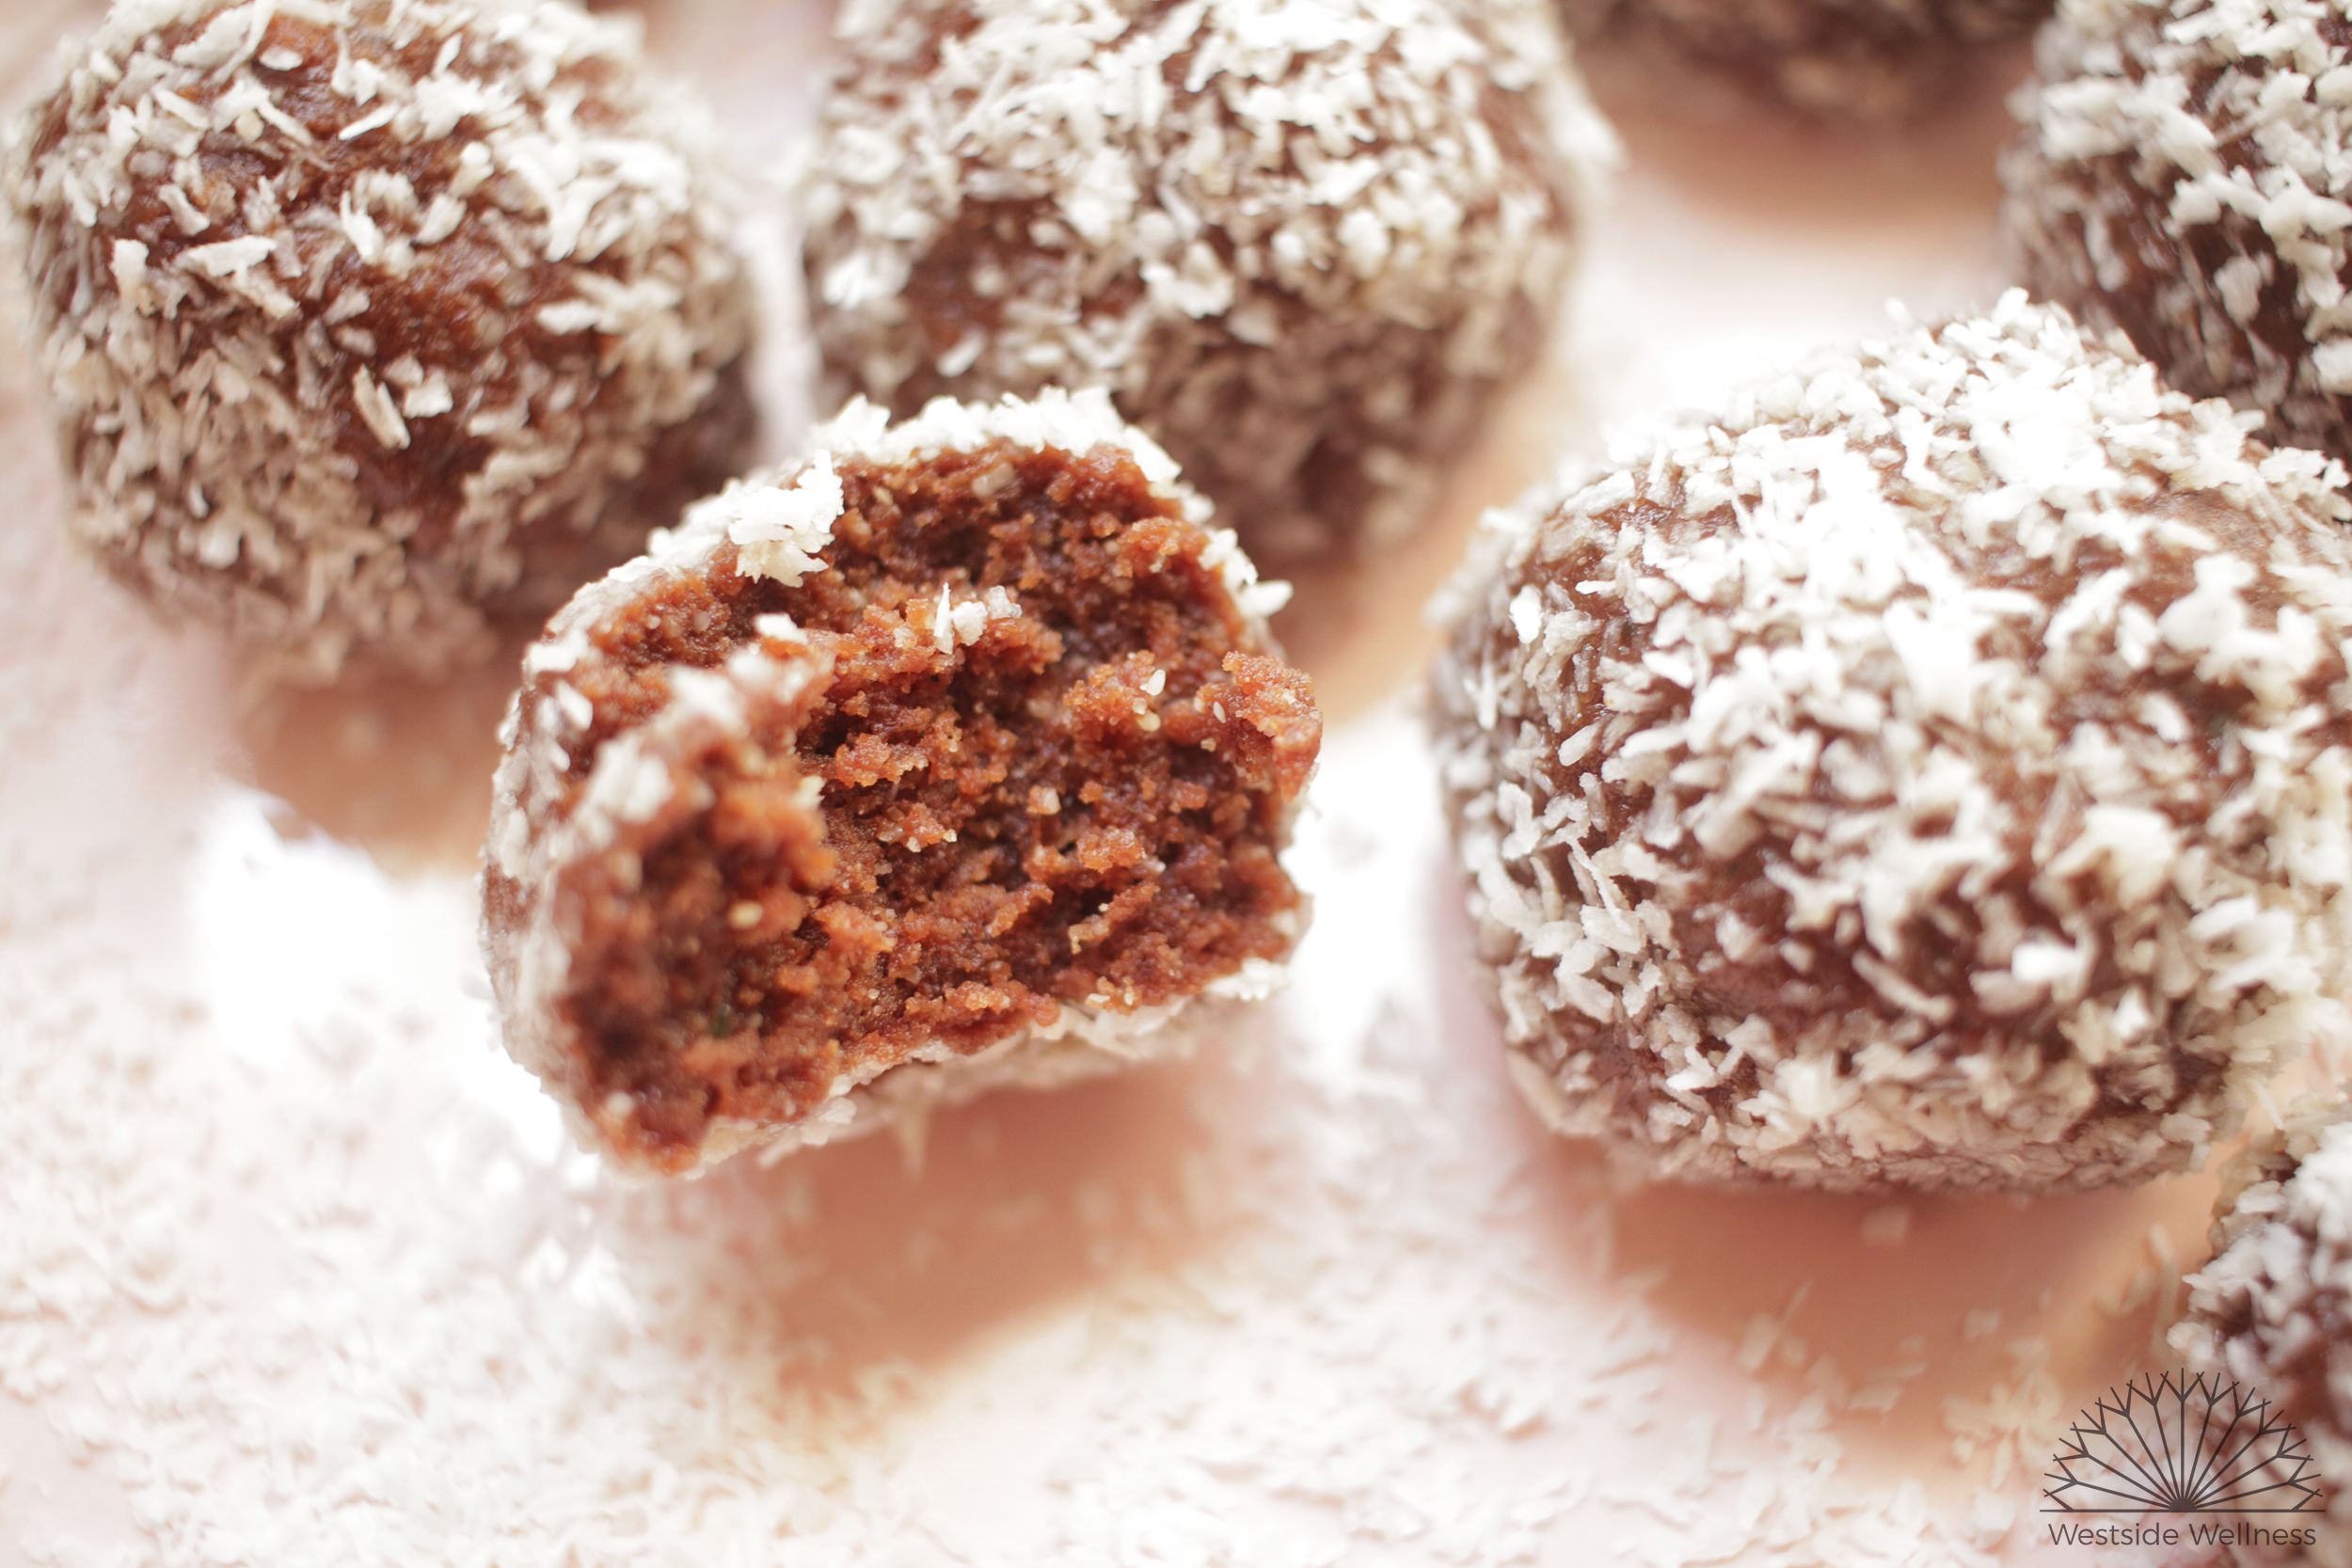
I’m such a huge fan of bliss balls, they are a sinch to make and are a great snack for on the go. It’s easy enough to make them nutrient dense, loaded with good fats, protein, minerals and fibre. I prefer to keep my bliss balls on the fruit free and lower fructose side, firstly as I tend to eat thousands of them when they are super sweet, and secondly as I find I get quite a bad crash from the sugar high later on if they are loaded with dates and maple syrup or agave.

I created this particular recipe to have an example of how to add hemp seeds to your day for my clients. I personally love hemp seeds sprinkled on dishes or added to smoothies, but found that others really wanted another way of incorporating them into snacks/meals. I’m a HUGE fan of hemp seeds as they are an excellent source of omega 3 fatty acids and are therefore great for those who don’t eat or don’t like eating fish. They are also a great source of other fatty acids (making them the perfect anti-inflammatory food), protein, fibre, minerals and B vitamins.

They are also a sustainable food source and are grown here in Australia! Better still, they are finally legal for human consumption in Australia which means they are more readily available, I’ve even seen them in the big supermarket chains!

These are great to whip up when you’re in a hurry, you can even press the mix into a baking tray and cut into slices if you don’t have time for rolling them. They’re also a fun snack to make with little ones, allowing them to get their hands dirty and work on their rolling technique. Enjoy! -Renee x

Prep time: 5 minutes

Total time: 5 minutes

Makes: 10-12 balls

INGREDIENTS

  • 1 cup hazelnuts

  • 1/2 cup hemp seeds

  • 1 tbs coconut oil

  • 2 tbs rice malt syrup (you could also use maple syrup or honey)

  • pinch of salt

  • 1 1⁄2-2 tbs cacao (depends on how chocolaty you like it)

  • desiccated/shredded coconut (make sure it’s sulfur free)

METHOD

  1. Process the hazelnuts, in a food processor/thermomix/blender until they resemble meal/flour (not quite nut butter).

  2. Chuck in the remaining ingredients, except the coconut, and process until everything is smoothish and sticking together, adding a touch more rice malt if the mixture is too dry.

  3. Divide and roll the mixture into golf sized balls.

  4. Sprinkle a handful of the desiccated coconut onto a plate and roll the balls into it until covered.
    These will keep for a 5 days in the fridge, and freeze well too.

holding bliss ball.jpg
eaten  blissball.jpg

Grain & Refined Sugar Free Granola

jar of granola web.jpg

My go to breakfast pretty much 7 days a week is eggs in some form or other, but every now and then I really want crunchy granola with a bit of fruit and natural yogurt. I'm finding myself eating fewer grain based meals due to digestive issues, it really helps to cut down that stodgy and bloated feeling post eating that I often experience with things like oats. I'd been working on a grain free granola recipe in my head for quite a few months before I finally whipped out the ingredients and had a crack at making it, and boy is it delicious (and easy to make)!

I have this as a snack in the arvo when I need a little pick me up as crunchy foods are great for improving focus and concentration due to the work of our jaws having to chump those harder foods, and the protein and good fats give that slow burn that maintains energy for the rest of the day.

This grain and refine sugar free granola can be enjoyed with yogurt, fruit and milk (dairy free or otherwise), but its also great as a topper for fruit and yogurt or even eaten like trail mix. Enjoy! x Renee 

granola ingredients web.jpg

INGREDIENTS

  • 2 cups buckwheat groats
  • 1/2 cup sunflower seeds
  • 1/2 cup almonds
  • 1/4 cup hazelnuts
  • 1/4 cup chia seeds
  • 1 cup shredded coconut
  • 1/4 cup melted coconut oil
  • 1/4 cup rice malt syrup
  • 2 tsp vanilla essence/extract
  • 1/2 tsp ground cinnamon
uncooked granola.jpg

METHOD

  1. Preheat oven to 180 degrees Celsius. Line two baking trays with baking paper or silicon baking mats and set aside.
  2. Roughly chop the almonds and hazelnuts and place in a large bowl with the remaining ingredients.
  3. Combine well until thoroughly mixed. Scoop half the mixture on each baking tray and spread across thinly and evenly.
  4. Place in the oven and bake for 15 minutes, then swap the trays in the oven and stir the mixture around to ensure even baking.
  5. Bake for a further 20-30 minutes until golden brown. Allow to cool completely before placing in an airtight container. 

Carrot & Date Balls

carrot-balls-westside-wellness

This beautiful recipe was given to me by dear friend. Without a doubt it was love at first bite - I am HOOKED on these suckers.... and guess what?! So are the kiddos!

These balls are sweet from the delicious medjool dates but the sweetness is nicely balanced by the addition of cinnamon which helps to regulate blood sugar levels. Because they are full of carrots they are packed fibre, anti-inflammatory healthy fats and beta-carotene. And I just LOVE the earthy taste of the nutmeg which gives them a delicious autumnal flavour.

At Westside we are constantly talking to clients about having healthy snacks like these on hand, so when you are feeling like a little "sumthim sumthin"  at the end of the day then you have some nutritious options to turn to. Simple!

Plus they take about 10 minutes to make so there really is no excuse.

Ingredients

  • 1 & 1/2 x cups of grated carrot
  • 6-8 x medjool dates
  • 1 x cup of raw nuts (I like pecan but walnut, cashew & almond all work well too).
  • 1 x small handful of shredded coconut
  • 1 x pinch of ground nutmeg
  • 1 x tsp of ground cinnamon
  • Zest from 1 orange
  • 1 x tbs of almond meal or LSA to bind 
  • Extra shredded coconut to roll the balls in at the end

Method

  1. Blend all ingredients except for the almond meal/LSA together in a food processor until well combined. 
  2. Stir in the LSA or almond meal
  3. Roll mixture into balls and then roll each ball in some shredded coconut.
  4. Refrigerate in a sealed container for up to 2 weeks. 

Enjoy xx 

carrot-balls-healthy-snack-westside-wellness

Slow Cooker Chickpea and Pumpkin Curry

butternut pumpkin.jpg

We love slow cooker curry in our house and easily eat one every week. I love being able to chuck something on first thing in the morning and know that all I need to do for dinner that night is cook some rice (I often do that in advance and freeze it too, saving even more time!).

This slow cooker chickpea and pumpkin curry is slightly sweet, creamy and very mild and a huge hit with my kids, especially my 2.5 year old who will ask for curry for days after we've had this one. Chickpeas are a fantastic source of fibre and magnesium, two nutrients most of us need extra of! The spices are great for settling tummies and reducing inflammation and the veggies are generally the cheapest you can get, making this a very cheap (and nutritious!) family meal.

It freezes well (minus the potatoes) and tastes even better when kept in the fridge for a few days before eating. I hope you enjoy my favourite slow cooker curry! x

chickpeas ginger IG.jpg

Serves 4-6

Prep time: 10 minutes

Cook time: 30 mins in a hurry; 6 hours slow cooked

INGREDIENTS

  • 1 onion, chopped

  • 4-6 cloves of garlic, finely chopped

  • 1 inch piece of ginger, peeled and finely chopped

  • 1 inch piece of fresh turmeric, peeled and finely chopped (OPTIONAL but delicious)

  • 1 medium potato, washed and cubed

  • roughly two cups butternut pumpkin, cubed

  • 1 medium zucchini, cubed

  • 1 tin diced tomato (salt reduced)

  • 1 tin coconut cream

  • 1 tin chickpeas, drained and rinsed well (or 300 g pre-soaked and cooked chickpeas)

  • 1 tbs sesame oil

  • 1/2 tsp salt

  • few cracks of pepper to taste

  • 1 ½-2 tbs curry powder

  • 1 tsp stock paste

  • couple handfuls of chopped greens like kale or silverbeet

curry spices.jpg

METHOD

  1. Heat the sesame oil in a pan, add the onion, garlic, ginger and turmeric. Sauté on a medium heat until the onion is translucent (approx. 5 minutes). This step intensifies the flavour, but can be totally skipped if your in a hurry.

  2. Set up your slow cooker*. Chuck in the cooked onion mix, and the rest of the ingredients, and combine well.

  3. Cook for 6 hours on low heat (stir occasionally to prevent the sides drying out). Chuck in the chopped greens in the last 10 minutes or so and mix through. Serve with cooked brown rice, quinoa or cauliflower rice. A dollop of natural yogurt goes very well with this too!

*If you don’t have a slow cooker, this can easily be slowed cooked in the oven at 180 degrees for 1 ½-2 hours, just chuck it in a casserole dish or dutch oven (you will need to stir occasionally). It can also make a pretty quick meal by cooking on the stove top in a large pot. Follow step one, then add the veggies and sauté for a few minutes. Add the remaining ingredients, bring to the boil, reduce heat and simmer for 30 minutes. It’ll be tasty but the flavours won’t be as rich.

slowcooker chickpea curry.jpg