nut free

Sumac Seeded Dukkah

another-sumac-ingredients.jpg

Dukkah is probably one of my all time favourite ‘toppers’.

What’s a ‘topper’ you say?

Well, a topper is a nutrient dense addition to a meal, usually something eaten in small amounts but gives ultimate bang for your buck in terms of micro and macro nutrients. Bonus points if it also adds extra flavour to a meal too, and this is why dukkah is my favourite one.

This sumac seeded dukkah is an absolute sinch to make and a great one for whipping up for a gift when you want to be thrifty yet creative (the gift of food is my favourite gift!). It’s loaded with zinc rich seeds, and spices and herbs that add a little zing to your meal. It goes great with eggs cooked anyway, sprinkled over salads and steamed veggies, as a garnish for tip, the possibilities are truly endless! -Renee x

jar-of-sumac.jpg

Makes: 1 medium sized jar

Prep time: 5 minutes

Cooking time: 10 minutes

Total time: 15 minutes

INGREDIENTS

  • 1/2 cup sunflower seeds

  • 1/4 cup sesame seeds

  • 2 tablespoons coriander seeds

  • 1/4 tablespoon peppercorns

  • 3/4 tsp ground fennel

  • 3 tsp sumac

  • 1/2 tsp sweet paprika

  • 3/4-1 tsp salt (we use Mount Zero Pink Lake Salt)

  • 1 1/2 tsp dried thyme

METHOD

  1. In a non-stick pan and over a medium/high heat, dry roast the peppercorns and coriander seeds until they are fragrant and start to pop (approx. 2-3 minutes). Remove from heat and process until broken down but not completely ground.

  2. Add the sunflower seeds and dry roast for a minute or two until they start to brown, then add the sesame seeds and cook until the seeds are fully browned. Move around frequently to prevent sticking and burning.

  3. Remove from heat and add to your process/blender/thermomix along with the toasted coriander and peppercorns and remaining ingredients.

  4. Process until well broken down (I like to leave a few little chunks here and there). Taste and adjust seasoning, adding more salt or sumac if needed.

  5. Allow to cool completely, then store in an airtight container. Best consumed within 3 months as it will lose fragrance over time.

sumac-seeded-dukkha.jpg

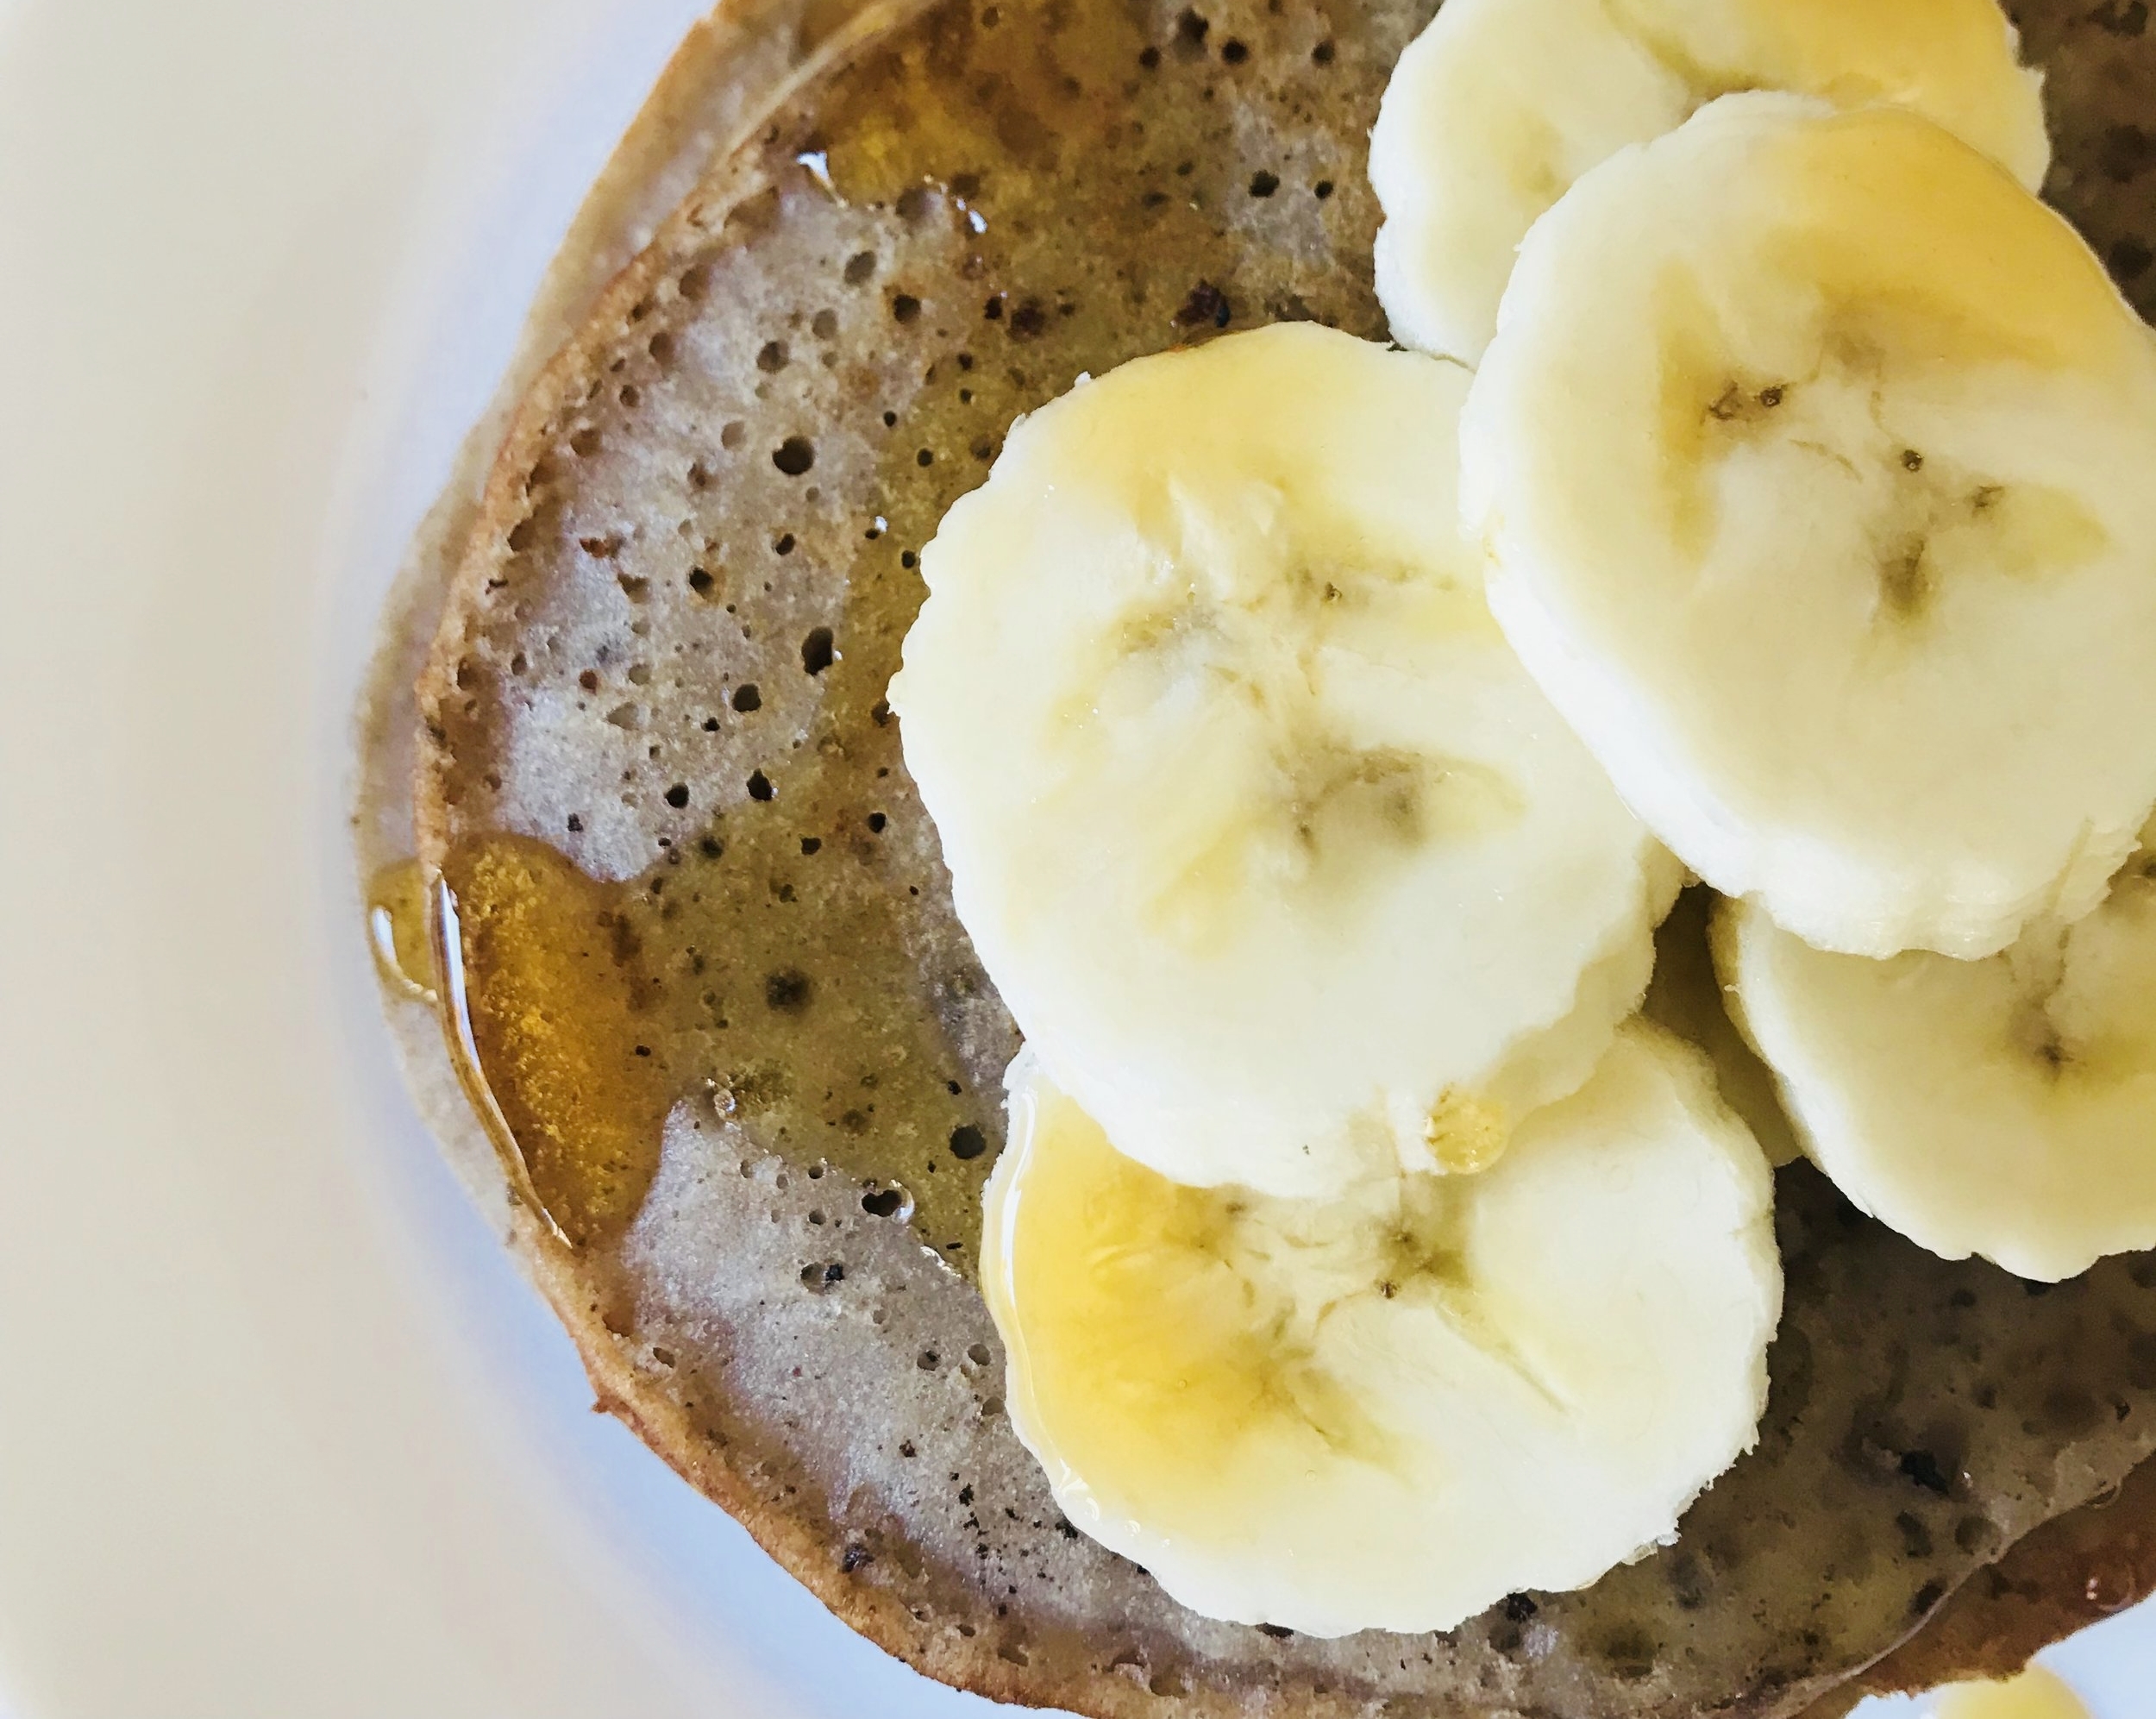
Buckwheat Pancakes

buckwheat-pancakes

When you are dairy-free, egg-free and gluten-free breakfast can feel like a real struggle. Some people turn to meat and veg for breakfast but when you are after something more traditional buckwheat pancakes can be just the ticket!

Buckwheat & Elimination Diets

Many women while breast-feeding undergo strict elimination diets if they suspect their breastfed child has a food allergy or intolerance. When undertaking an elimination optimal nutrition is really important - that's where pseudo grains like buckwheat can come in.

Buckwheat is nutritious because it contains:

  • Magnesium - a important mineral to support brain health, mood and energy. 
  • Manganese - an essential micro mineral needed for growth & immune system health
  • B vitamins - needed for energy, growth and healthy mood.
  • Vegan protein - protein is essential for brain, muscle and 
  • Fibre - regulates blood sugar & fats and assist with moving stool along the digestive tract.
  • Other minerals - such as zinc and iron which are critical to digestive health, cell repair and energy. 

I hope you enjoy this recipe and it becomes a family favourite like it is in our house. 

- Lucy x

Pancake Ingredients

  • 1 x cup of buckwheat flour (untoasted)
  • 1 x serve of chia eggs (see below)
  • 1 + 1/4 cups of plant-based milk (I used cashew milk, but you can also use coconut milk, almond or rice milk)
  • Pinch of salt flakes
  • 1 x tsp of olive oil
  • 1 x tsp of ground cinnamon
  • 1 x tsp of sweetener (such as maple syrup or rice malt syrup)
  • 1 x tsp vanilla essence (optional)
  • Coconut oil for frying (or any other safe oil you wish to use)
  • Chopped fruit or extra sweetener for serving.

Chia Egg Ingredients

  • 2 x tbs chia seeds
  • Filtered water
Chia-seeds.jpg

Method

  1. Grind the chia seeds in a coffee grinder or in a heavy duty motor and pestle. When using the motor and pestle, all up this process takes about 5 minutes (just grind until your hand feels tired, step away and then come back to grinding).
  2. Once ground add 1 x tablespoon of the ground chia to 1/4 of cup of water and allow to for 10 minutes so the chia can become like a gel.*
  3. Once the chia eggs have gelled add buckwheat flour, chia eggs, milk, olive oil, cinnamon, sweetener and vanilla essence (if using) to a food processor and blend on high for 3 minutes.
  4. Add coconut oil to a heavy based saucepan and place on stovetop on high heat.
  5. Once the oil starts to shimmer reduce the heat to lowest setting add about 1 generous tablespoon of the pancake batter to the pan. Heat until bubbles begin to show on the surface of the pancake. Flip the pancake and cook on the other side until golden.
  6. Place cooked pancakes to cool on kitchen towel to soak up any extra oil.
  7. Repeat process with oil and pancake batter until you have finished the batter.
  8. Slice up some fruit and serve with pancakes with some extra sweetener.

Makes 12 pancakes

*Tip: any leftover ground chia meal can be stored in an airtight container in the fridge for 1 month.

Quinoa Porridge

quinoa-porridge

This one is for all the mums who are breastfeeding child with allergies or intolerances. Why? Because I can still distinctly remember staring blanking into my pantry searching for a satisfying breakfast while undertaking an elimination diet for my 2-year-old's eczema and non-IgE allergies. 

Only a breastfeeding mum, 3 weeks into an elimination diet, knows just how much a pain in the bum preparing breakfast can be.

If you are egg-free, soy-free, wheat-free, gluten-free, nut-free, oat-free and dairy-free breakfast you can feel like there's no safe foods to turn to - especially for breakfast when you can't reach for a simple omelette or muesli. 

That's where your seeds and gluten-free grains can come in. Staples like quinoa, brown rice and buckwheat are filled with minerals, proteins and starches to help you feel full, have regular bowel motions and give you plenty of energy for chasing your crazy kidlet around the place.

My youngest has stopped breastfeeding but our whole family still continues to eat quinoa porridge for breakfast....because it tastes delicious!

Want some more support with healthy diet options during your elimination diet? Get in touch book an appointment

- Lucy x

Ingredients

  • 1/2 cup of quinoa (see notes)
  • 1 cup of water
  • 1/2 cup of safe milk 
  • 1 banana
  • 1 tsp of sweetener (see notes)
  • 1 tsp of cinnamon powder
  • 1 medjool date, pit removed (optional)
  • Extra water for rinsing and soaking
  • Extra fruit, seeds and nuts for toppings

Method

  1. If possible soak the quinoa overnight in the bowel with plenty of water.
  2. In the morning strain the quinoa in a sieve and rinse throughly.
  3. Place quinoa and the cup of water in a small pot on high heat.
  4. Cover and bring to the boil.
  5. Reduce to a low heat and cook for about 10 minutes until most of the water is absorbed.
  6. On the low heat break the banana into pieces and add it to the pot with your choice of milk, the cinnamon and date if you are using it.
  7. Stir over low heat until the porridge is a consistency you like.
  8. Spoon into a bowl and top with slice fruit, crushed raw nuts and seeds.

Serves 2

Tips

  • For quinoa I recommend you use tricolour or plain white variety as they make the porridge a creamier consistency.
  • It's not critical that you soak the quinoa but doing this will release phytates from the seeds. This anti-nutrient compound can prevent the absorption of some minerals so soaking and rinsing helps to remove this from the quinoa.
  • Safe milk may be coconut milk, almond milk, rice milk.
  • I prefer to use maple syrup for a sweetener but you can use honey or rice malt syrup depending.
  • Store any leftover porridge in an air-tight container to use for tomorrow's breakfast.
Quinoa-porridge-insta.jpg