I’ll be the first to admit, I’m not very good at cooking ‘simple’ or one pot/pan dinners. I go in with a simple idea and often complicate it by adding an extra dish or experimenting with a new technique and before I know it, I’ve used a billion dishes, pots and pans.
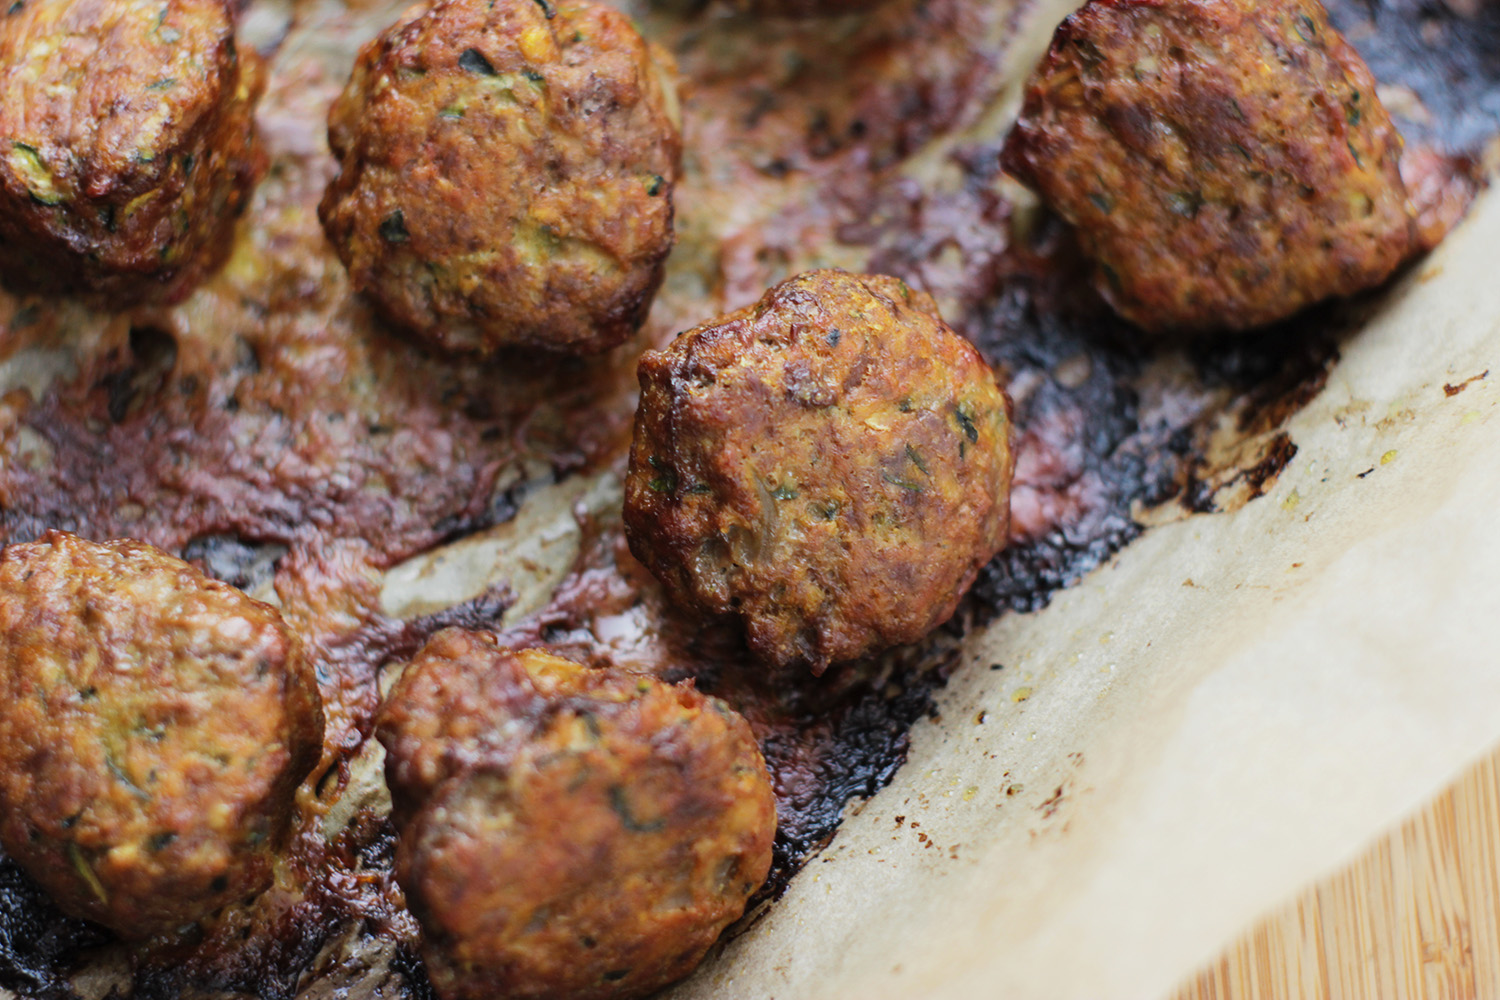
I created this meatball recipe with the goal of creating a one pan dish and I’m pleased to say that I finally succeeded! This is something I make for the family once a week, loading up the tray with meatballs and homemade chips and then serving salad on the side. The leftover meatballs are perfect with an egg or two for breakfast the following morning or thrown together with salad or steamed veggies for a quick and nutritious lunch.
This recipe is gluten and grain free so perfect for those with intolerances or who follow a paleo diet, and can be adapted for those with nut allergies or fructose malabsorption. You can throw these together in under 10 minutes and cook or place in the freezer for an even quicker meal down the track. Enjoy! -Renee

Makes: 18 meatballs
Prep time: 5 minutes
Baking time: 30-40 minutes
Total time: 45 minutes
INGREDIENTS
500 g mince
3/4- 1 cup almond meal*
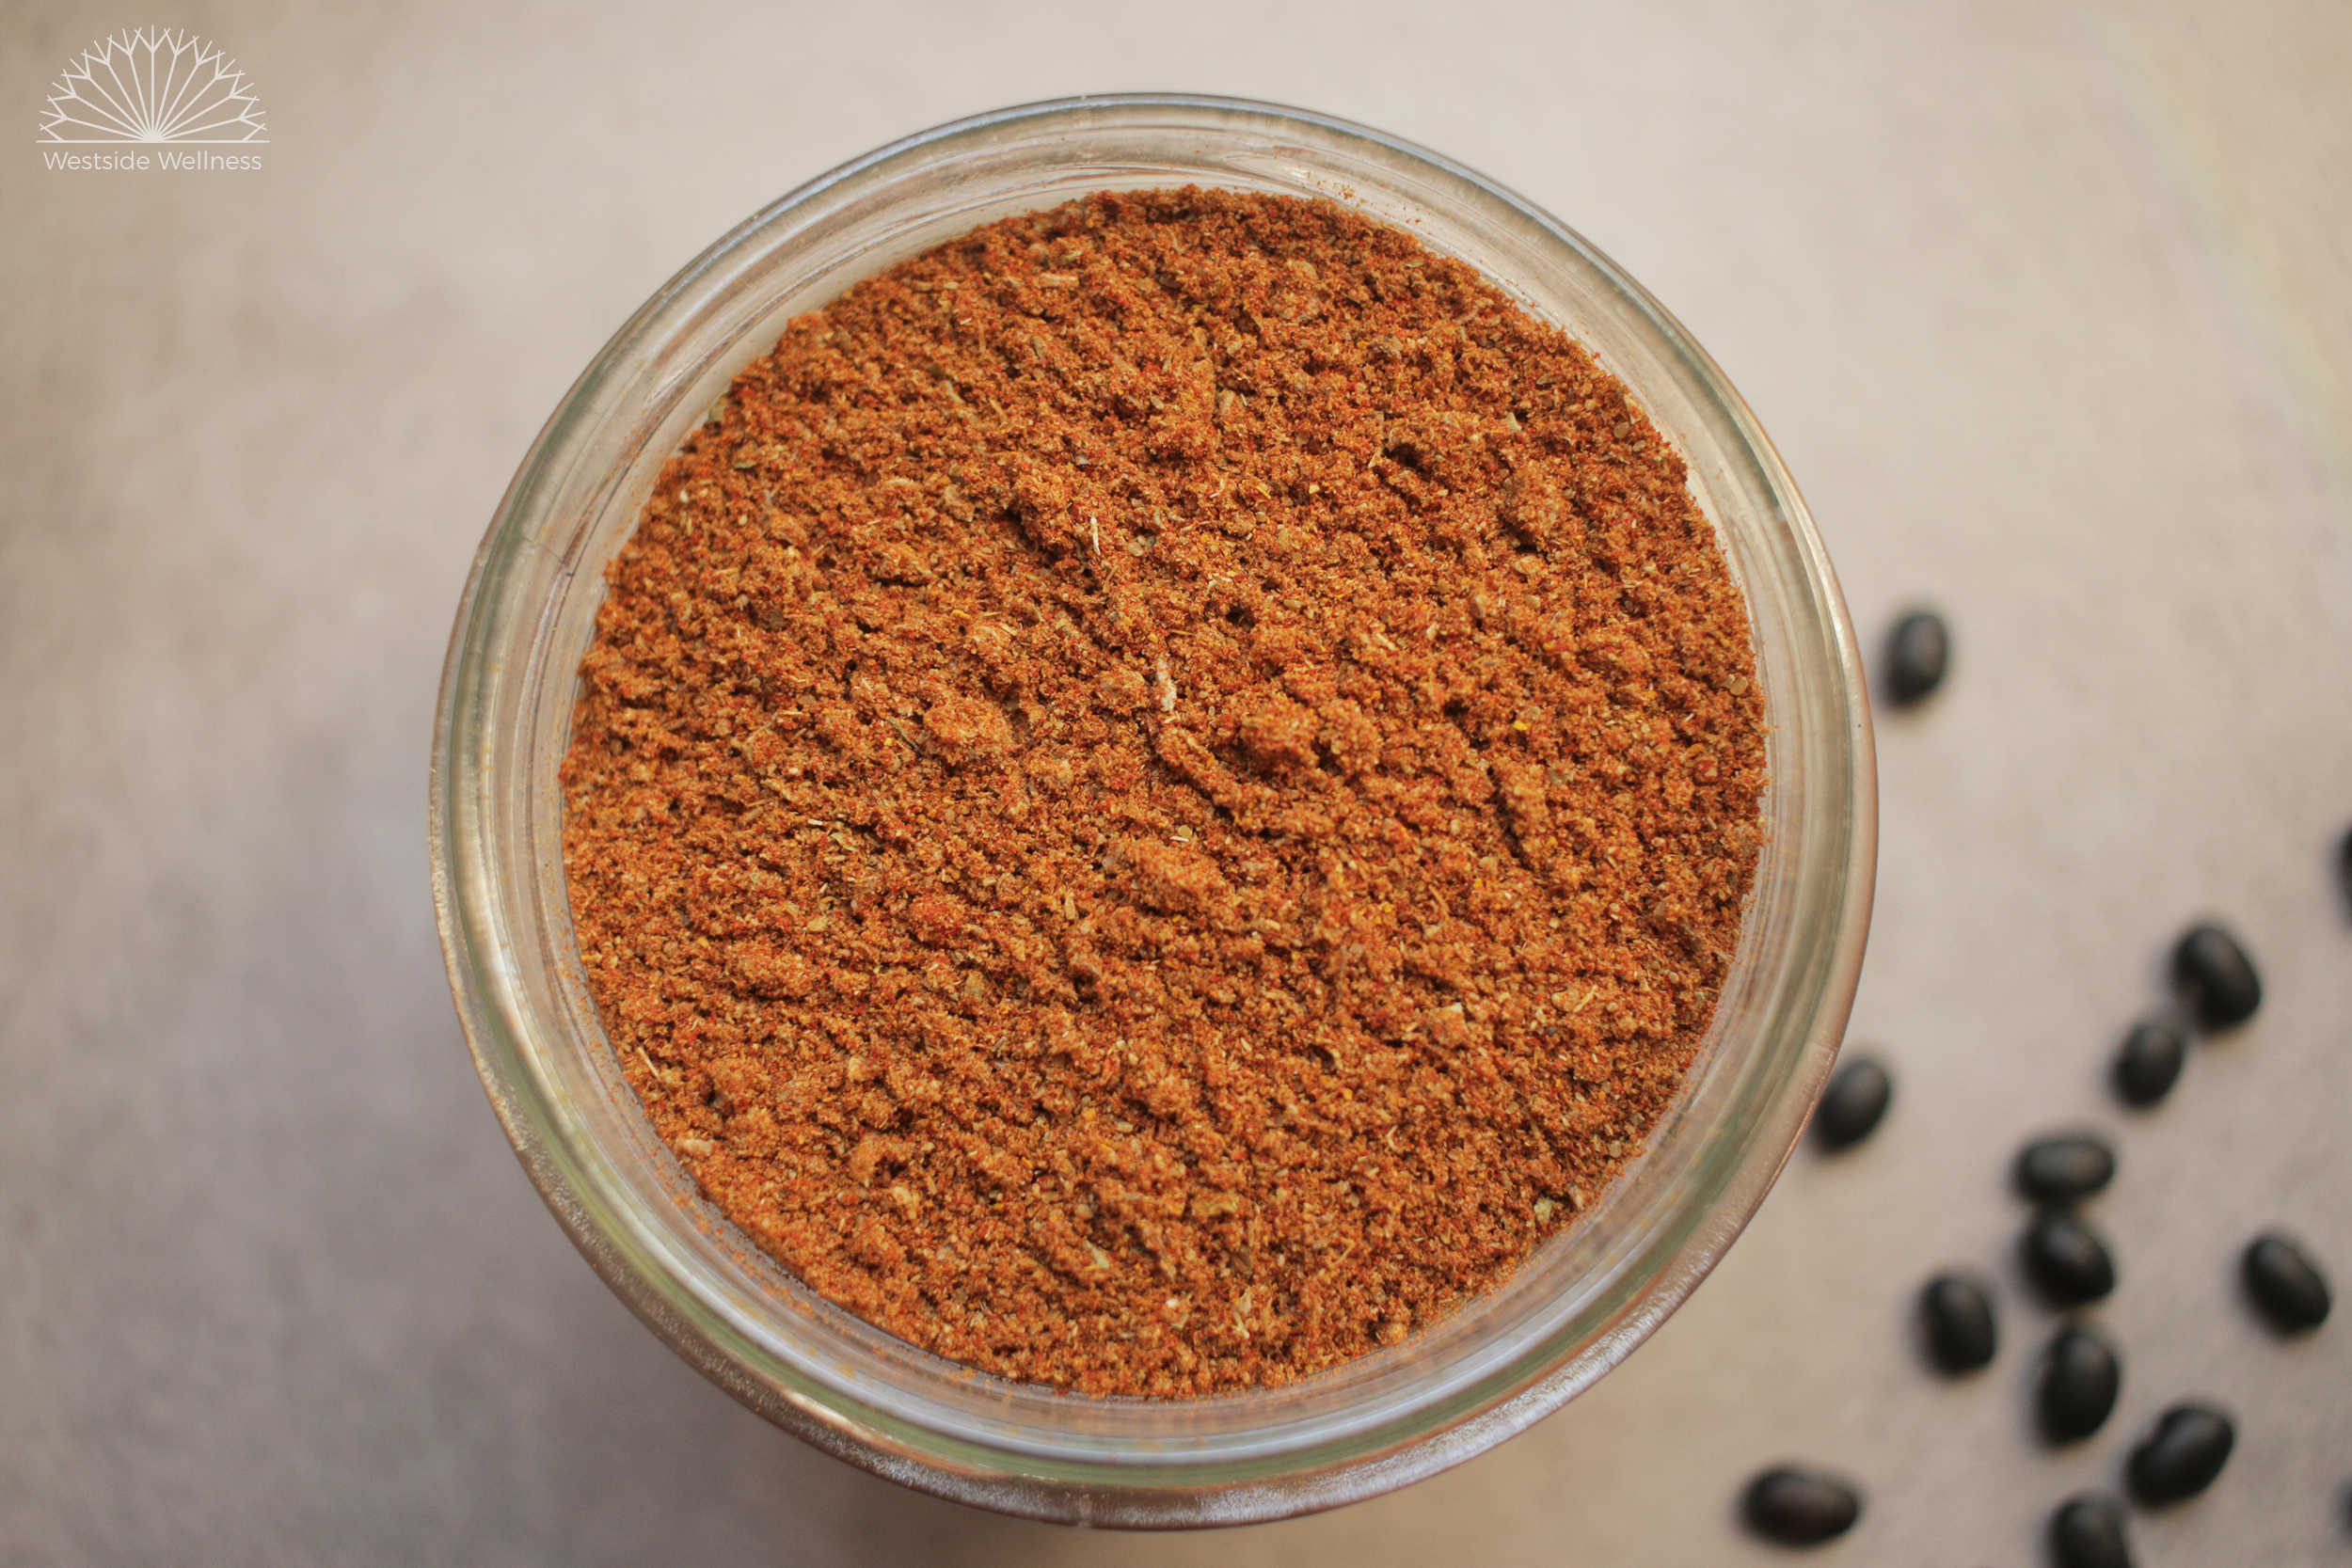
½ tsp ground turmeric
½ small onion, finely diced**
2 cloves garlic, finely chopped**
1 egg
½ zucchini, grated
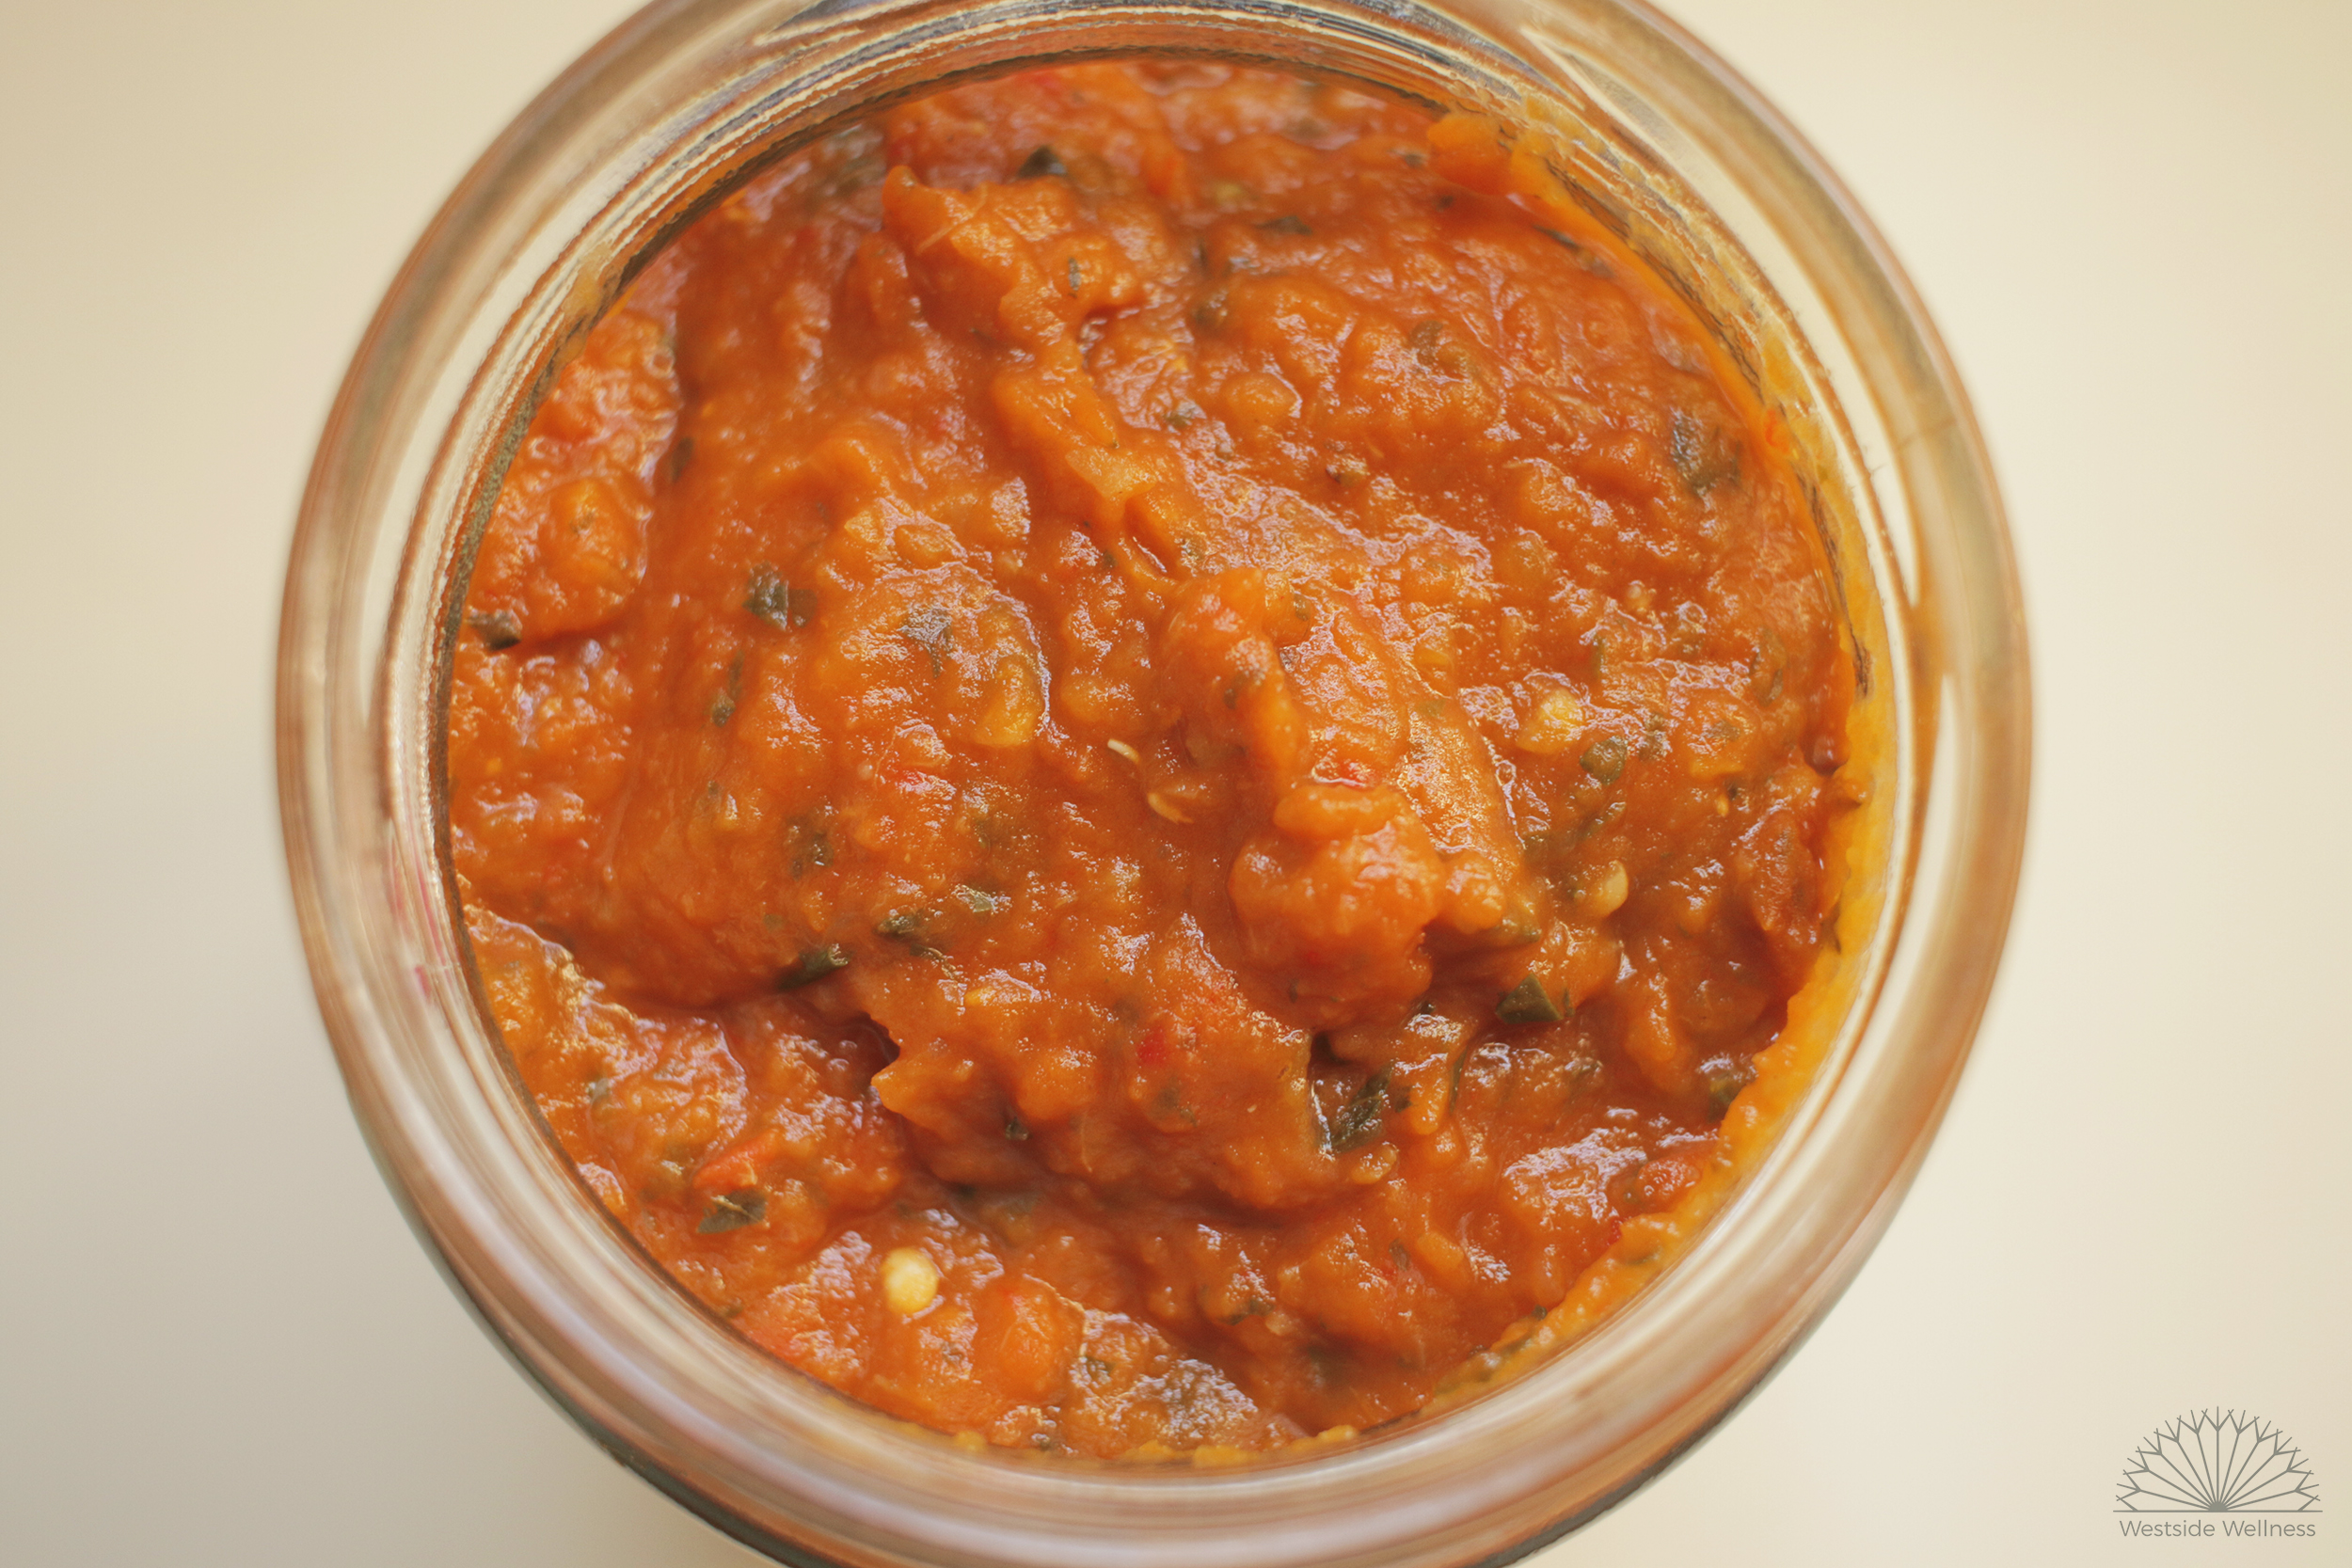
1 tbs tomato paste
salt and pepper to taste
large handful of fresh parsley, finely chopped
1 tbs olive oil
*Swap for regular breadcrumbs if your prefer, or rice crumbs if you are allergic/intolerant to nuts
**Omit if you are have issues with high FODMAP foods or onion and garlic
METHOD
Preheat oven to 180 degrees Celsius. Line a baking tray with baking paper and set aside.
Heat the olive oil in a non-stick pan and sauté the onion and garlic for 5 or so minutes until translucent.
In a bowl, combine all of the ingredients until well mixed. If the mixture if a little wet, add extra almond meal 1/4 cup at a time.
Form the mixture into golf sized balls (you should get 18-19 meatballs) and place on baking tray.
Place the baking tray in the oven and bake for 20 minutes. Remove the tray from the over briefly, to turn the meatballs so they brown on the other side and bake for a further 15-20 minutes until the top is golden brown.
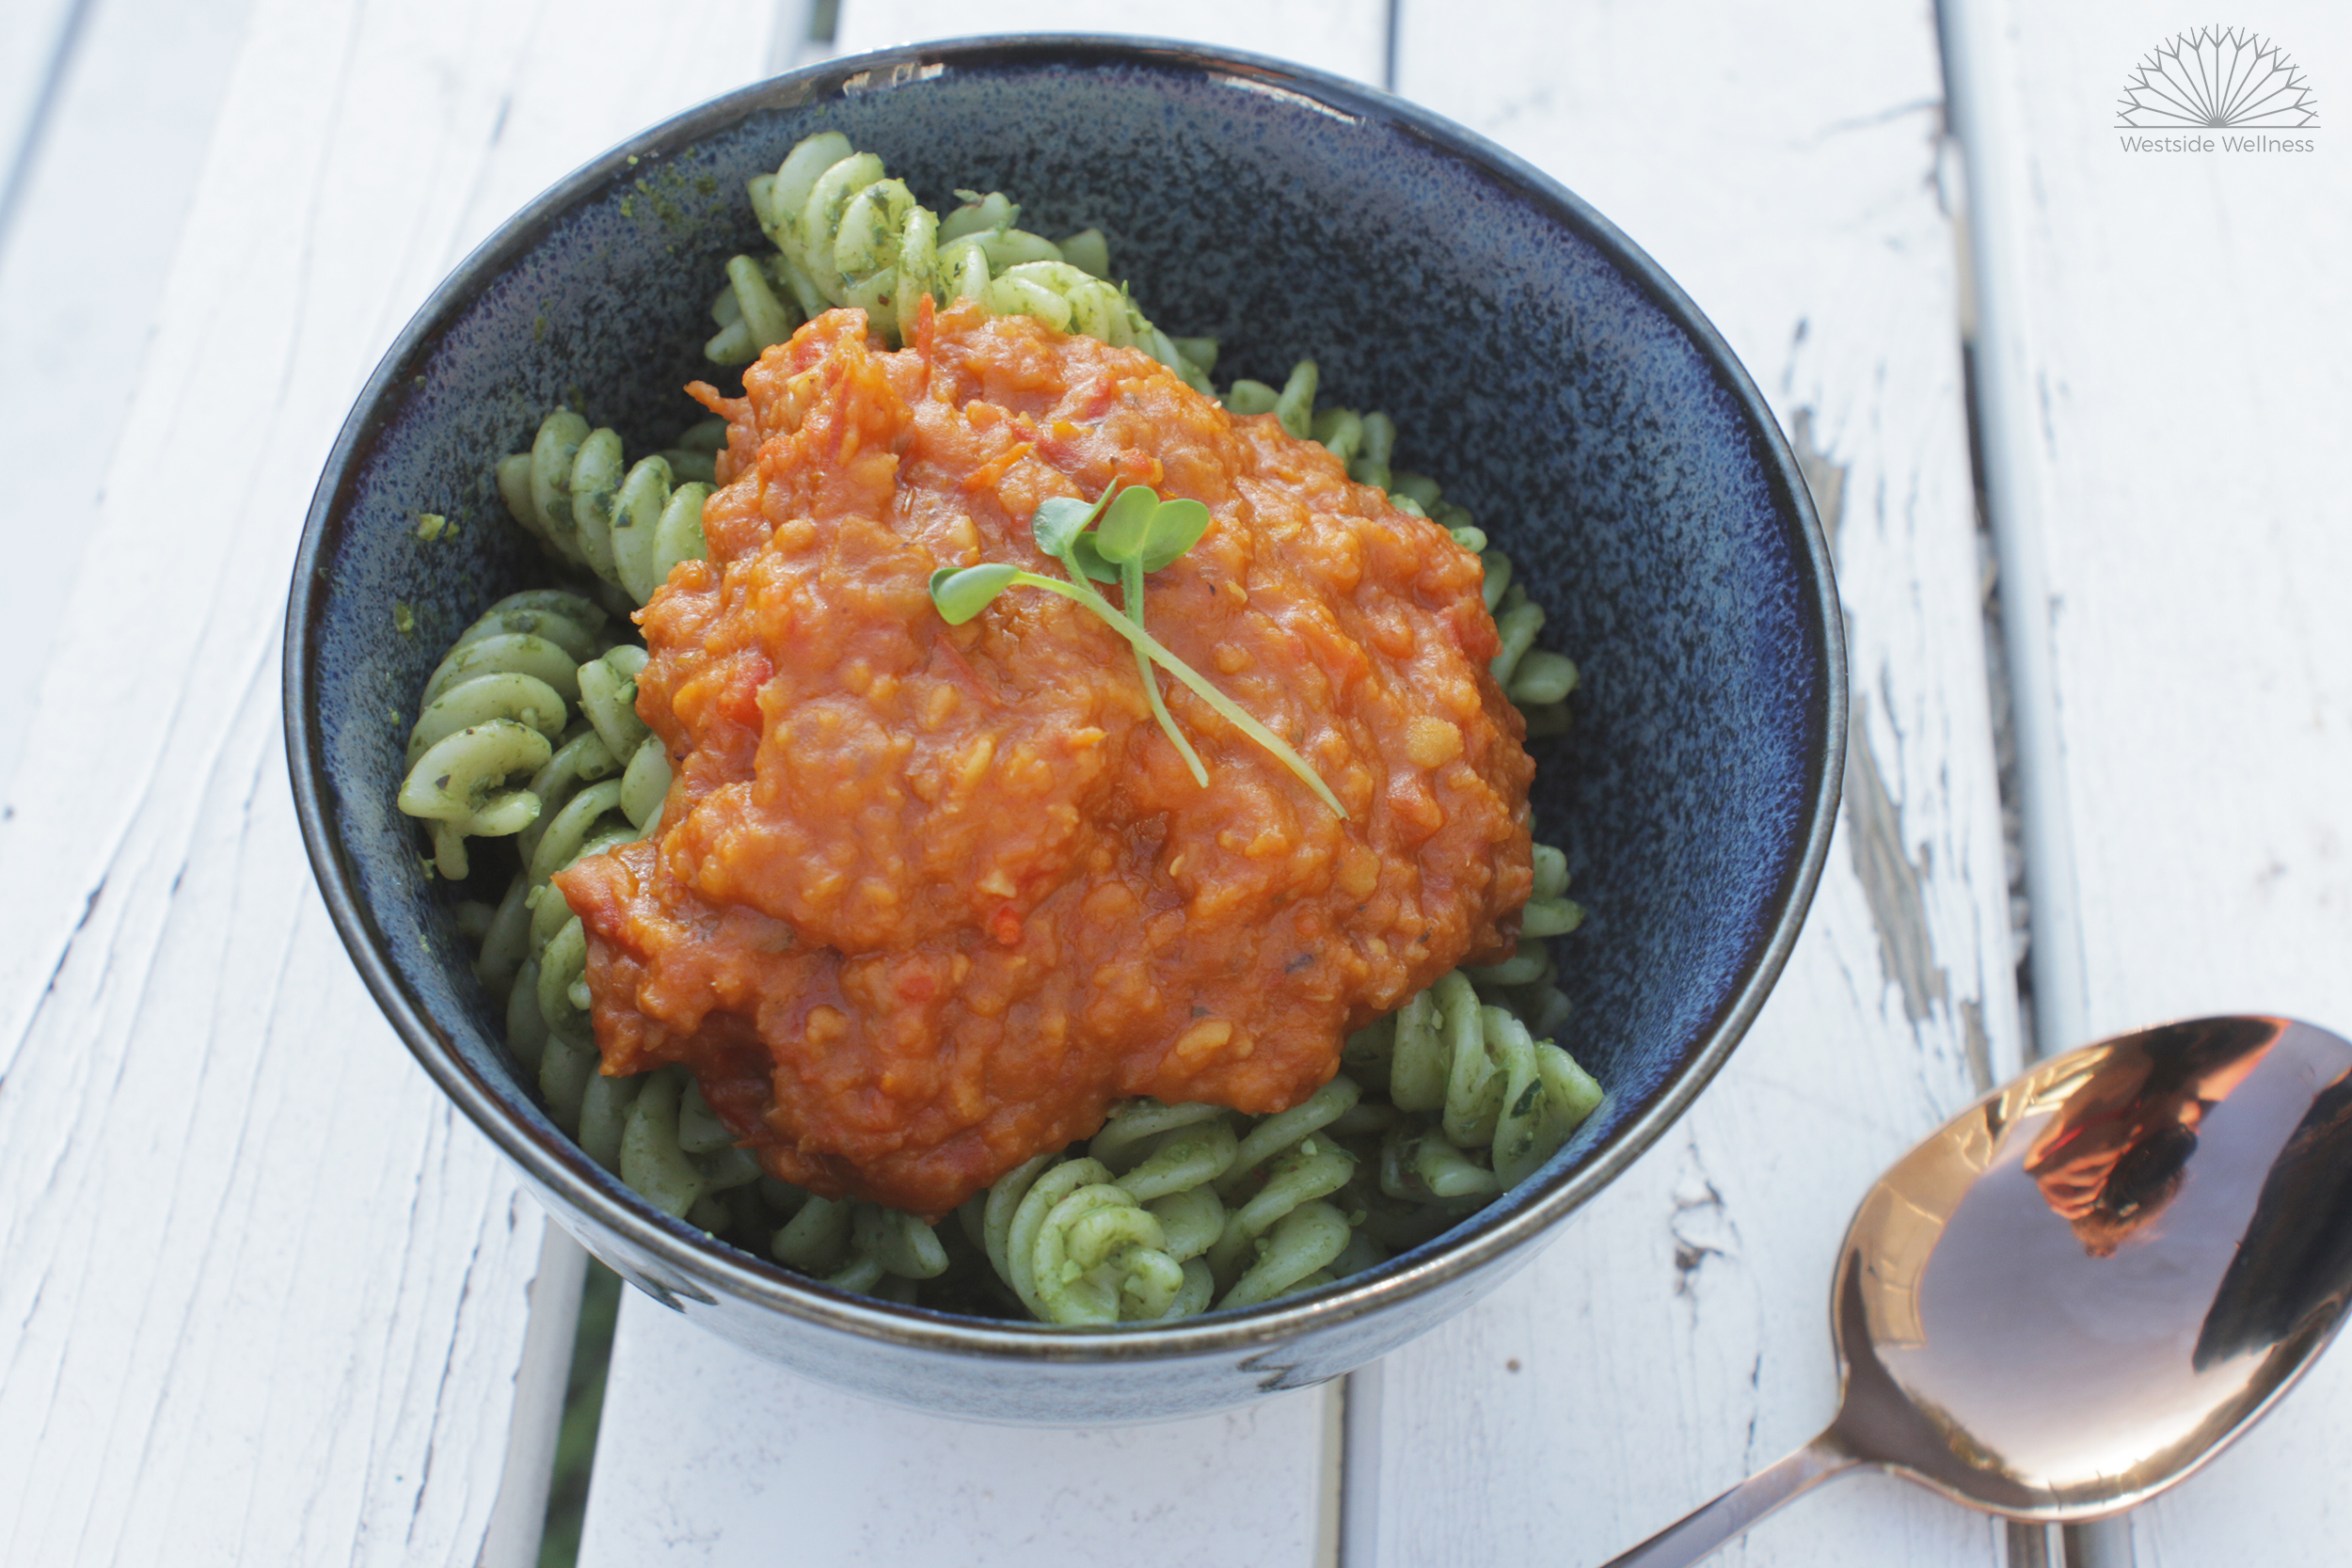
Serve with salad and homemade chips, pasta/zoodles and sauce or eat with eggs for breakfast. The possibilities are endless!