low sugar

Apple & Strawberry Gluten Free Muffins

strawberry muffin web.jpg

I've been working on a gluten free muffin recipe that was also egg/soy/dairy free (so it excluded the most common food intolerances that I encounter) AND wasn't too dense AND delicious. I knew I was onto something when my kids literally gobbled up the first batch that I made using the following recipe!

As with all of our recipes, you can swap things like the gluten free flours for regular wheat/spelt/khorasan flour, the milk for any milk your prefer, the coconut sugar for regular cane sugar and the apple puree for banana (or even pumpkin puree).

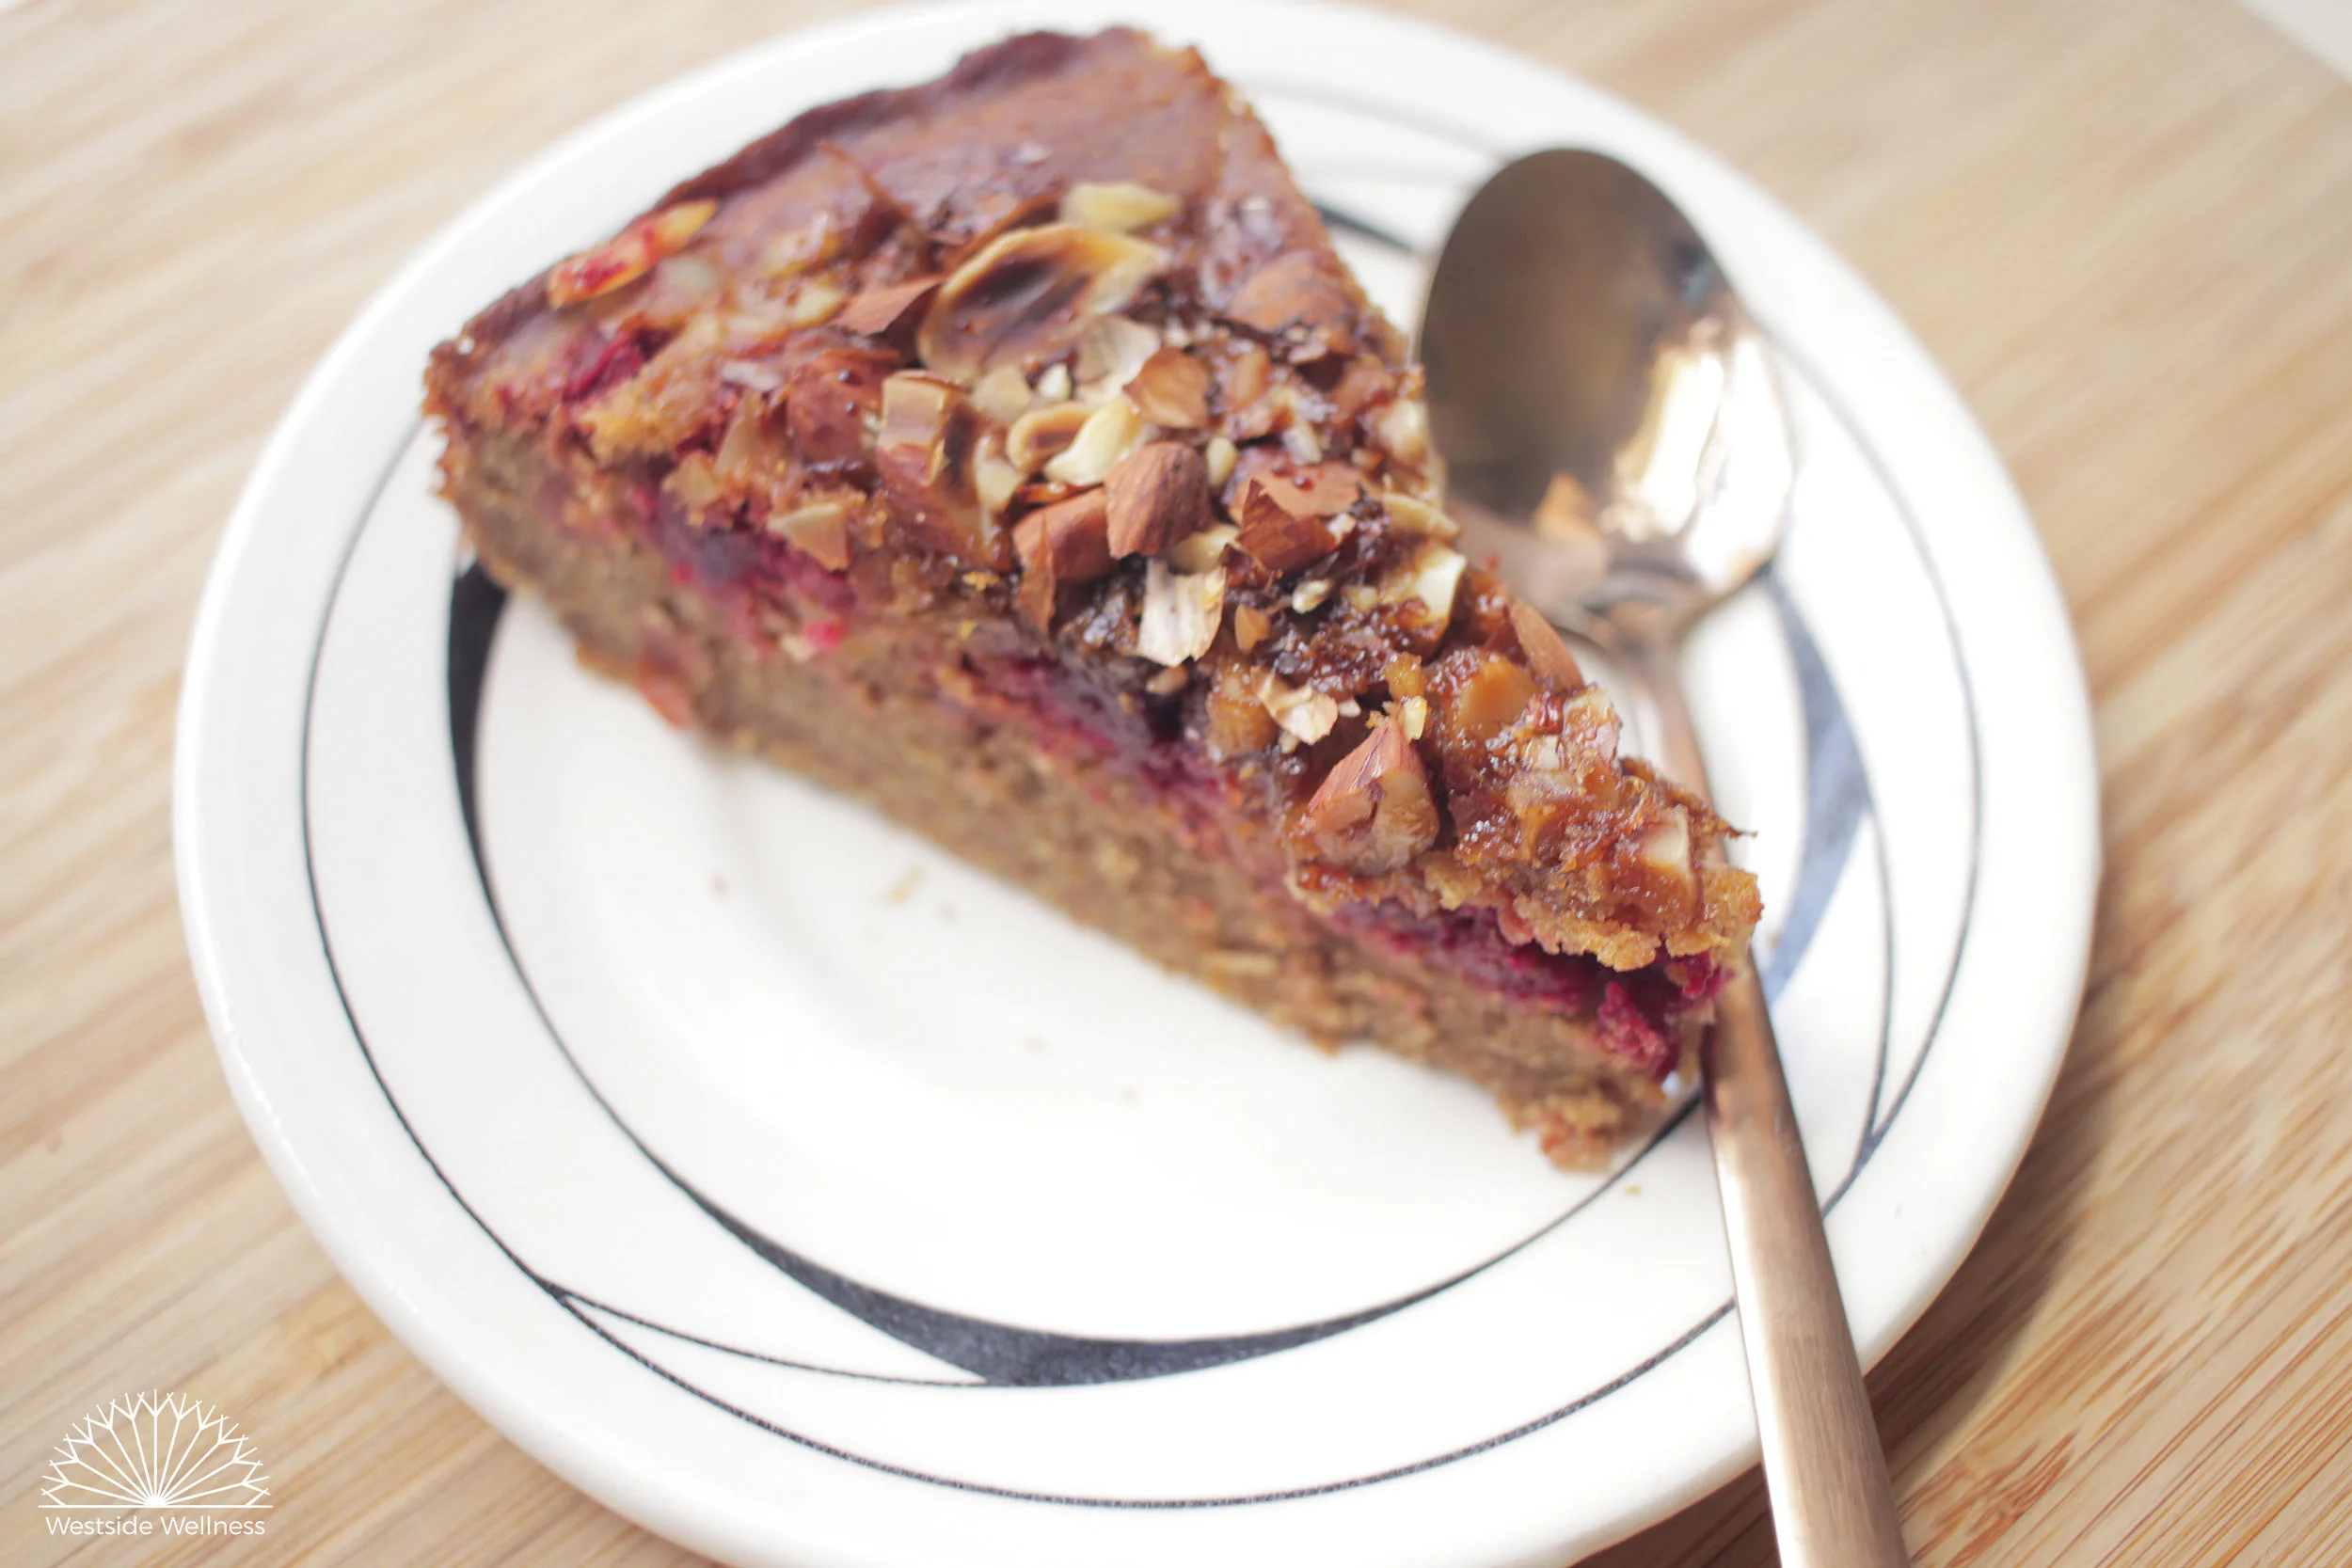
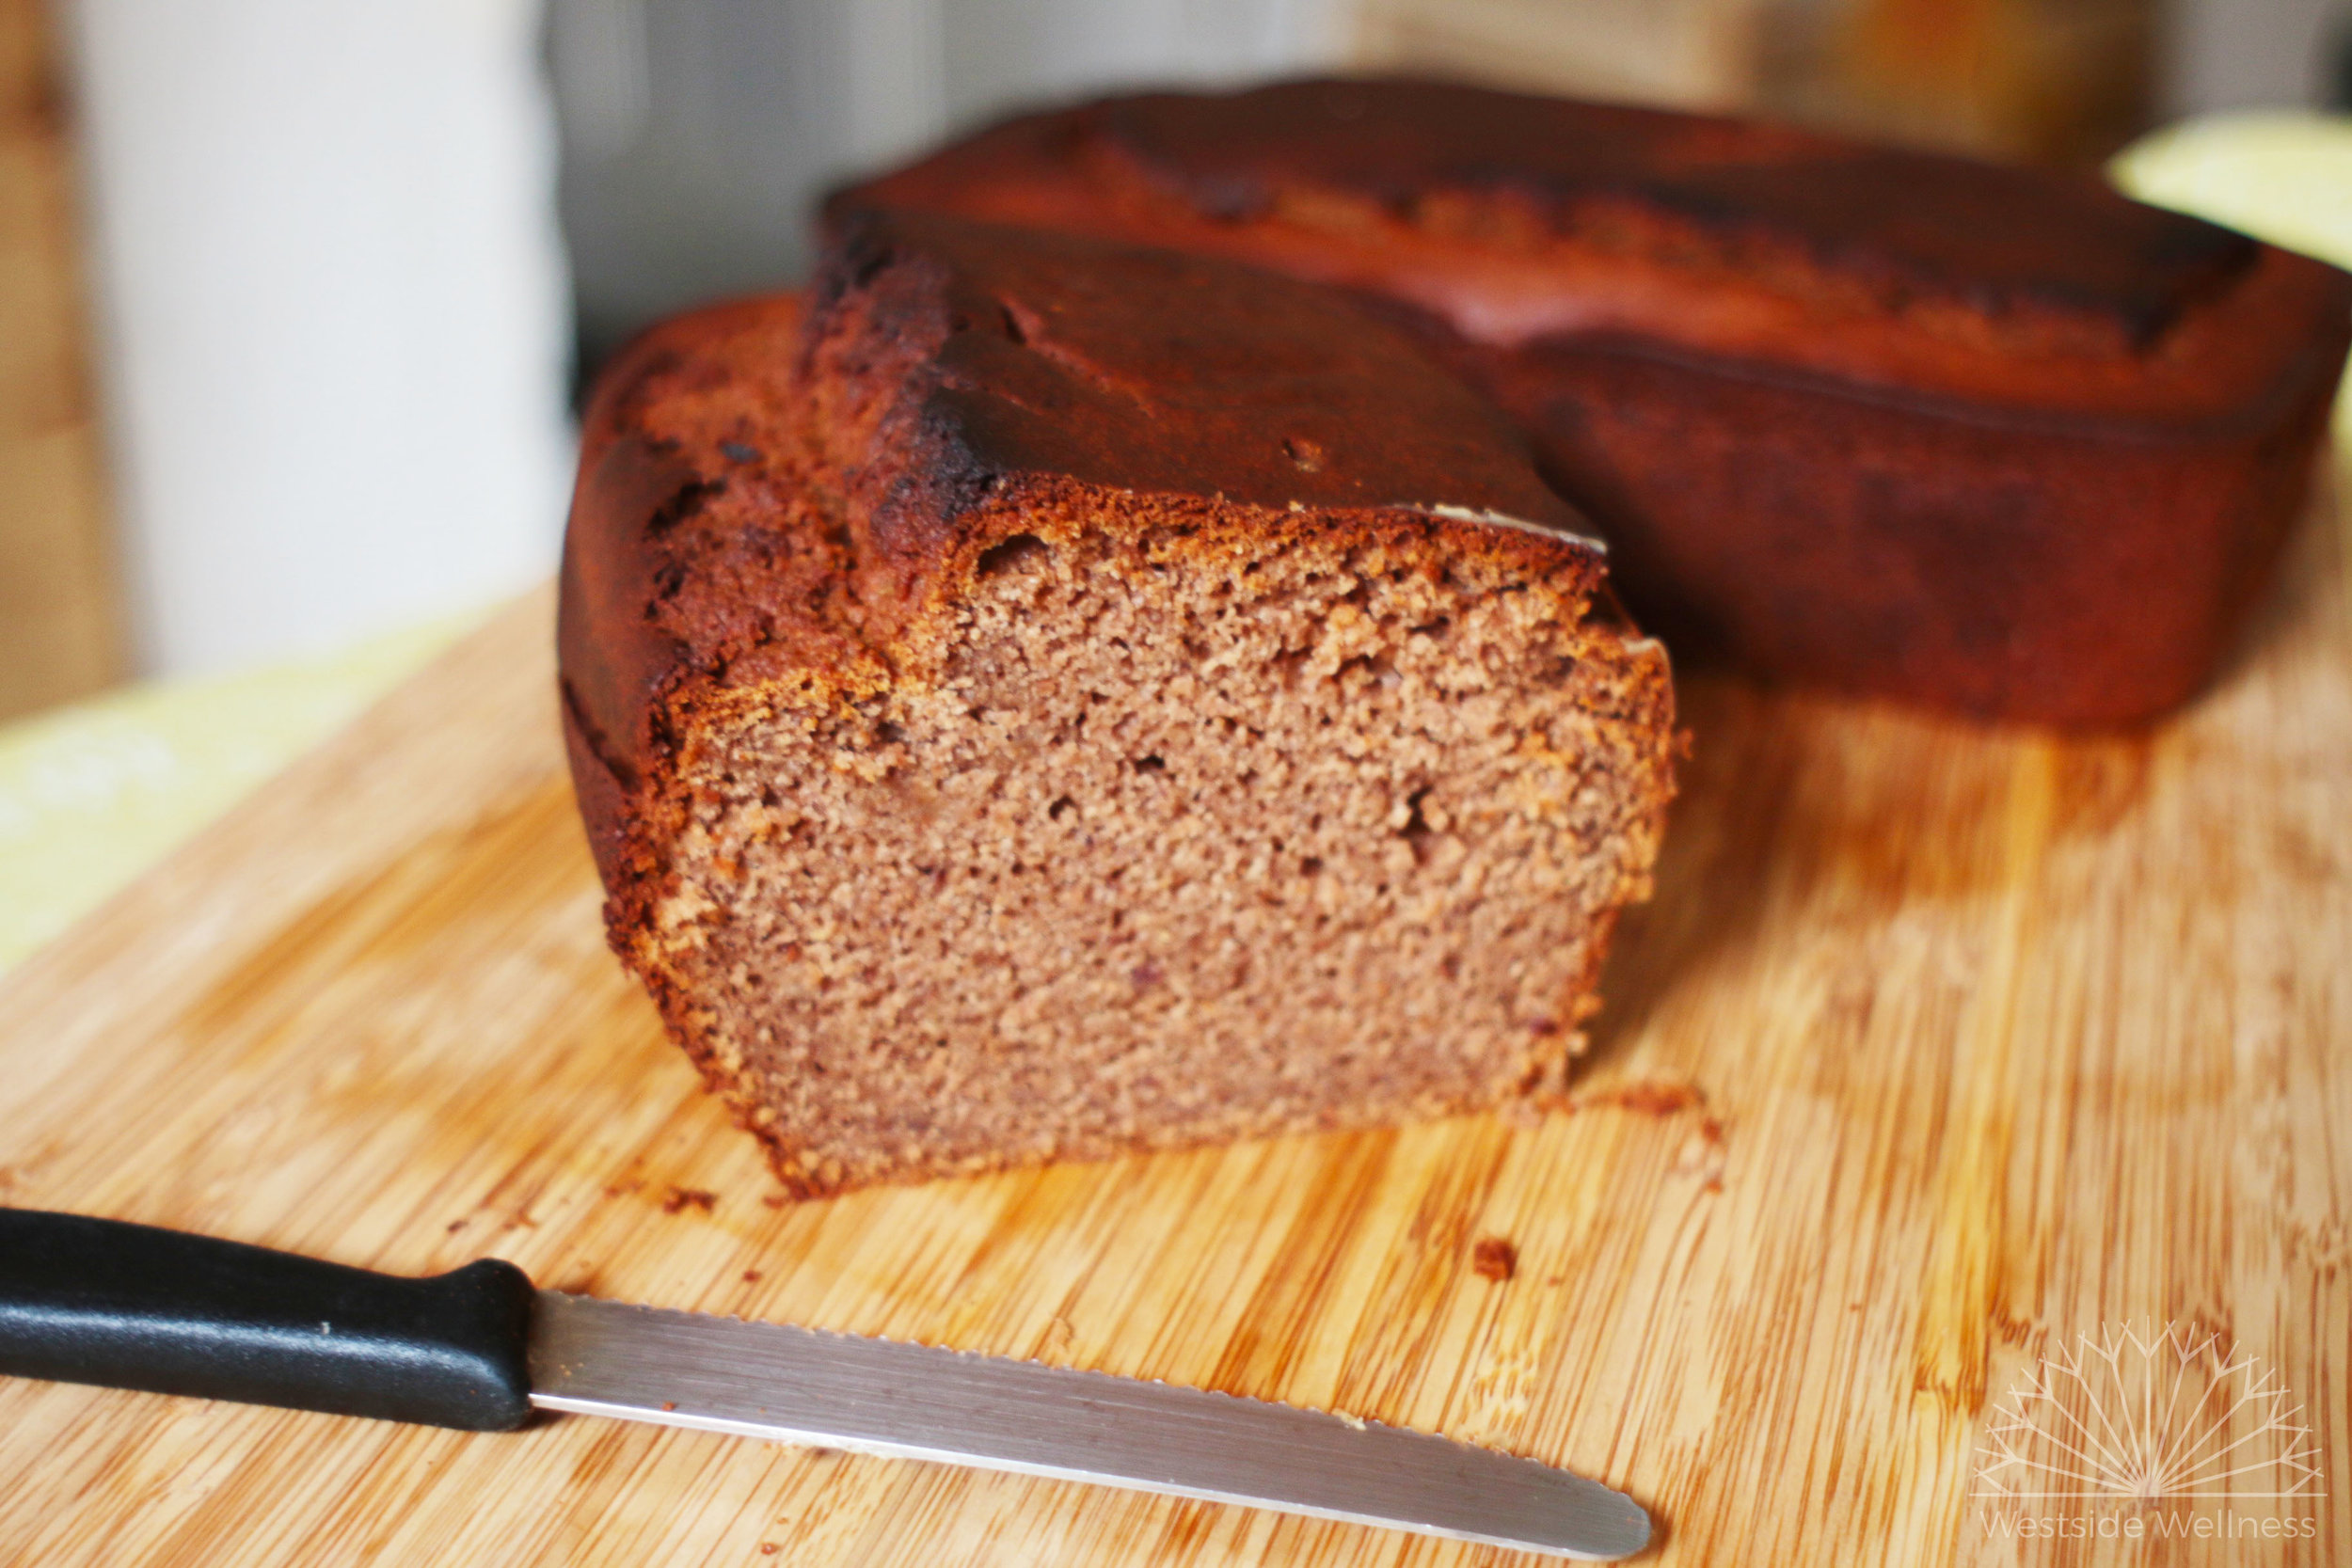
These gluten free muffins are perfect for lunch boxes or day trips, they keep well for up to 5 days (although best stored in the fridge) and freeze well. Enjoy! -Renee x

INGREDIENTS

  • 1 1/2 cups brown rice flour

  • 1/4 cup besan (chickpea) flour

  • 1/4 cup arrowroot/tapioca flour

  • 1 tsp baking soda

  • 1 1/2 tsp baking powder

  • 1 tsp ground cinnamon

  • 1/4 tsp salt

  • 1/2 cup coconut sugar (you can also use regular cane sugar)

  • 1/3 cup coconut oil

  • 2 flax eggs (2 tbs ground flaxseed combined with 4 tbs water, mixed well and set aside)

  • 1 cup apple puree

  • 1 tbs apple cider vinegar

  • 1 tsp vanilla essence

  • 1/2 cup milk (nut, soy, rice etc)

  • 1 cup fresh or frozen strawberries, chopped (you can use any berry)

apple puree web.jpg

METHOD

  1. Preheat oven to 180 degrees celsius. Grease two muffin trays and place both on a large baking tray and set aside.

  2. Combine the apple puree, sugar, vanilla essence and coconut oil until well mixed.

  3. Add the flours, salt, baking powder and soda, salt, flaxeggs, cinnamon and milk and process until smooth. 

  4. Gently stir in the chopped berries, then pour the mixture into the muffin trays (should make 10-12 muffins.

  5. Place tray in oven and bake for 25 minutes or until a skewer comes out clean. Allow to cool completely before removing from trays. Best stored in the fridge if not eaten within 2 days and they freeze well.


uncooked muffins web.jpg
fresh muffins in tray web.jpg
strawberries web.jpg

Dairy Free Chocolate Popsicles

Prep time: 10 minutes

Freezing time: 2 hours

Serves: 4-6

These are a massive hit in our house! I love making these chocolate popsicles because they are dairy free, low sugar and super quick to make! I can whip them up in the morning or early afternoon, knowing that in a couple of hours they will be ready, perfect for those hot days when you need to cool off AND keep the kids happy!

If you need to keep them fructose free omit the dates, otherwise don't be afraid of the realistically small amount of sugar in them! Dates are also fibre rich which helps to slow down the absorption of sugar, and the addition of them in these popsicles adds a special sweetness and creaminess to the texture.

You can also play around with the flavours, omitting the cacao and swapping for carob powder or keeping them vanilla flavoured. If there's a cashew allergy, swap for other nuts such as almonds or macadamias or omit altogether.

I hope you enjoy my dairy free chocolate popsicles as much as we do in my house! x

INGREDIENTS

  • 1/2 cup raw cashews

  • 250 mls coconut milk (you could also use almond, rice or another non dairy milk)

  • 3 fresh dates, roughly chopped

  • 1 tsp vanilla essence

  • 2 tbs cacao powder

  • 2-3 tbs rice malt syrup

METHOD

  1. In a food processor or blender, process the cashews until a paste is formed.

  2. Add the rest of the ingredients and process until smooth.

  3. Pour the mixture into popsicle moulds (I use these and these).

  4. Place in the freezer for 2 hours until completely frozen. You will need to run the moulds under hot water for a for seconds to remove from the mould.

Mini Choc Chip Cookies

chopped chocolate web.jpg

OMG, who doesn’t love tiny little choc chip cookies??? These babies have this lovely kinda wholemeal texture, but the chocolate makes them feel decadent and indulgent. Amazingly they stay really soft if kept in a airtight container, so I take a little box to work at the beginning of the week, for little arvo pick me ups, and they work a real treat! And bonus, my kids absolutely love them which is great as it can be difficult to find treats that are gluten, dairy and soy free for my two year old.

I generally bake them using coconut sugar, but have recently started using rice malt syrup instead in order to cut the sugar content down even further and love them! With rice malt syrup, they're more of a chewy, flat cookie and a little softer so be gently with them. If you're a real sweet tooth, stick with the coconut sugar, otherwise rice malt syrup is the way to go!

-Renee x

Makes 15 or so

sunflower seeds web.jpg

INGREDIENTS

  • ¼ cup sunflower seeds

  • 1 cup (or just under) Loving Earth mylk chocolate, chopped (use 90% Lindt chocolate instead to reduce fructose content further)

  • ½ cup unrefined coconut oil

  • ½ cup coconut sugar*

  • 1 tsp vanilla extract

  • 1 1/3 cup brown rice flour (you can also use almond flour)

  • 1/3 cup of each besan (chickpea) flour and tapioca/arrowroot flour

  • 1 tsp baking powder

  • 1 tsp baking soda

  • 1/8 tsp salt

  • 1 tsp cinnamon

  • 2 flax egg (2 tbs ground flaxseed + 4 tbs water mixed together)

  • 1/3 cup of plant based milk (soy, nut, rice, coconut)

  • 1 tbs vinegar

*swap for ½ cup rice malt syrup; adjust milk to 0

  1. Preheat the oven to 180 degrees. Line a couple of baking trays with baking paper, grease with a little coconut oil (you 100% need to do this if using rice malt syrup) and set aside. Add the vinegar to the ‘milk’ and roughly chop the chocolate and set both aside.

  2. In a large bowl cream together the coconut oil, coconut sugar and vanilla extract.

  3. Add the rest of the dry ingredients and combine well, then add the milk/vinegar combo and mix well. Stir in the chopped chocolate and sunflower seeds.

  4. Form the dough into walnut sized balls, place on the baking trays and gently flatten with a fork (if you're using rice malt syrup the mix will be quite wet, spoon 1 tbs of batter per cookie, keeping them spaced apart even further). Keep them fairly spaced out because they will expand a little.

  5. Bake for 10-12 minutes, or until they are golden brown. Keep an eye on them because they can overcook and will lose their chewiness.

**Please note these can dry out pretty quickly, so once they are cool (if there’s any left!) it’s best to keep them in an airtight container. If it’s really hot, best to keep them in the fridge and they’ll last close to a week.

cookie batter.jpg
raw cookies.jpg
cooked cookies Web.jpg

Not So Berry Teacake

beetroot and apple web vers.jpg

I don't know about other families, but my kids will positively rip through a box of organic frozen berries if they're in the freezer so I wanted to come up with an alternative to berries that I could use in desserts and smoothies. I start playing around with stewing apples and beetroot with citrus juice in order to create a faux berry flavour and it worked!

I do love a good hidden veggies recipe, and if its a sweet one too than it makes me even happier. Beetroot have exceptionally good nutritional value, and are a great source of fibre, folate,  manganese, iron, potassium and vitamin C, as well as potent antioxidants. They are also naturally sweet so a addition to sweet treats to help lower the added sugar.

Although this recipe is gluten and dairy free, you can sub the flours and milk for any that you like. Swap the nuts for sunflower seeds if it needs to be nut free, or omit altogether. Although cooking the apple and beetroot is a bit time consuming, you actually make enough for two cakes so you can freeze the other half for another time.

This teacake goes so well with a cup of tea on a lazy Saturday afternoon, however if you're a parent to young kiddos like myself, its realistically best eaten with one hand and a lukewarm cuppa in the other! Great for playdates and birthday parties too!

Enjoy! Renee x

Serves 8-10
Prep time: 15 mins
Total cooking time: 55 mins

INGREDIENTS

Not so berry mix:

  • 2 apples, peeled, cored and chopped into 1 cm cubes

  • 1 1/2 medium beetroot, peeled and chopped into 1 cm cubes

  • juice of 1 lemon (you will need to keep the zest)

  • juice of 1 orange (you will need to keep the zest)

Crumb mix:

  • 1 tbs coconut sugar

  • zest from above 1 lemon

  • 1/4 cup almonds/pistachios/pecans

Cake mix:

  • 1 1/4 cup plant based milk (rice, soy, nutmilk etc)

  • 2 tbs apple cider vinegar (ACV)

  • 1/2 cup coconut sugar

  • 1/3 cup coconut oil

  • 2 tsp vanilla extract/essence

  • 2 cups flour= 1 1/2 cup brown rice flour + 1/4 cup arrowroot/tapioca flour + 1/4 cup besan (chickpea flour)

  • 1/2 tsp baking soda (bicarb)

  • 1 1/2 tsp baking powder

  • 1/2 tsp cinnamon

  • 1/4 tsp salt

  • zest from above orange

uncooked berry cake web vers.jpg

METHOD

  1. Preheat oven to 180 degrees Celcius. Grease cake tin (I use a springform tin) and set aside.
  2. Place the apple, beetroot, lemon and orange juice in a small pan, cover with water and bring to the boil. Reduce the heat and cover with 3/4 with a lid. Cook for 20-25 mins until soft. Ensure that there is enough water at all times otherwise it will stick and burn.
  3. Pour off any excess water, puree and set aside. You will only be using half for this cake, the other half can be frozen for future cakes.
  4. While the beetroot and apple is cooking, combine the coconut sugar, lemon zest and nuts in a food processor until roughly chopped and set aside.
  5. Add the ACV to the milk and set aside.
  6. Cream together the coconut sugar, coconut oil and vanilla essence.
  7. Add the flours, baking powder and soda, salt, orange zest, and cinnamon and combine well. Pour in the milk + ACV mix and combine until smooth, ensuring there are no lumps.
  8. Pour batter into cake mix, giving a bang to get out any air bubbles. Gently add half the apple beetroot puree (freeze the other half for another cake), distributing it throughout the cake mix.
  9. Sprinkle the crumble on top of the cake, distributing it evenly.
  10. Cover the cake with foil, place in the oven and bake for 20 minutes. Remove the foil and bake for a further 10 minutes until a skewer comes out clean. Gluten free cakes can become quite dry if over baked, so ensure it isn't left in the oven for too long.
  11. Once cooked, remove from oven and allow to cool before serving.
slice of berry cake web vers.jpg

Vegan Red Velvet Cake with Salted Caramel Ganache

chopped beetroot website ver.jpg

This is one of those hidden veggies, low refined sugar, sweet treats that we love here at Westside Wellness! It's been made for many a tea or birthday party, the ganache can be swapped for icing and it can even be poured into muffin tins for easier portioning.

The recipe is egg, dairy and gluten free so useful for families with intolerances and great for parties where different diets need to be catered to, but you can swap all of those for regular flour and dairy milk if preferred. 

Enjoy!

INGREDIENTS

  • 2 medium beetroots, peeled and chopped into 2 cm cubes

  • ½ cup coconut sugar

  • 1/3 cup coconut oil

  • 1 tsp vanilla extract or essence

  • 2 cups of flour: 1 ½ cups brown rice flour, ¼ cup corn flour, ¼ cup besan (chickpea) flour *

  • ¼ cup cacao

  • 1 tsp bicarb (baking soda)

  • 1 ½ tsp baking powder

  • ¼ tsp salt

  • ¾ cup of plant-based milk **

  • 2 tbs vinegar

METHOD

  1. Preheat oven to 180 degrees.
  2. Add vinegar to milk and set aside.
  3. Place the chopped up beetroot into a small pan and cover with water. Bring to the boil, reduce heat, cover with a lid and simmer for 20-30 minutes. You will need to keep an eye on this, stirring occasionally and adding a bit more water if it starts to dry out. Stab beetroot with a fork or skewer, you want it fairly soft, a bit firm is ok though.
  4. Once beetroot is cooked, puree it until smoothish (it will have a bit of texture to it).
  5. Cream together the pureed beetroot, coconut sugar, coconut oil and vanilla essence.
  6. Add the flour, bicarb, baking powder and salt and process until smooth.
  7. Add the milk and vinegar mix, again processing till smooth (this is quite a runny mixture, do not add more flour).
  8. Pour mixture into a greased cake tin, bang on bench to release any air bubbles.
  9. Bake at 180 degrees for 20-30 minutes. The cooking time will depend on your oven; gluten free cakes tend to cook quicker and will dry out if over cooked. Check with a skewer, if it comes out clean, or with dry crumbs on it, the cake is ready.
  10. Gluten free cakes can be soft and crumbly, allow to completely cool before turning out of tin.

CARAMEL GANACHE INGREDIENTS

METHOD

  1. Using a small saucepan and bowl as a double boiler, half fill the saucepan with water and bring to the boil.
  2. Break up the chocolate and add to the bowl on top, when most of it has melted, add the salt and coconut cream.
  3. Whisk gently until you have a smooth caramel.
  4. Allow to cool for a minute or two, then pour over your cake. You’ll want a plate slightly bigger than the cake to catch the run off.

CHOCOLATE GANACHE INGREDIENTS

  • 2 tbs coconut oil

  • 1 tbs coconut paste (I use loving earth)

  • 2 tbs rice malt syrup

  • 1 ½- 2 tbs cacao powder (use less or more depending on how strong you’d like the chocolate flavour)

METHOD

  1. Melt the coconut oil and coconut paste over a gentle heat.
  2. Once melted, add the rest of the ingredients and whisk together until smooth
  3. Remove from heat and continue whisking, allowing the mix to cool slightly
  4. Spread over cooled cake and caramel ganache. As the mixture cools, it will firm up more. If you store the cake in the fridge, it will get a whiteish sheen, this is just the coconut oil and will go away once the cake is at room temp.

* You can use any combo of gluten free flours, this is the combination that I’ve found works best, but you could probably use just brown rice and corn flour if you don’t have besan. Regular wheat or spelt flour also work great

** Any plant based milks will work, as will regular dairy milk


website version slice cake.jpg
Batman beetroot cake.jpg

Healthy Banana Bread

slice of banana bread web vers.jpg


Banana bread is an absolute staple in our house, whether it’s a quick snack with a cuppa, served with nut butter for breakfast, or a special piece of ‘cake’ for the toddler, it’s something that always needs to be in supply.

I love this recipe because it’s versatile, you can use whatever is in the cupboard, make it vegan and gluten free or not, and it’s always tasty. This is the gluten free version, however I’ve made it with regular wheat and wholemeal spelt flour and it’s been just as good. I generally use the Mayver’s cacao peanut butter, but any nut butter will do, tahini works great too. If there’s a nut allergy just substitute the nut butter for the same amount in coconut oil.

Up until recently I always made it with only 2 bananas, as that seems to be what we had on hand to spare, however I’ve been trialing 3 bananas and it’s freakin brilliant, sweeter with a stronger banana flavour and even softer while still firm enough to toast. What more could you ask for?

ripe bananas.jpg

Banana Bread

WET INGREDIENTS

  • ¾ cup of non-dairy milk
  • 1 tbs apple cider vinegar
  • 1/3 cup coconut oil
  • 3 tbs rice malt syrup
  • 1 tsp vanilla extract
  • 2-3 ripe bananas (2 bananas gives a milder flavour, but 3 will give that typical banana bread flavour)
  • 2 tbs nut butter (tahini is also amazing instead)
  • 3 fresh dates, seeds removed

DRY INGREDIENTS

  • 1 cup brown rice flour
  • ¾ cup besan (chickpea) flour
  • ¼ cup cornflour (or arrowroot powder)
  • ½ tsp baking soda
  • 1 ½ tsp baking powder
  • 1 tsp cinnamon powder
  • ½ tsp ginger powder

Method

  1. Preheat oven to 150 degrees. Grease a loaf tin with coconut oil and set aside.
  2. Place all the wet ingredients into a bowl and ‘cream’ together with a hand held mixer until smooth.
  3. Add all the dry ingredients to the bowl, process and again process until smooth.
  4. Pour batter into greased loaf tin. Bang it on the bench to remove any air bubbles, cover with foil and place in the middle of the oven. Bake at 150 degrees for approximately 1 hour, this will depend on your oven and the flour you use. I’ve found that the gluten free version takes around an hour, whereas spelt and wheat flours take more like an hour and a half.
  5. You will need to keep an eye on this the first time you make it. If the top browns too quickly lower the heat. The banana bread is ready when it is brown on top, firm to touch and a skewer comes out clean.
  6. Allow to cool before turning it out of the loaf tin.

This will keep up to 5 days in the fridge or a few days on the bench. If we manage to not eat it in a day or so, I actually like it going a little stale as it toasts nice and crispy! However, this banana bread is still excellent for toasting.

If you have time and the ingredients, bake two loaves and slice one and freeze it, I love having a pre-sliced loaf in the freezer for when I don’t have any snacks for me and my toddler.

fresh banana bread.jpg