healthy snack

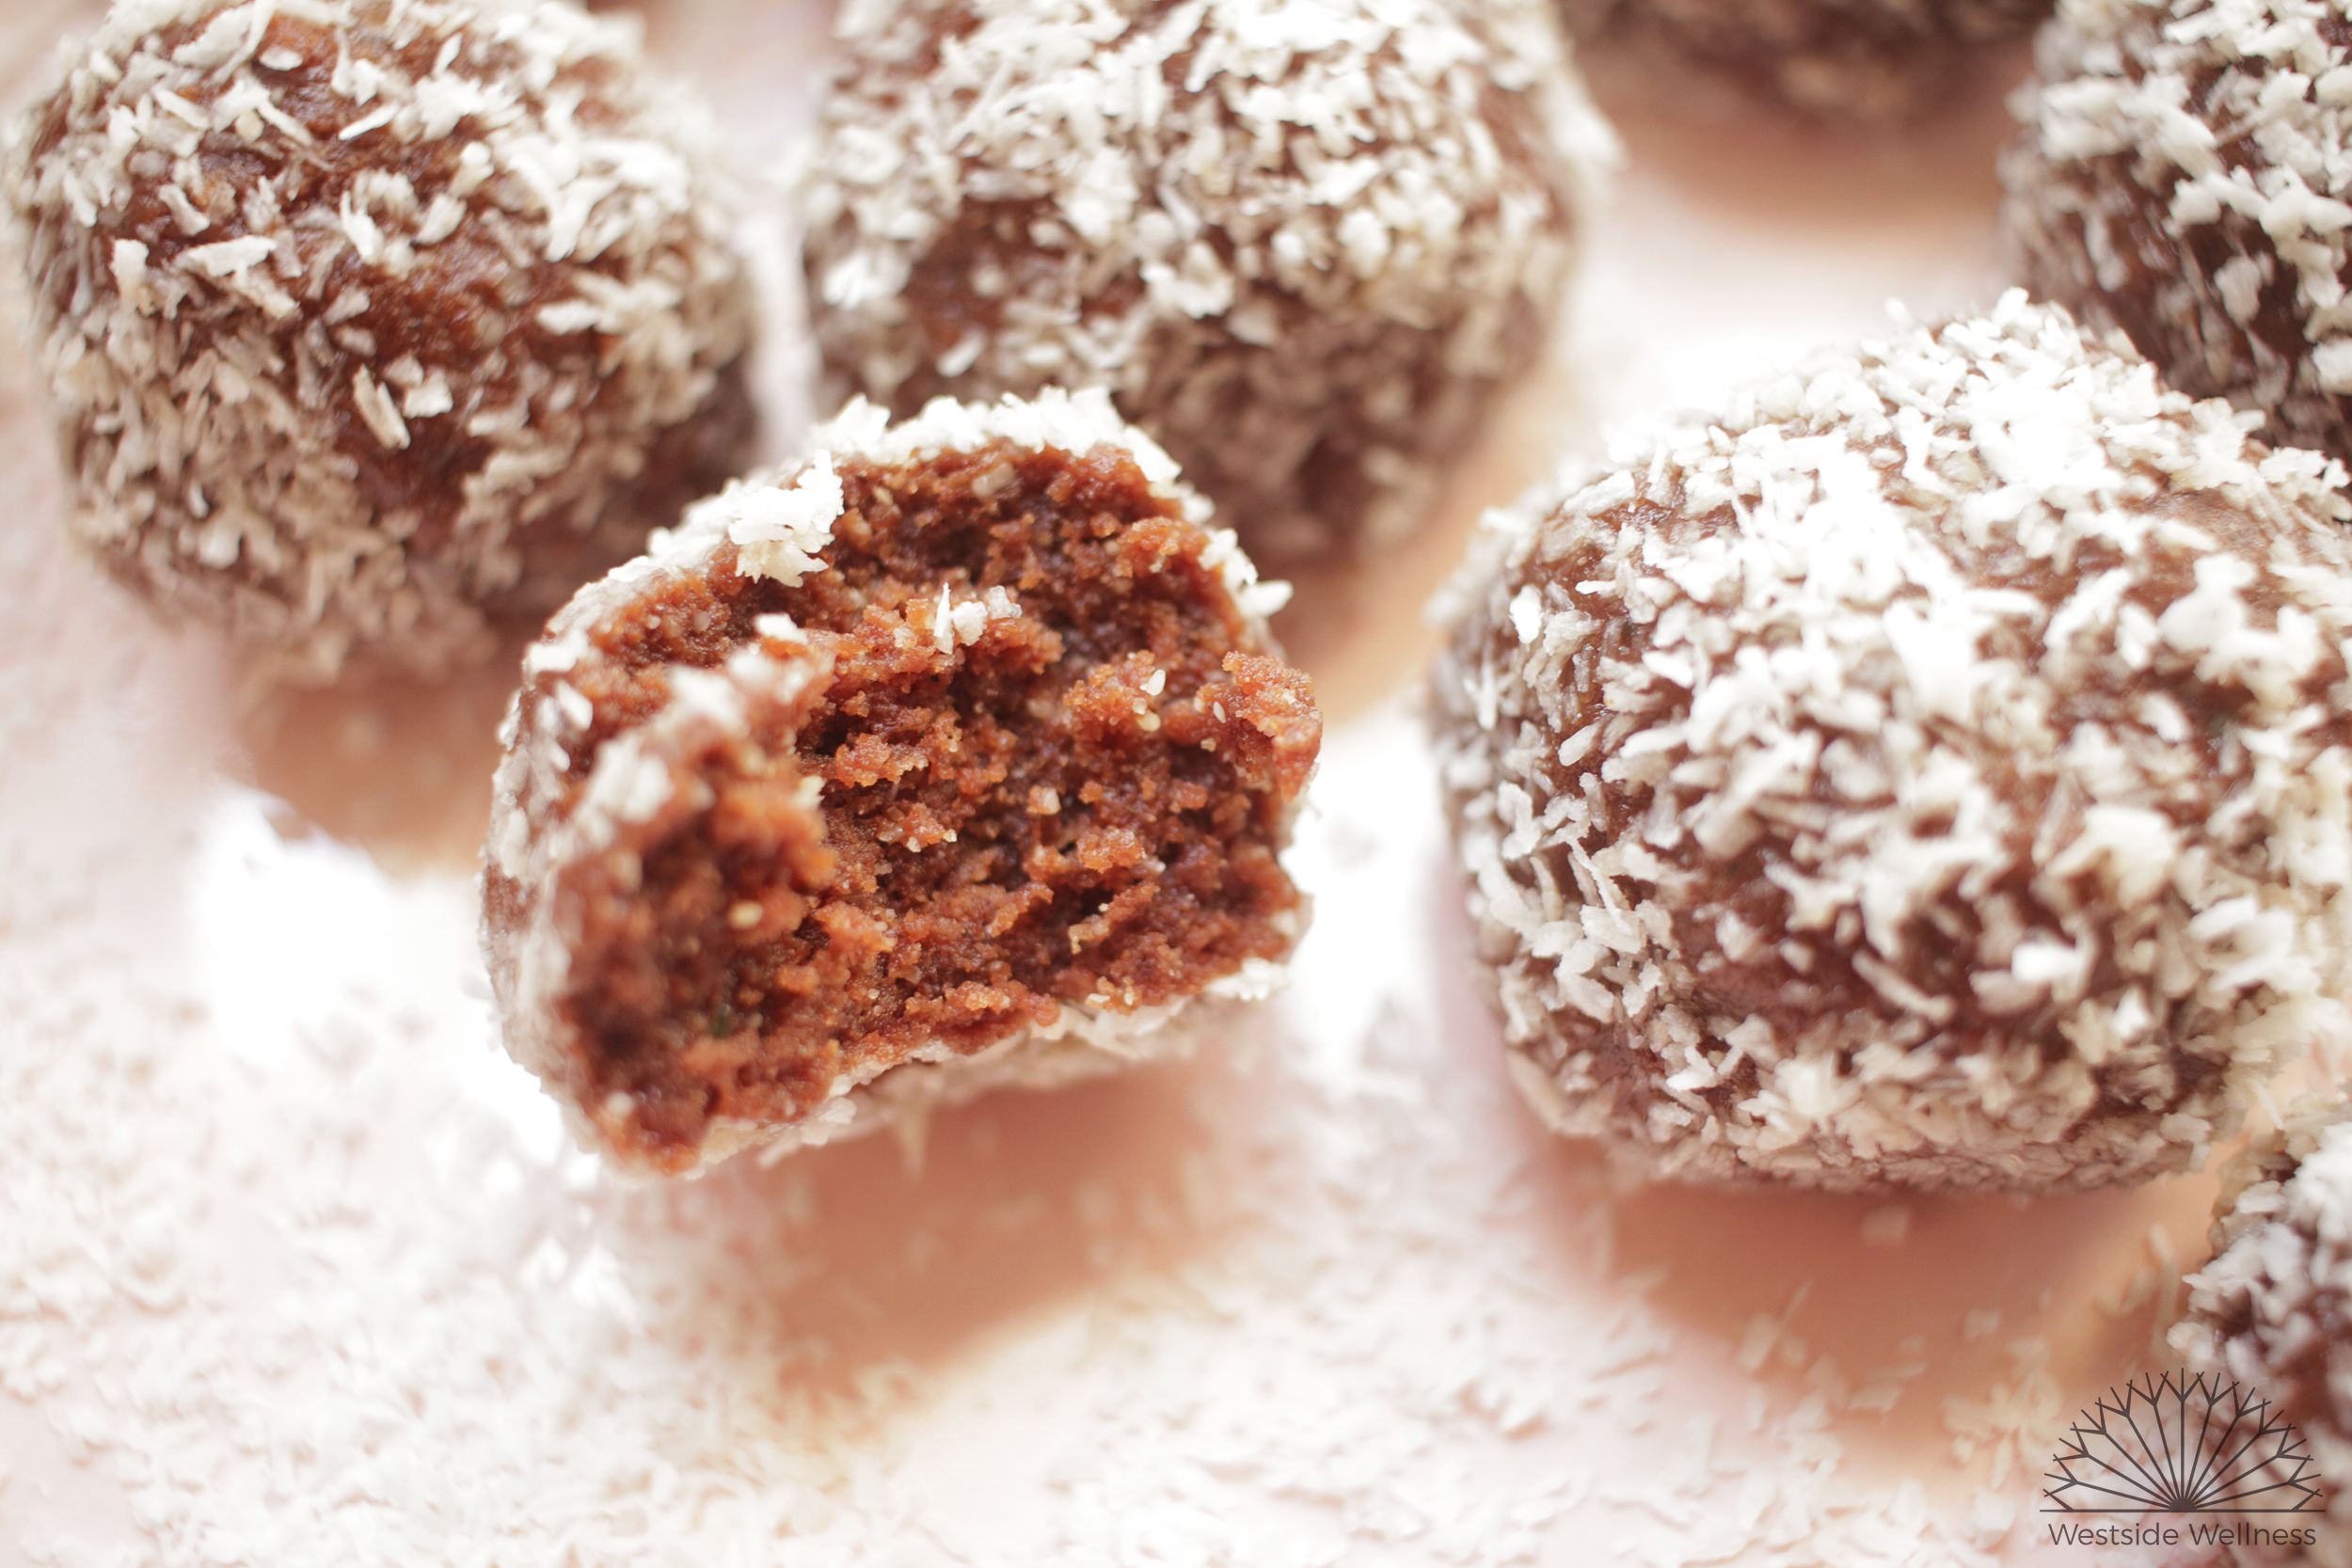
Hazelnut Choc Bliss Balls

nutella bliss balls ingredients web.jpg

I’m such a huge fan of bliss balls, they are a sinch to make and are a great snack for on the go. It’s easy enough to make them nutrient dense, loaded with good fats, protein, minerals and fibre. I prefer to keep my bliss balls on the fruit free and lower fructose side, firstly as I tend to eat thousands of them when they are super sweet, and secondly as I find I get quite a bad crash from the sugar high later on if they are loaded with dates and maple syrup or agave.

I created this particular recipe to have an example of how to add hemp seeds to your day for my clients. I personally love hemp seeds sprinkled on dishes or added to smoothies, but found that others really wanted another way of incorporating them into snacks/meals. I’m a HUGE fan of hemp seeds as they are an excellent source of omega 3 fatty acids and are therefore great for those who don’t eat or don’t like eating fish. They are also a great source of other fatty acids (making them the perfect anti-inflammatory food), protein, fibre, minerals and B vitamins.

They are also a sustainable food source and are grown here in Australia! Better still, they are finally legal for human consumption in Australia which means they are more readily available, I’ve even seen them in the big supermarket chains!

These are great to whip up when you’re in a hurry, you can even press the mix into a baking tray and cut into slices if you don’t have time for rolling them. They’re also a fun snack to make with little ones, allowing them to get their hands dirty and work on their rolling technique. Enjoy! -Renee x

Prep time: 5 minutes

Total time: 5 minutes

Makes: 10-12 balls

INGREDIENTS

  • 1 cup hazelnuts

  • 1/2 cup hemp seeds

  • 1 tbs coconut oil

  • 2 tbs rice malt syrup (you could also use maple syrup or honey)

  • pinch of salt

  • 1 1⁄2-2 tbs cacao (depends on how chocolaty you like it)

  • desiccated/shredded coconut (make sure it’s sulfur free)

METHOD

  1. Process the hazelnuts, in a food processor/thermomix/blender until they resemble meal/flour (not quite nut butter).

  2. Chuck in the remaining ingredients, except the coconut, and process until everything is smoothish and sticking together, adding a touch more rice malt if the mixture is too dry.

  3. Divide and roll the mixture into golf sized balls.

  4. Sprinkle a handful of the desiccated coconut onto a plate and roll the balls into it until covered.
    These will keep for a 5 days in the fridge, and freeze well too.

holding bliss ball.jpg
eaten  blissball.jpg

Apple & Strawberry Gluten Free Muffins

strawberry muffin web.jpg

I've been working on a gluten free muffin recipe that was also egg/soy/dairy free (so it excluded the most common food intolerances that I encounter) AND wasn't too dense AND delicious. I knew I was onto something when my kids literally gobbled up the first batch that I made using the following recipe!

As with all of our recipes, you can swap things like the gluten free flours for regular wheat/spelt/khorasan flour, the milk for any milk your prefer, the coconut sugar for regular cane sugar and the apple puree for banana (or even pumpkin puree).

These gluten free muffins are perfect for lunch boxes or day trips, they keep well for up to 5 days (although best stored in the fridge) and freeze well. Enjoy! -Renee x

INGREDIENTS

  • 1 1/2 cups brown rice flour

  • 1/4 cup besan (chickpea) flour

  • 1/4 cup arrowroot/tapioca flour

  • 1 tsp baking soda

  • 1 1/2 tsp baking powder

  • 1 tsp ground cinnamon

  • 1/4 tsp salt

  • 1/2 cup coconut sugar (you can also use regular cane sugar)

  • 1/3 cup coconut oil

  • 2 flax eggs (2 tbs ground flaxseed combined with 4 tbs water, mixed well and set aside)

  • 1 cup apple puree

  • 1 tbs apple cider vinegar

  • 1 tsp vanilla essence

  • 1/2 cup milk (nut, soy, rice etc)

  • 1 cup fresh or frozen strawberries, chopped (you can use any berry)

apple puree web.jpg

METHOD

  1. Preheat oven to 180 degrees celsius. Grease two muffin trays and place both on a large baking tray and set aside.

  2. Combine the apple puree, sugar, vanilla essence and coconut oil until well mixed.

  3. Add the flours, salt, baking powder and soda, salt, flaxeggs, cinnamon and milk and process until smooth. 

  4. Gently stir in the chopped berries, then pour the mixture into the muffin trays (should make 10-12 muffins.

  5. Place tray in oven and bake for 25 minutes or until a skewer comes out clean. Allow to cool completely before removing from trays. Best stored in the fridge if not eaten within 2 days and they freeze well.


uncooked muffins web.jpg
fresh muffins in tray web.jpg
strawberries web.jpg

Dairy Free Chocolate Popsicles

Prep time: 10 minutes

Freezing time: 2 hours

Serves: 4-6

These are a massive hit in our house! I love making these chocolate popsicles because they are dairy free, low sugar and super quick to make! I can whip them up in the morning or early afternoon, knowing that in a couple of hours they will be ready, perfect for those hot days when you need to cool off AND keep the kids happy!

If you need to keep them fructose free omit the dates, otherwise don't be afraid of the realistically small amount of sugar in them! Dates are also fibre rich which helps to slow down the absorption of sugar, and the addition of them in these popsicles adds a special sweetness and creaminess to the texture.

You can also play around with the flavours, omitting the cacao and swapping for carob powder or keeping them vanilla flavoured. If there's a cashew allergy, swap for other nuts such as almonds or macadamias or omit altogether.

I hope you enjoy my dairy free chocolate popsicles as much as we do in my house! x

INGREDIENTS

  • 1/2 cup raw cashews

  • 250 mls coconut milk (you could also use almond, rice or another non dairy milk)

  • 3 fresh dates, roughly chopped

  • 1 tsp vanilla essence

  • 2 tbs cacao powder

  • 2-3 tbs rice malt syrup

METHOD

  1. In a food processor or blender, process the cashews until a paste is formed.

  2. Add the rest of the ingredients and process until smooth.

  3. Pour the mixture into popsicle moulds (I use these and these).

  4. Place in the freezer for 2 hours until completely frozen. You will need to run the moulds under hot water for a for seconds to remove from the mould.

'Cheezy' Rosemary Seed Crackers

stack of crackers.jpg

I love a good cracker! Especially with homemade dip or a nut cheese like the phenomenal Botanical Cuisine cheeses. Seed crackers are a great way to get extra nutrition into your day, all whilst eating something delicious! These crackers are an excellent source of omega 3 from the flax and chia seeds, zinc from the pepitas and sunflower seeds, calcium from the sesame seeds and protein from all the seeds. 

You can whip these up quickly and have them on hand for whenever hungry strikes. They are also a great one to go for when you get that mid-arvo slump and want to reach for something sugary. Reach for these babies instead and stabilise your blood sugar and get an energy boost from the crunch, protein, carbs and healthy fats!

I hope you enjoy these tasty seed crackers, and check out our other recipes for dips to pair them with here.

seeded cracker ingredients.jpg

INGREDIENTS

  • 2 tbs buckwheat groats

  • 2 tbs chia seeds

  • 1/2 cup flaxseed (linseed)

  • 2 tbs sesame seeds

  • 1/2 cup sunflower seeds

  • 1/2 cup pepitas (pumpkin seeds)

  • 1/2-1 tsp salt

  • 3 tbs savoury yeast flakes (also called nutritional yeast)

  • 1 tsp dried rosemary (crushed)

  • 1 cup filtered or tap water

METHOD

  1. Preheat the oven to 180 degrees Celcius. Line two baking trays with baking paper or a silicone baking mat and set aside.

  2. Roughy chop the sunflower seeds and pepitas.

  3. Combine all the ingredients in a bowl and mix well. Allow to set for 20-30 minutes until the water has absorbed and the seeds have become gel like.

  4. Spread the mixture across both baking trays, ensuring it is evenly spread and not too thick (you want it less then 1/2 cm thick). Using a pizza cutter or knife, score the mix so the crackers will break apart easily once made (I usually make the crackers approximately 5 x 5 cm).

  5. Place the trays in the oven and bake for 20 minutes until slightly brown. remove the trays from the oven, allow to cool slightly then break the crackers apart.

  6. Flip the crackers over on the tray, place back in the oven and back for a further 15-20 minutes until golden brown.

  7. Allow to cool completely before storing in an airtight container.

uncooked crackers.jpg
toasted crackers web.jpg

Mini Choc Chip Cookies

chopped chocolate web.jpg

OMG, who doesn’t love tiny little choc chip cookies??? These babies have this lovely kinda wholemeal texture, but the chocolate makes them feel decadent and indulgent. Amazingly they stay really soft if kept in a airtight container, so I take a little box to work at the beginning of the week, for little arvo pick me ups, and they work a real treat! And bonus, my kids absolutely love them which is great as it can be difficult to find treats that are gluten, dairy and soy free for my two year old.

I generally bake them using coconut sugar, but have recently started using rice malt syrup instead in order to cut the sugar content down even further and love them! With rice malt syrup, they're more of a chewy, flat cookie and a little softer so be gently with them. If you're a real sweet tooth, stick with the coconut sugar, otherwise rice malt syrup is the way to go!

-Renee x

Makes 15 or so

sunflower seeds web.jpg

INGREDIENTS

  • ¼ cup sunflower seeds

  • 1 cup (or just under) Loving Earth mylk chocolate, chopped (use 90% Lindt chocolate instead to reduce fructose content further)

  • ½ cup unrefined coconut oil

  • ½ cup coconut sugar*

  • 1 tsp vanilla extract

  • 1 1/3 cup brown rice flour (you can also use almond flour)

  • 1/3 cup of each besan (chickpea) flour and tapioca/arrowroot flour

  • 1 tsp baking powder

  • 1 tsp baking soda

  • 1/8 tsp salt

  • 1 tsp cinnamon

  • 2 flax egg (2 tbs ground flaxseed + 4 tbs water mixed together)

  • 1/3 cup of plant based milk (soy, nut, rice, coconut)

  • 1 tbs vinegar

*swap for ½ cup rice malt syrup; adjust milk to 0

  1. Preheat the oven to 180 degrees. Line a couple of baking trays with baking paper, grease with a little coconut oil (you 100% need to do this if using rice malt syrup) and set aside. Add the vinegar to the ‘milk’ and roughly chop the chocolate and set both aside.

  2. In a large bowl cream together the coconut oil, coconut sugar and vanilla extract.

  3. Add the rest of the dry ingredients and combine well, then add the milk/vinegar combo and mix well. Stir in the chopped chocolate and sunflower seeds.

  4. Form the dough into walnut sized balls, place on the baking trays and gently flatten with a fork (if you're using rice malt syrup the mix will be quite wet, spoon 1 tbs of batter per cookie, keeping them spaced apart even further). Keep them fairly spaced out because they will expand a little.

  5. Bake for 10-12 minutes, or until they are golden brown. Keep an eye on them because they can overcook and will lose their chewiness.

**Please note these can dry out pretty quickly, so once they are cool (if there’s any left!) it’s best to keep them in an airtight container. If it’s really hot, best to keep them in the fridge and they’ll last close to a week.

cookie batter.jpg
raw cookies.jpg
cooked cookies Web.jpg