Scraps Stock Paste

veggie stock paste.jpg

Ever since I got my thermomix, I haven't had to buy stock paste or powder because I've been making my own, and its been awesome! Aside from being free from sugar, preservatives and additives, it's primarily made from veggie scraps which means less waste or more veggies in my family's diet, win win!

I generally use my thermomix but wanted to write up a recipe that even non-thermomix users could use. I keep all my veggie scraps (things like veggie peels, carrot and zucchini ends, bits of celery, broccoli and cauliflower stalks) in a container or freezer bag in the freezer until I have enough to make up a good batch of stock. I chop it all up, chuck it in a pot and voila, 20 minutes later I have a big pot of stock paste!

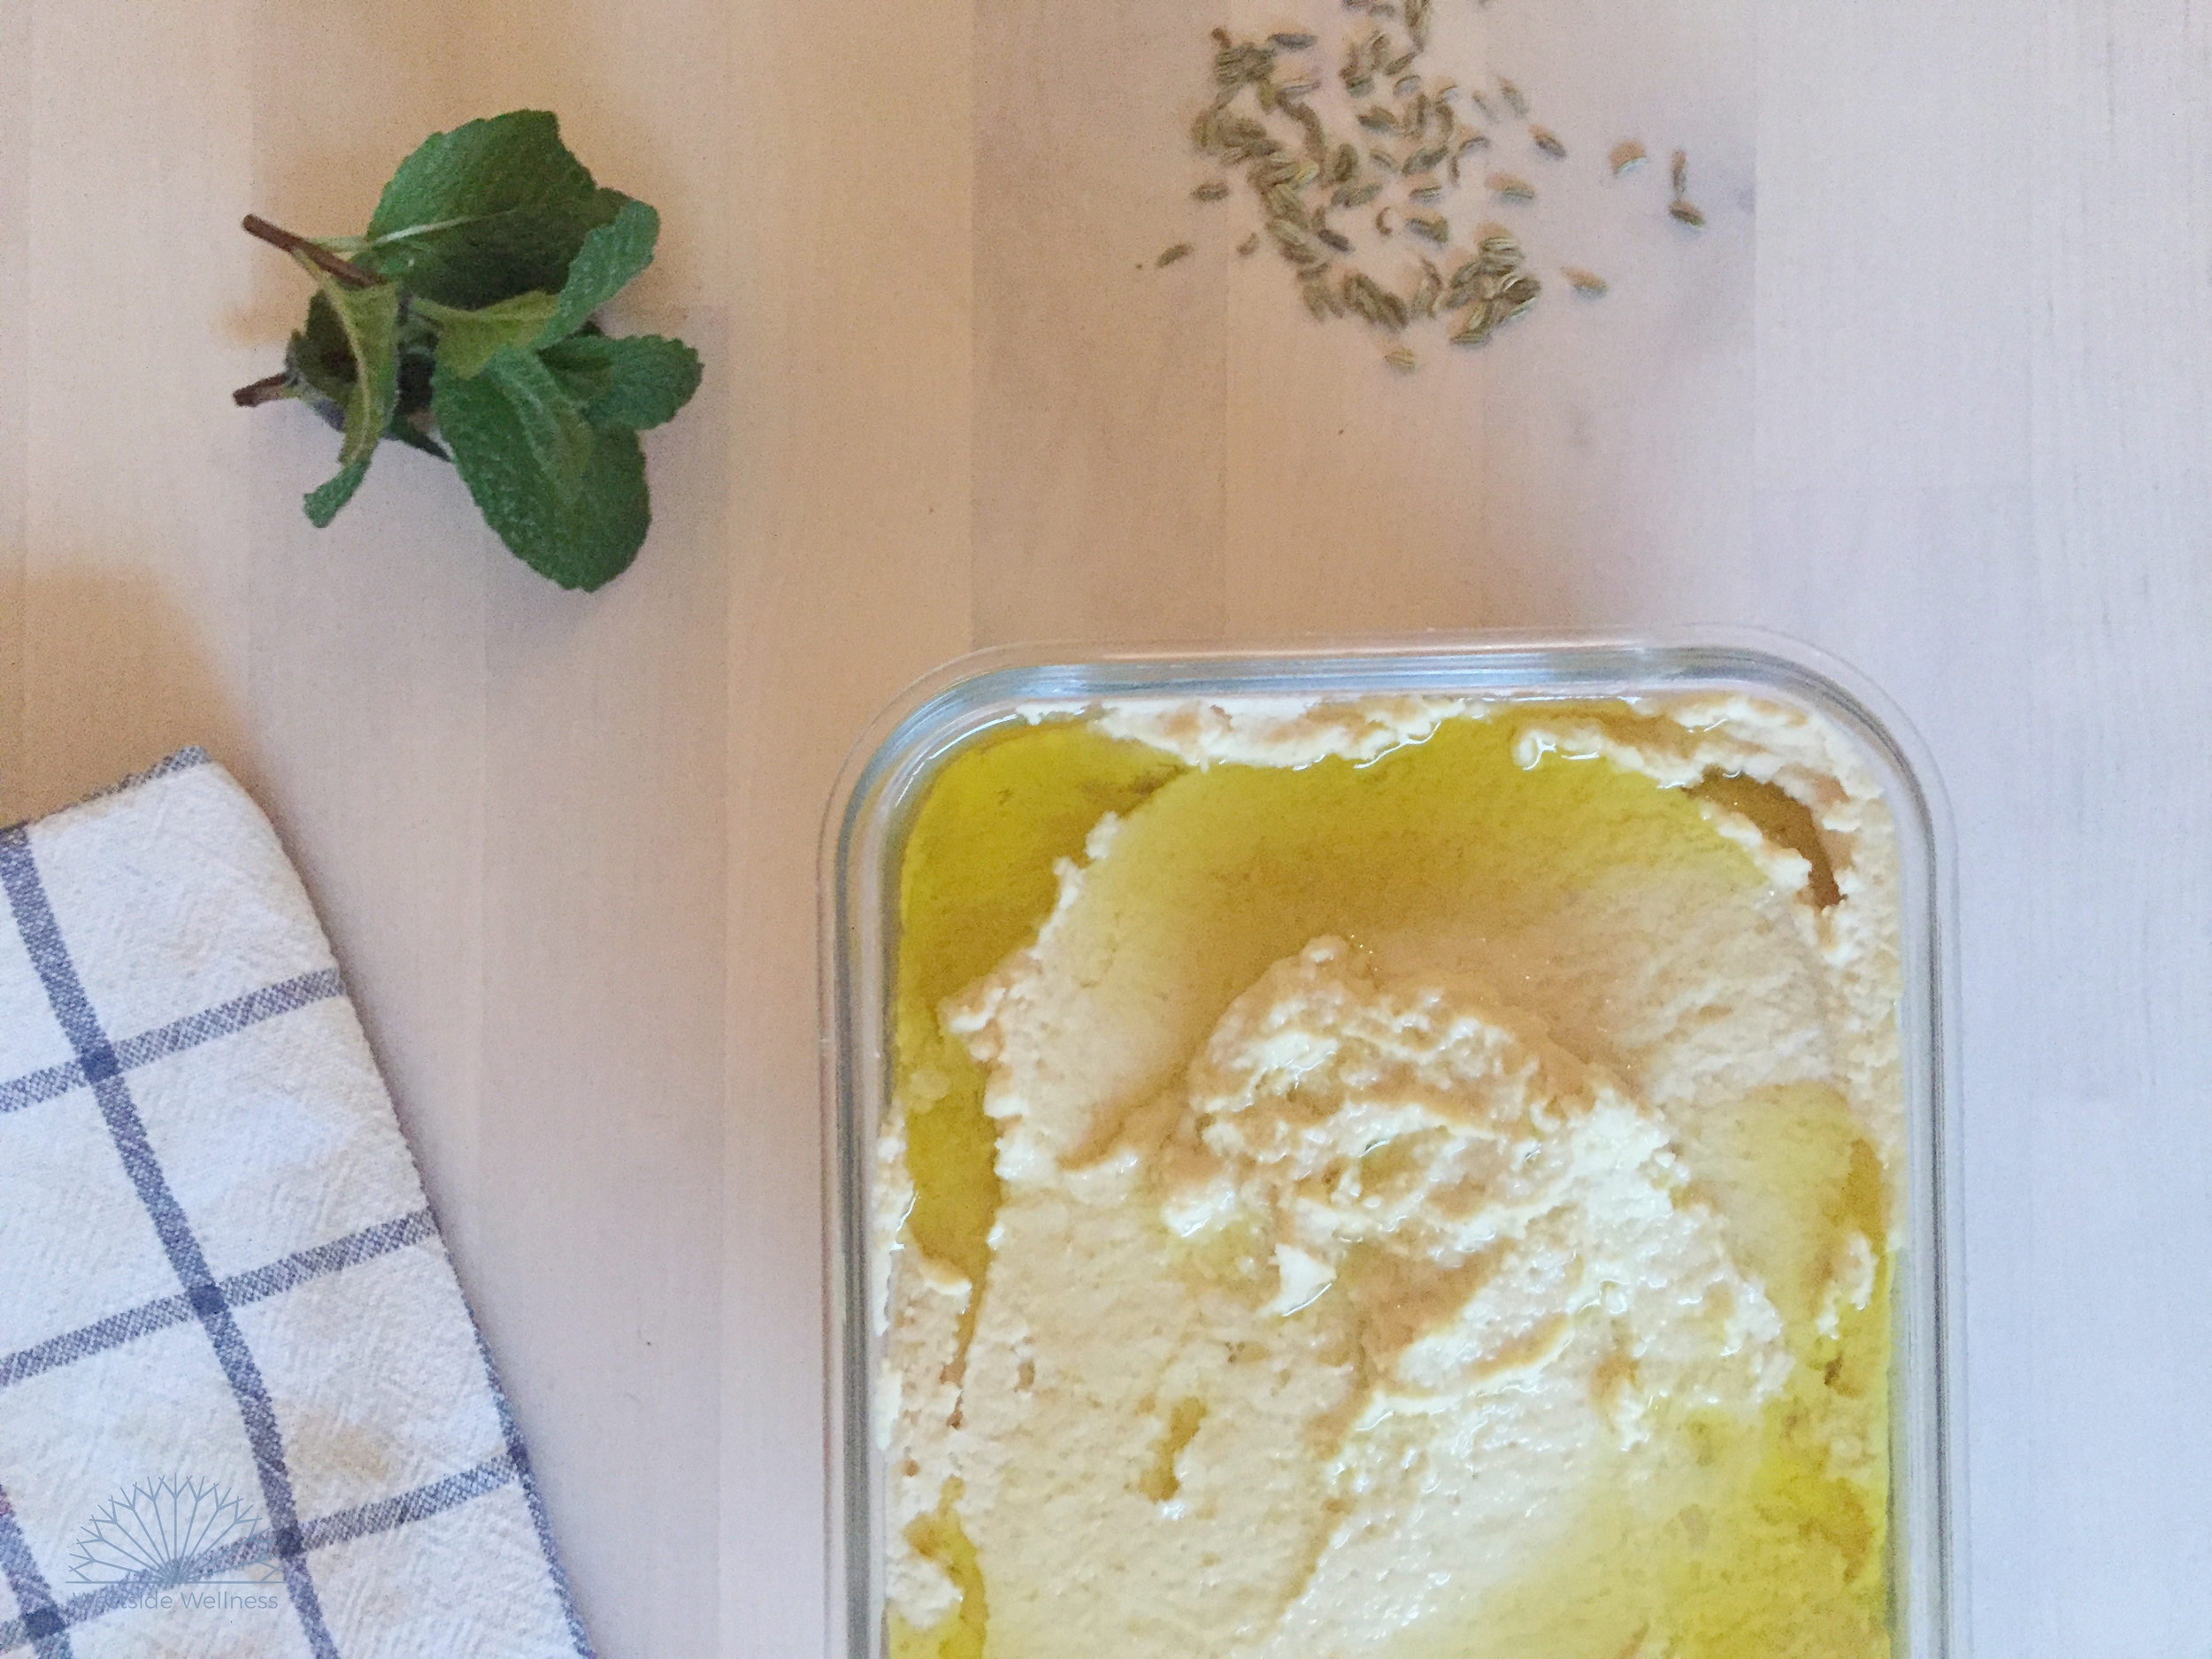
Due to the salt content, it will last 2-3 months in the fridge, I usually freeze half in ice cube trays and keep the other half in the fridge. 1 ice cube of stock equates to roughly 1 tablespoon. The ingredients are rough estimates, based on what you have on hand. If there's intolerances, you can omit the onion, garlic and leeks, but the essentials are definitely celery and fresh herbs. You can also omit the salt, but you will need to freeze it immediately as the salt is needed to preserve the paste.

cooking scraps stock.jpg

Ingredients

  • 3 leeks (you can use the tops but they can be a bit bitter)
  • 1/2 celery bunch, or equivalent celery scraps
  • 1/2 bunch parsley
  • small handful fresh oregano
  • 4 cloves of garlic
  • 1 carrot
  • 1 onion
  • 1/2-3/4 bag of frozen or fresh veggie scraps (you don't need to defrost these)
  • 1/2 cup good quality salt (I use Mount Zero pink lake salt)
  • 2 tbs extra virgin olive oil
  • couple of cracks of pepper

Method

  1. Rinse all the veggies and fresh herbs and roughly chop
  2. Place in a large pot, with the salt, olive oil and pepper and cook over a medium heat
  3. Cook for 20 or so minutes, stirring regularly
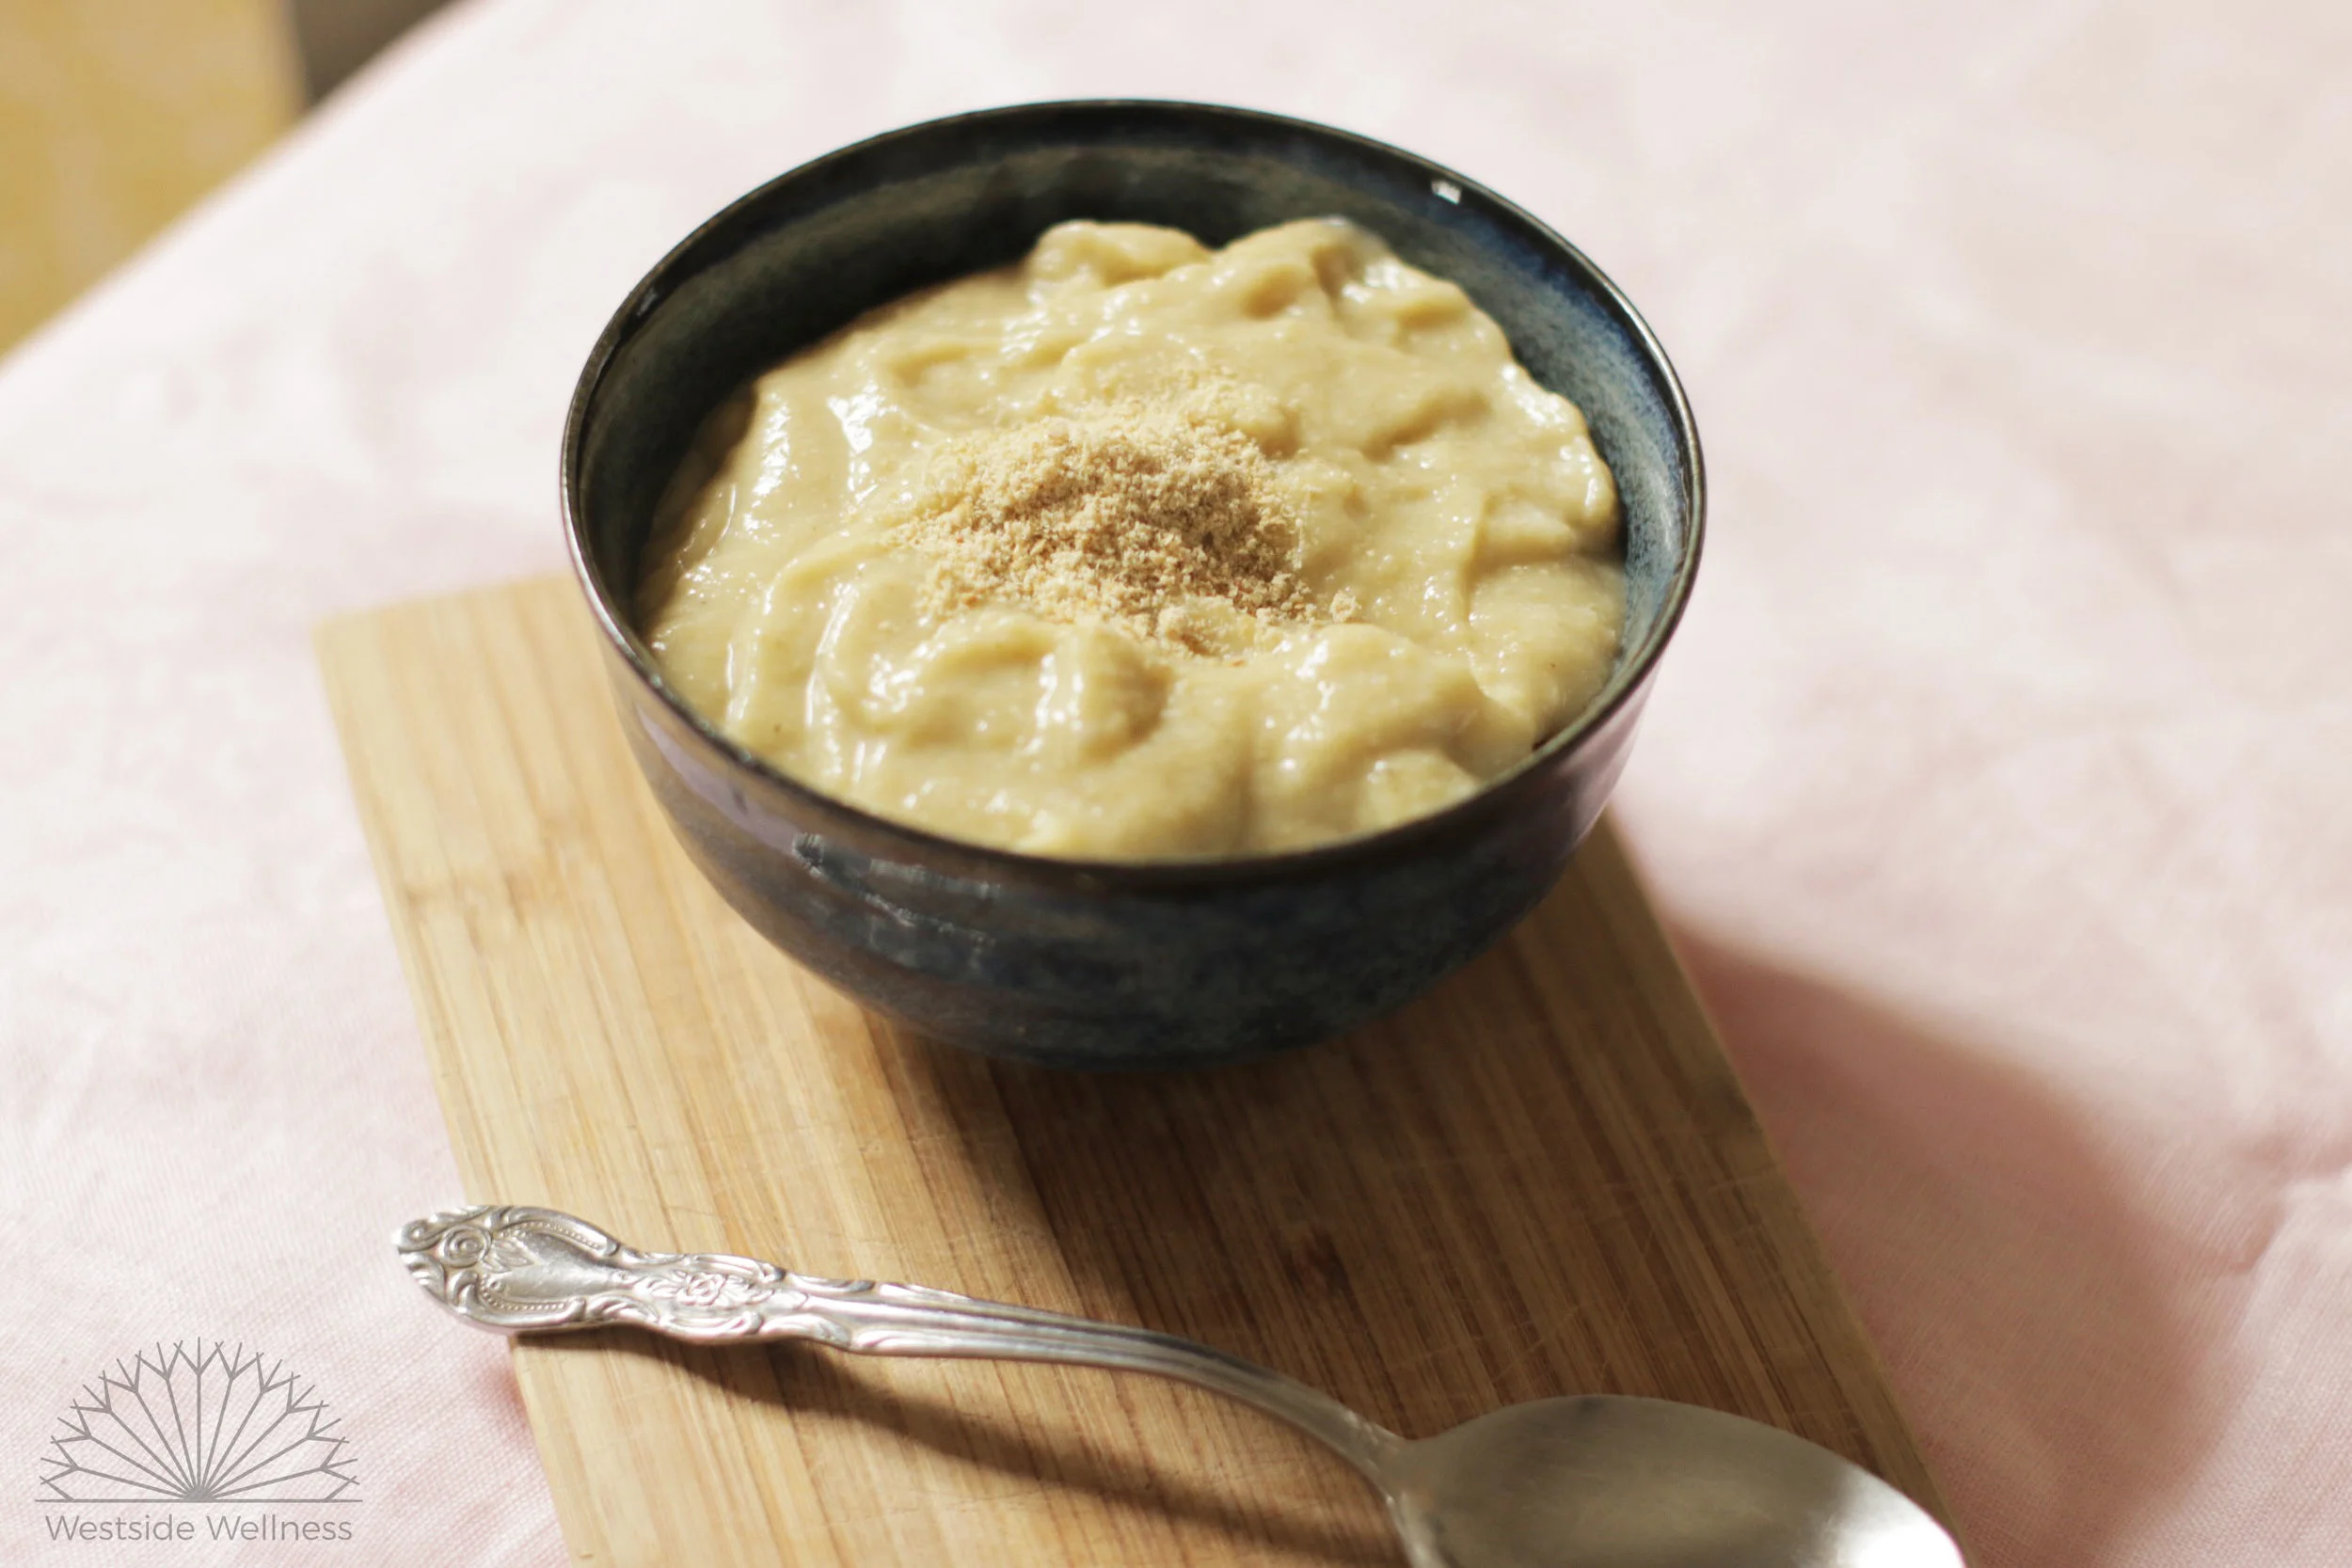
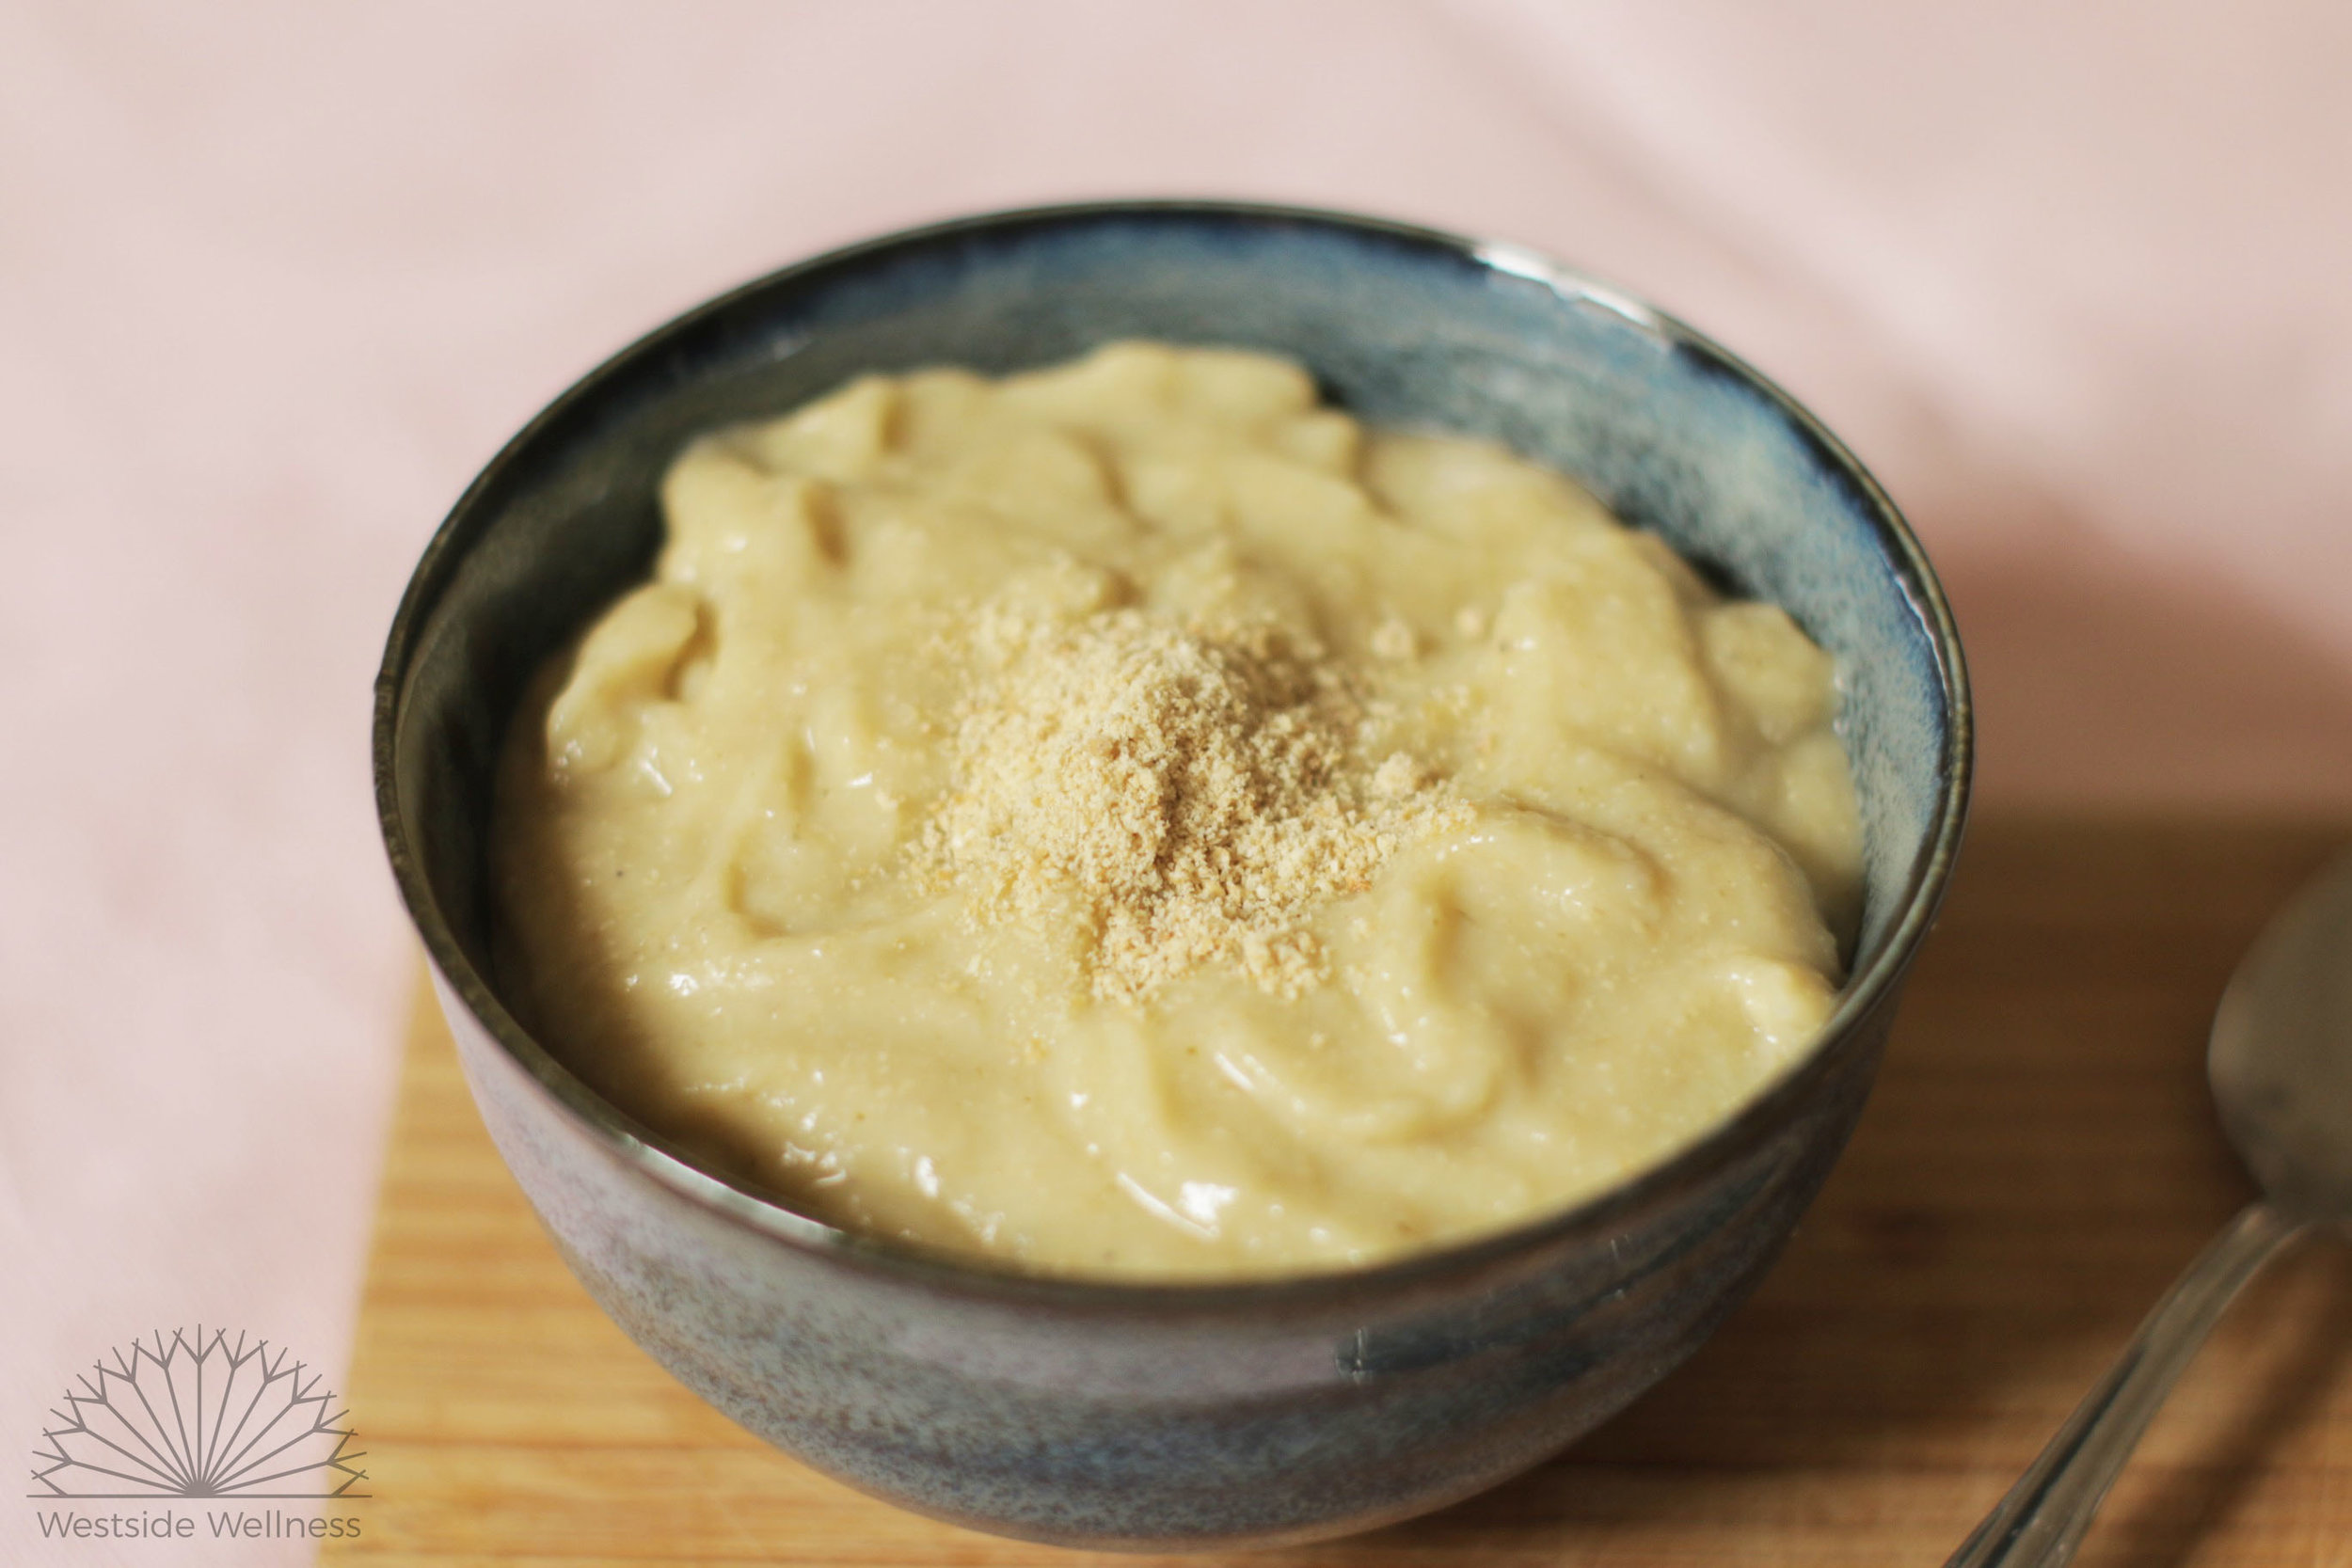
  4. Allow to cool for a minute or two, then transfer to a food processor (you could also use a stick mixer to blend it in the pot) and process until smooth
  5. Spoon mixture into ice cube trays and place in the freezer, or a jar for the fridge. If you have a dehydrator, you can also dehydrate the paste (approx 30 hours on low) then process into a powder.
scraps stock jar copy.jpg

Limes & 'Cream' Pumpkin Soup

pumpkin soup ingredients.jpg

My family loves this tangy, Asian style take on traditional pumpkin soup and I love them eating it, knowing that they are getting a plethora of nutrients from fibre and protein to betacarotene and calcium. It’s easy to whip up, freezes well and is great re-heated the next day for lunches too. Enjoy!

Ingredients

Makes 4 adult serves + 4-6 baby/child serves or 6 adult sized serves

  • ½ small pumpkin (approx. 500 g), chopped
  • 1 small sweet potato (approx. 300 g), chopped
  • 1 medium carrot, chopped
  • 1 bunch spring onions, finely chopped
  • 3-4 cloves garlic, finely chopped
  • 2 tbs sesame oil
  • 1 tsp ground coriander
  • medium sized chunk of ginger, finely chopped
  • medium sized chunk of turmeric finely chopped, or 1 ½ tsp ground turmeric
  • ½ cup raw cashews + 1 tsp salt*
  • 1 cup split red lentils
  • juice of 2 limes
  • 200 ml coconut cream
  • 750 ml cold (tap or filtered water)
  • stock paste, powder or salt to taste*

Method

  1. Place the cashews, red lentils and 1 tsp of salt in a glass jug or bowl, cover with water and soak for 6 hours maximum. Drain and rinse, and set aside.
  2. Heat the sesame oil in a large pot on medium heat, add the spring onion, garlic, turmeric and ginger and sauté for 5 minutes. Add the pumpkin, sweet potato, carrots and coriander and sauté for another couple of minutes.
  3. Add the water, soaked red lentils and cashews and juice of 1 lime and bring to the boil. Reduce to a low simmer, cover with a lid and cook for 25 minutes.
  4. Allow to cool for 5 minutes or so, then puree with a stick mixer or by adding amounts to a food processor. Return to the pot and medium heat, add the coconut cream and juice of the other lime and mix well.
  5. Add stock paste, powder or salt to taste (I usually add around 2 tbs of stock paste)

Will keep in the fridge for up to 5 days, or in the freezer for up to 3 months.

*I make this soup to feed my entire family, including my 9 month old. I cook and puree it, then set aside serves for my baby and add stock paste to the rest for us. If your little one hasn't tried nuts yet you could omit them, or use a different nut if allergies are present or seeds such as sunflower seeds.

limes & cream pumpkin soup.jpg

Hummus

Hummus-www.jpg

Hummus is a staple in our houses. It's versatile (can add to sandwiches, use as a dip or simply add some to a salad), simple to make and packed full of nutrients. 

Hummus is made from chickpeas and and few other small items you usually have on hand at the house. Chickpeas contain iron, protein, fibre and folate (amongst other goodies!). These nutrients make them particularly important to a vegetarian or vegan diet. But the thing I love the most about hummus is that the kids can't get enough of it! My youngest calls it "Thomas" (probably because he's a train-obssessed 2 year old) and he's always shouting at me "More Thomas! More Thomas!". They always want to help me make some, mostly so they can lick the spoon at the end!

You can also easily freeze hummus. This recipes gives you a big batch so you can pop some in the freezer to use later.

Ingredients

  • 2 cups raw chickpeas
  • 1 tsp fennel seeds
  • Juice from two lemons, or 1.5 tbs apple cider vinegar
  • 3 cloves garlic, peeled
  • 1 tbs tahini
  • 4 tbs extra virgin olive oil
  • Pinch of salt

Method

  1. Soak chickpeas overnight in a large bowl with fennel seeds. Soak for at least 8 hours.
  2. In the morning strain the chickpeas and place in a large pot with lots of water.
  3. Bring the pot to the boil and skim off any scum and bubbles that accumulates at the surface.
  4. Turn down to a simmer and leave the chickpeas cooking until they are tender (about 30 minutes, depending on their size). While they are cooking make sure you occasionally store the pot to keep them from sticking to the bottom. 
  5. While they are cooking put lemon (or apple cider vinegar), olive oil, garlic and salt in a food presssor or blender. 
  6. Strain the chickpeas once they are ready. You will know they are ready when they are soft when you bite into it.
  7. Start adding chickpeas to the food processor or blender 1 handful at a time. Add a little extra olive oil or splash of water if the consistency is too thick. Once all the chickpeas have become smooth add the tahini and process until combined. 
  8. Serve with some veggie sticks, falafel, in a sandwich or alongside your salad.  

Makes about 5 cups. 

Stores in the fridge for up to 1 week. Just cover the top of the hummus with olive oil to keep it from drying. If you wish to freeze some just fill a container and cover the surface with olive oil to prevent freezer burn.

Vanilla Chia Pudding

chia pudding.jpg

We love chia pudding! It's so easy to whip up, it tastes good and is super nutritious being high in omega 3, fibre, protein and calcium. Prep it on a Sunday night for breakfasts and snacks on the go through the week. You can also divide into smaller servings for the kiddos as well!

Ingredients

  • 2 cups almond milk

  • ½ cup chia seeds

  • 2 tsp vanilla paste or extract

  • 2 tbs rice malt syrup (or maple syrup)

Method

  1. Combine all ingredients in a bowl until well mixed.

  2. Use a whisk to stir regularly to prevent the chia seeds from clumping on the bottom.

  3. Once the mix has thickened a little, pour into 4-5 jars or containers and refrigerate, the puddings will need to set overnight or for at least 8 hours.

  4. Top with fresh or frozen fruit, a sprinkling of hemp seeds, activated buckwheat or other healthy goodies.

These will last 4-5 days in the fridge.

Roasted Red Capsicum, Tomato & Red Lentil Soup

tomatoes & red capsicum.jpg

This soup is an absolute fav in our family! A great way to get veggies and fibre into kiddies without them knowing (hehe), it also freezes well so is fantastic for those nights when you just don't have the energy to cook. Double the ingredients and freeze into smaller serves and you have a couple of lunches for the week too!

Serves 4

Ingredients

  • 1 kg tomatoes (quality isn't important, go for saucing tomatoes if they're available), quartered
  • 1 large red capsicum
  • 1 onion, finely chopped
  • 4 cloves garlic, finely chopped
  • 3/4 cup split red lentils
  • 4 cups water
  • 2 tbs stock paste (or one stock cube)
  • Salt and pepper to taste
  • 1 tsp balsamic vinegar
  • Olive oil

Method

  1. Preheat oven to 150 degrees Celsius
  2. Place a sheet of baking paper over a large baking tray. Place tomato quarters and red capsicum on tray, drizzle with olive oil and salt and pepper. Bake for 60 minutes until the tomatoes are nice and soft and the capsicum is starting to char. Set aside *
  3. In a large pot, heat a tablespoon of olive oil, add the onions and saute until translucent, around 5 minutes.
  4. Add garlic and saute for another 2-3 minutes.
  5. Remove the skin and seeds from the roasted capsicum, and roughly chop it up. Add the roasted tomatoes and capsicum to the pot, making sure all the juices and all from the tray go in as well. Add the water, stock paste, balsamic vinegar, lentils and a little salt and pepper and bring to the boil.
  6. Reduce temperature to a low boil, cover the pot with a lid and cook for 40 minutes.
  7. Process the soup until smooth with either a stick mixer or process it in quarters in a food process or blender. There may be some bits of tomato skin, they can be strained out if necessary. Taste and adjust seasonings if needed.

Serve with a few tablespoons of cooked quinoa, or crushed pine nuts mixed with olive oil and salt. This soup will last 5 days in the fridge and freezes well.

*You can do this a few days in advance to save time

roasted tomatoes and red capsicum.jpg

Cauliflower & Celeriac Soup

This soup is another oldie of mine, something I created after I discovered that I actually do love cauliflower and celariac! These two veggies are super nutritious, being sources of calcium, magnesium and vitamin C, and they pair so well together to create a light, creamy and entirely vegan soup. A sprinkling of my 'cheesy' powder on top completes the protein with the quinoa, and you'll be surprised by how filling this bad boy is, perfect on a chilly winters night.

Soup

Ingredients

  • 1 medium head cauliflower, cut into florets (keep the stalks for my 'scraps stock paste')
  • 1 large celariac, peeled and chopped into cubes
  • 1 medium waxy fleshed potato (i.e. dutch cream or nicola)
  • 2 leeks, white part finely chopped (keep the greens for stock as well!)
  • 1 cup quinoa (please choose Aussie quinoa if you live in Australia), rinsed thoroughly *
  • 4-6 cloves garlic, finely chopped
  • 1/2 tsp ground fennel seeds
  • 1 cup milk (your choice, I use almond or cashew)
  • 6 cups water
  • salt & pepper
  • 3 tbs stock paste (or equivalent store bought stock paste or powder)
  • 2 tbs olive oil

Method

  1. Heat the olive oil in a large soup pot, add the leeks and sauté until translucent (approx. 5 minutes)
  2. Add the cauliflower, celariac, potato and a little salt and pepper and saute for a few minutes.
  3. Pour in the water, add the stock paste, ground fennel, and quinoa and bring to the boil. Reduce heat, cover with a lid and cook for 25 minutes, stirring occasionally.
  4. Allow to cool for a few minutes, then puree the soup either in a food processor or blender or with a stick mixer.
  5. Return the pureed soup to the pot (no heat), add the milk, taste and adjust seasonings. Serve with a tablespoon of 'cheesy' powder sprinkled on top.

* I generally activate my quinoa to improve its digestibility and nutrient absorption. Place the quinoa in a glass bowl or jug, add 2 tbs of apple cider vinegar and cover with water. Leave to soak for 8-12 hours, rinse and drain thoroughly and add to soup. It's fairly easy to do if you meal plan and leave to soak overnight, alternatively you can soak and cook in bulk and freeze in portions.


'Cheesy' Powder

Ingredients

  • 2 tbs sunflower seeds
  • 2 tbs sesame seeds
  • 2 tbs savoury yeast flakes
  • pinch of salt

Method

  1. Heat a non-stick frying pan (I use a skillet) over a medium heat
  2. Add the sunflower and sesame seeds and toast until golden brown (around 5 minutes). Stir frequently to prevent them burning.
  3. Chuck the toasted seeds, savory yeast flakes and pinch of salt in a blender or food processor and blend until a powder has been formed.
  4. Store in an airtight container. Sprinkle over foods as desired, will add a nutty, cheesy flavour.


Healthy Banana Bread

slice of banana bread web vers.jpg


Banana bread is an absolute staple in our house, whether it’s a quick snack with a cuppa, served with nut butter for breakfast, or a special piece of ‘cake’ for the toddler, it’s something that always needs to be in supply.

I love this recipe because it’s versatile, you can use whatever is in the cupboard, make it vegan and gluten free or not, and it’s always tasty. This is the gluten free version, however I’ve made it with regular wheat and wholemeal spelt flour and it’s been just as good. I generally use the Mayver’s cacao peanut butter, but any nut butter will do, tahini works great too. If there’s a nut allergy just substitute the nut butter for the same amount in coconut oil.

Up until recently I always made it with only 2 bananas, as that seems to be what we had on hand to spare, however I’ve been trialing 3 bananas and it’s freakin brilliant, sweeter with a stronger banana flavour and even softer while still firm enough to toast. What more could you ask for?

ripe bananas.jpg

Banana Bread

WET INGREDIENTS

  • ¾ cup of non-dairy milk
  • 1 tbs apple cider vinegar
  • 1/3 cup coconut oil
  • 3 tbs rice malt syrup
  • 1 tsp vanilla extract
  • 2-3 ripe bananas (2 bananas gives a milder flavour, but 3 will give that typical banana bread flavour)
  • 2 tbs nut butter (tahini is also amazing instead)
  • 3 fresh dates, seeds removed

DRY INGREDIENTS

  • 1 cup brown rice flour
  • ¾ cup besan (chickpea) flour
  • ¼ cup cornflour (or arrowroot powder)
  • ½ tsp baking soda
  • 1 ½ tsp baking powder
  • 1 tsp cinnamon powder
  • ½ tsp ginger powder

Method

  1. Preheat oven to 150 degrees. Grease a loaf tin with coconut oil and set aside.
  2. Place all the wet ingredients into a bowl and ‘cream’ together with a hand held mixer until smooth.
  3. Add all the dry ingredients to the bowl, process and again process until smooth.
  4. Pour batter into greased loaf tin. Bang it on the bench to remove any air bubbles, cover with foil and place in the middle of the oven. Bake at 150 degrees for approximately 1 hour, this will depend on your oven and the flour you use. I’ve found that the gluten free version takes around an hour, whereas spelt and wheat flours take more like an hour and a half.
  5. You will need to keep an eye on this the first time you make it. If the top browns too quickly lower the heat. The banana bread is ready when it is brown on top, firm to touch and a skewer comes out clean.
  6. Allow to cool before turning it out of the loaf tin.

This will keep up to 5 days in the fridge or a few days on the bench. If we manage to not eat it in a day or so, I actually like it going a little stale as it toasts nice and crispy! However, this banana bread is still excellent for toasting.

If you have time and the ingredients, bake two loaves and slice one and freeze it, I love having a pre-sliced loaf in the freezer for when I don’t have any snacks for me and my toddler.

fresh banana bread.jpg

Bircher Muesli

Oats are a breakfast staple in Australia and the best way to keep them interesting is making bircher muesli. Oats contain plenty of key nutrients including magnesium, fibre, B1, B2, B5 and calcium.

When looking for oats select whole, untoasted oats – organic where possible.

Ideally nuts should be purchased raw and stored in the fridge to protect them against oxidation, which when eaten contributes to free radical damage to body tissue.

Bircher muesli is such wonderful healthy breakfast because of the combination of nuts, seeds, grain and fruit which provides amino acids that combine to make a complete protein from vegetarian sources.

Soaked chia and linseed create a gel that works to lubricate the bowel and prevent constipation.

soaking muesli web vers.jpg

INGREDIENTS

  • 2 cups of raw rolled oats

  • 1 handful of raw hazelnuts

  • 1 handfuls of raw almonds

  • 1 handful of raw cashews

  • 1 tbs of raw pepitas (pumpkin seeds)

  • 1 tbs of chia seeds

  • 1 tbs of linseed (flaxseed) unground

  • 1 tbs of dried sultanas

  • 1/4 cup of cloudy apple juice

  • 3 tbs full-fat organic live yoghurt

  • 1 tbs of sunflower seeds

  • 1 cinnamon quill.

METHOD

  1. In a large bowl place all the dry ingredients and mix together with a wooden spoon or your clean hands.
  2. Then place the live yoghurt and cloudy apple juice into the bowl to cover the dry mixture. Add water if needed. The liquid should only just submerge the dry ingredients.
  3. Cover the bowl and place in the fridge for at least 8 hours (overnight)
  4. In the morning spoon the mixture in your breakfast bowl and serve with seasonal fruit and plain yoghurt or oat milk.

Makes enough for two breakfasts.

muesli with kiwi fruit.jpg